In a digital world where speed and user experience reign supreme, optimizing images for your website is no longer an option but has become a mandatory factor for success. A beautiful image can catch the eye and deliver a powerful message, but if not optimized, it can become a "deadweight" dragging your website along, causing potential customers to lose interest and leave in an instant.
 Image optimization for websites: An effective way to speed up & conquer Google's top rankings
This article will serve as a comprehensive guide, helping you decode every aspect of image optimization. Whether you're a business owner, a passionate blogger, or a web developer, the knowledge below will help make your website not only more attractive but also faster and more friendly to both users and search engines.
Why is image optimization important for websites?
Imagine walking into a store but having to wait a long time just for the door to open. How would you feel? The same applies to websites. Images are an important part of that "door."
 Image optimization is one of the most important factors for websites
And here are the reasons why:
- "Dizzying" increase in page load speed: This is the biggest and most obvious benefit. Large images are the primary culprit for website delays. Optimization significantly reduces file size without greatly affecting quality, thereby improving page load speed and retaining users more effectively.
- Enhanced user experience (UX): Nobody likes waiting. A fast-loading website delivers a smooth, professional experience, making users more satisfied and likely to stay longer and interact more.
- Outstanding SEO ranking boost: Google loves fast websites. When your website is optimized, Google will rate it higher, improving rankings on search result pages. Moreover, properly optimized images also have a chance to appear on Google Images, bringing in a valuable source of organic traffic.
- Storage space savings: Lighter images mean you'll use less storage space on your server (hosting), helping save costs in the long run.
Top 5 "golden" formulas for comprehensive image optimization for websites
Image optimization isn't just about reducing file size. It's a process involving multiple steps, each playing an important role.
1. Choose the appropriate image format
Choosing the right image file format is like selecting the right outfit for each occasion. Each format has its own advantages and disadvantages:
- JPEG (or JPG): The "people's friend" for most photographs, images with many colors and details (product photos, landscapes). JPEG allows image compression with small file sizes while maintaining relatively good quality. However, it doesn't support transparent backgrounds.
- PNG: The perfect choice for logos, icons, images that need transparent backgrounds, or graphics with fewer colors. PNG maintains better image quality than JPEG after compression (lossless compression) but usually has a larger file size.
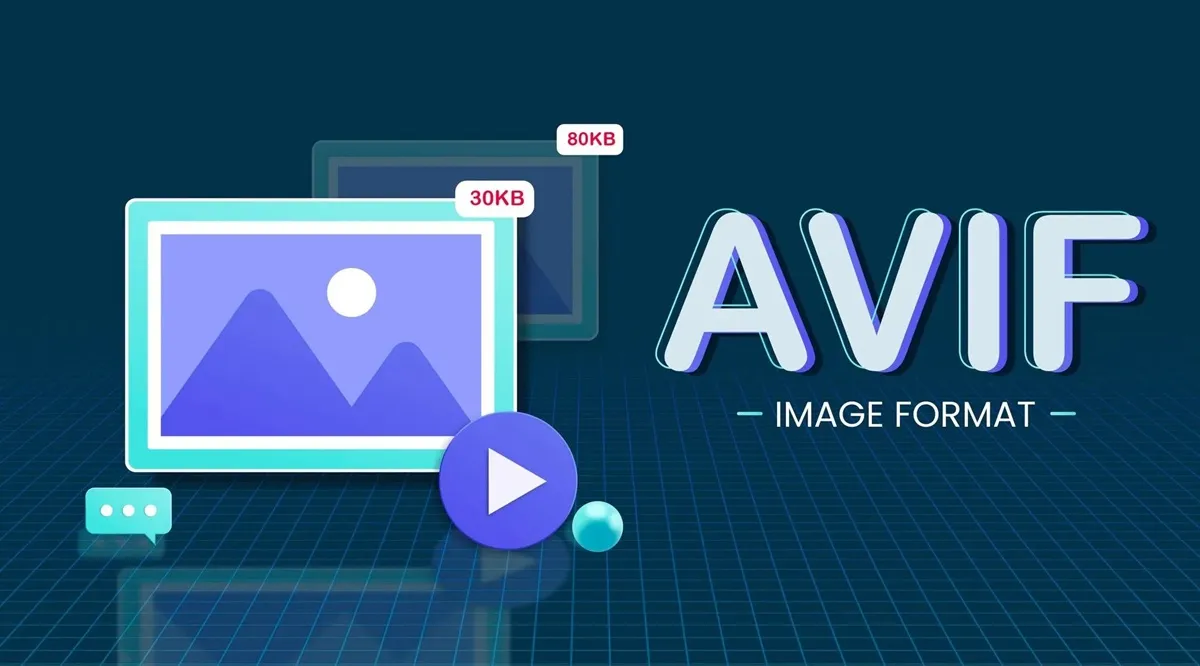
- WebP: The "rising star" developed by Google. WebP provides superior image compression compared to both JPEG and PNG (both lossy and lossless compression), supports transparent backgrounds and animations. This is the top recommended format for websites today to achieve the optimal balance between quality and file size.
- SVG: For vector logos and icons. SVG's advantage is that it can be scaled up or down without losing sharpness and has an extremely light file size.
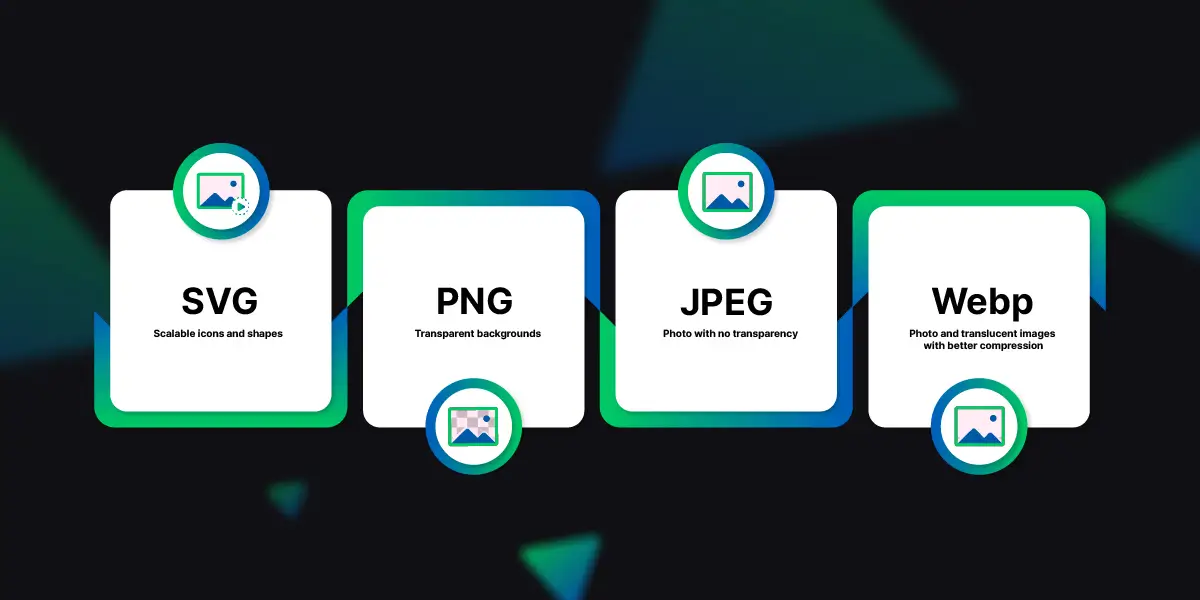 Choose the appropriate image format based on usage purpose
Advice: Prioritize using WebP for most images on your website. For older browsers that don't support WebP, you can have a backup plan to display JPEG or PNG images.
2. Image compression - Reduce size and capacity
This is an essential step. Before uploading images to your website, you need to ensure their size (width, height) and file size are at a reasonable level.
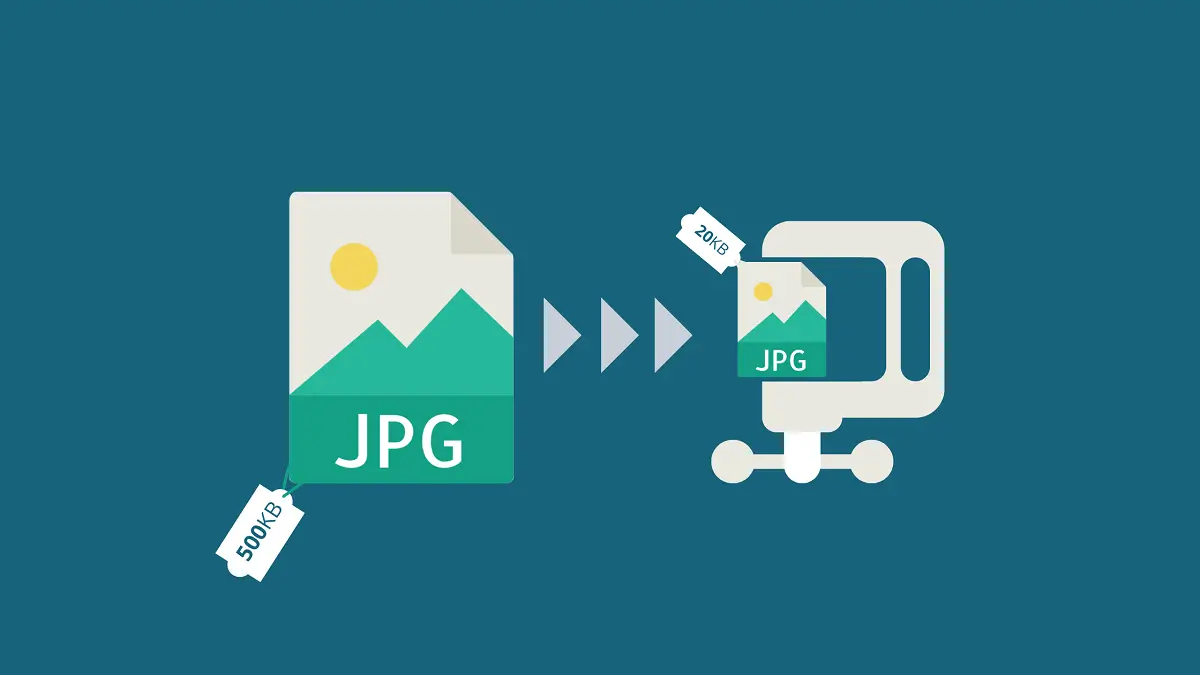 Compress images to reduce size and file capacity to a reasonable level before uploading to website
- Adjust image dimensions: Never upload a 4000px wide image just to display it in an 800px frame. Use popular software like Photoshop, GIMP, or more conveniently, use online image resizing tools to change the image dimensions to match the largest display size on your website.
- Compress images: After achieving the appropriate dimensions, compress the images to reduce file size. There are many free and effective online image compression tools:
- VnnTools
- TinyPNG / TinyJPG
- Squoosh.app
- iLoveIMG
- Compressor.io
The goal is to keep each image's file size under 100-150KB while maintaining visually acceptable quality.
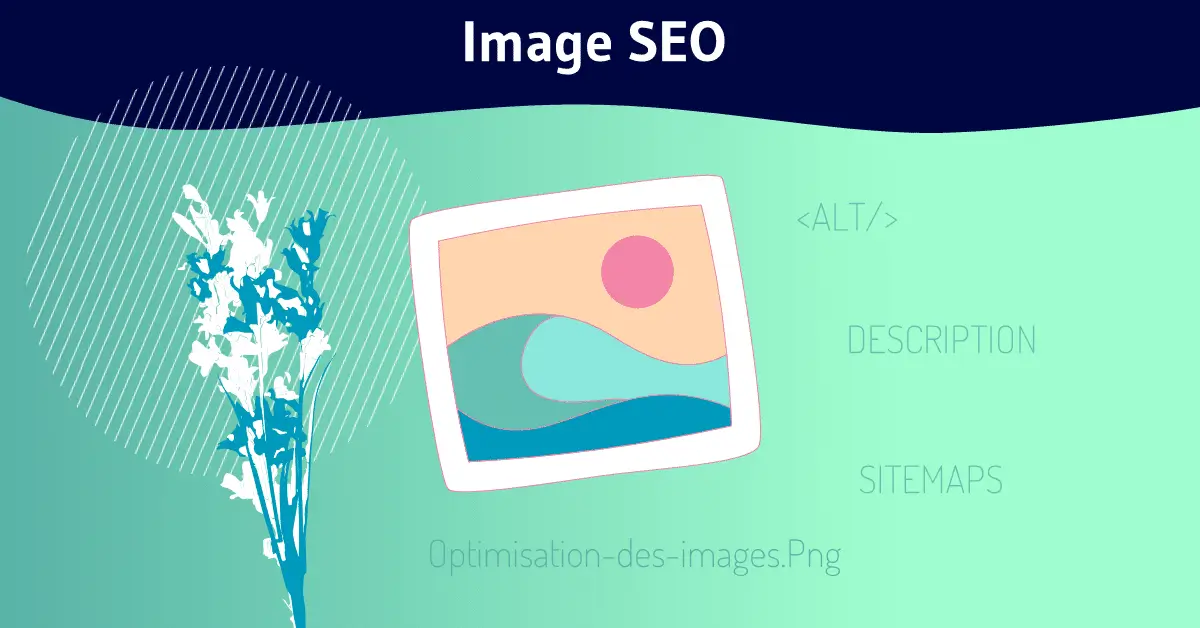
3. Name images according to SEO standards
Never keep meaningless names like IMG_1234.jpg or screenshot-2.png. The file name is your first opportunity to tell Google what your image is about.
 Name images according to SEO standards to help Google better understand their content
Rules for naming image files:
- Descriptive and containing keywords: The file name should briefly describe the image content and contain relevant keywords related to the article.
- No special characters, words separated by hyphens: For example:
how-to-optimize-images-for-website.jpg. - Don't use special characters.
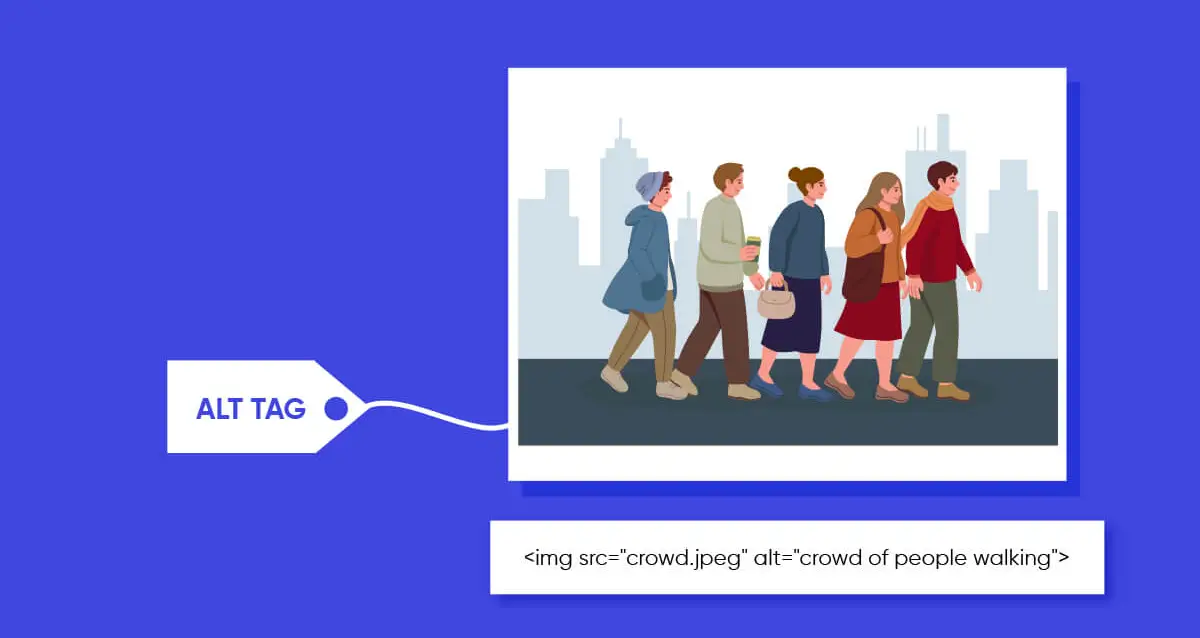
4. Always remember to add Alt tags
Alt tags (alternative text) are short descriptions of images. They have two extremely important roles:
- User support: If an image fails to display, the text in the Alt tag will appear instead, helping users understand the content. It also helps visually impaired people using screen readers to "hear" the images.
- SEO enhancement: Google reads Alt tags to better understand image content, resulting in better rankings in image search results.
 Always remember to include Alt tags whenever adding an image to your website
How to write effective Alt tags:
- Specific description: Describe exactly what's in the image.
- Be concise: Keep the length under 125 characters.
- Include keywords naturally: If appropriate, insert your main keyword into the Alt tag, but absolutely avoid keyword stuffing.
- Avoid redundant phrases: No need to start with "image of..." or "picture of...".
Examples:
- Poor:
<img src="dog.jpg" alt="image of dog"> - Good:
<img src="golden-retriever-dog.jpg" alt="Golden Retriever dog playing on grass">
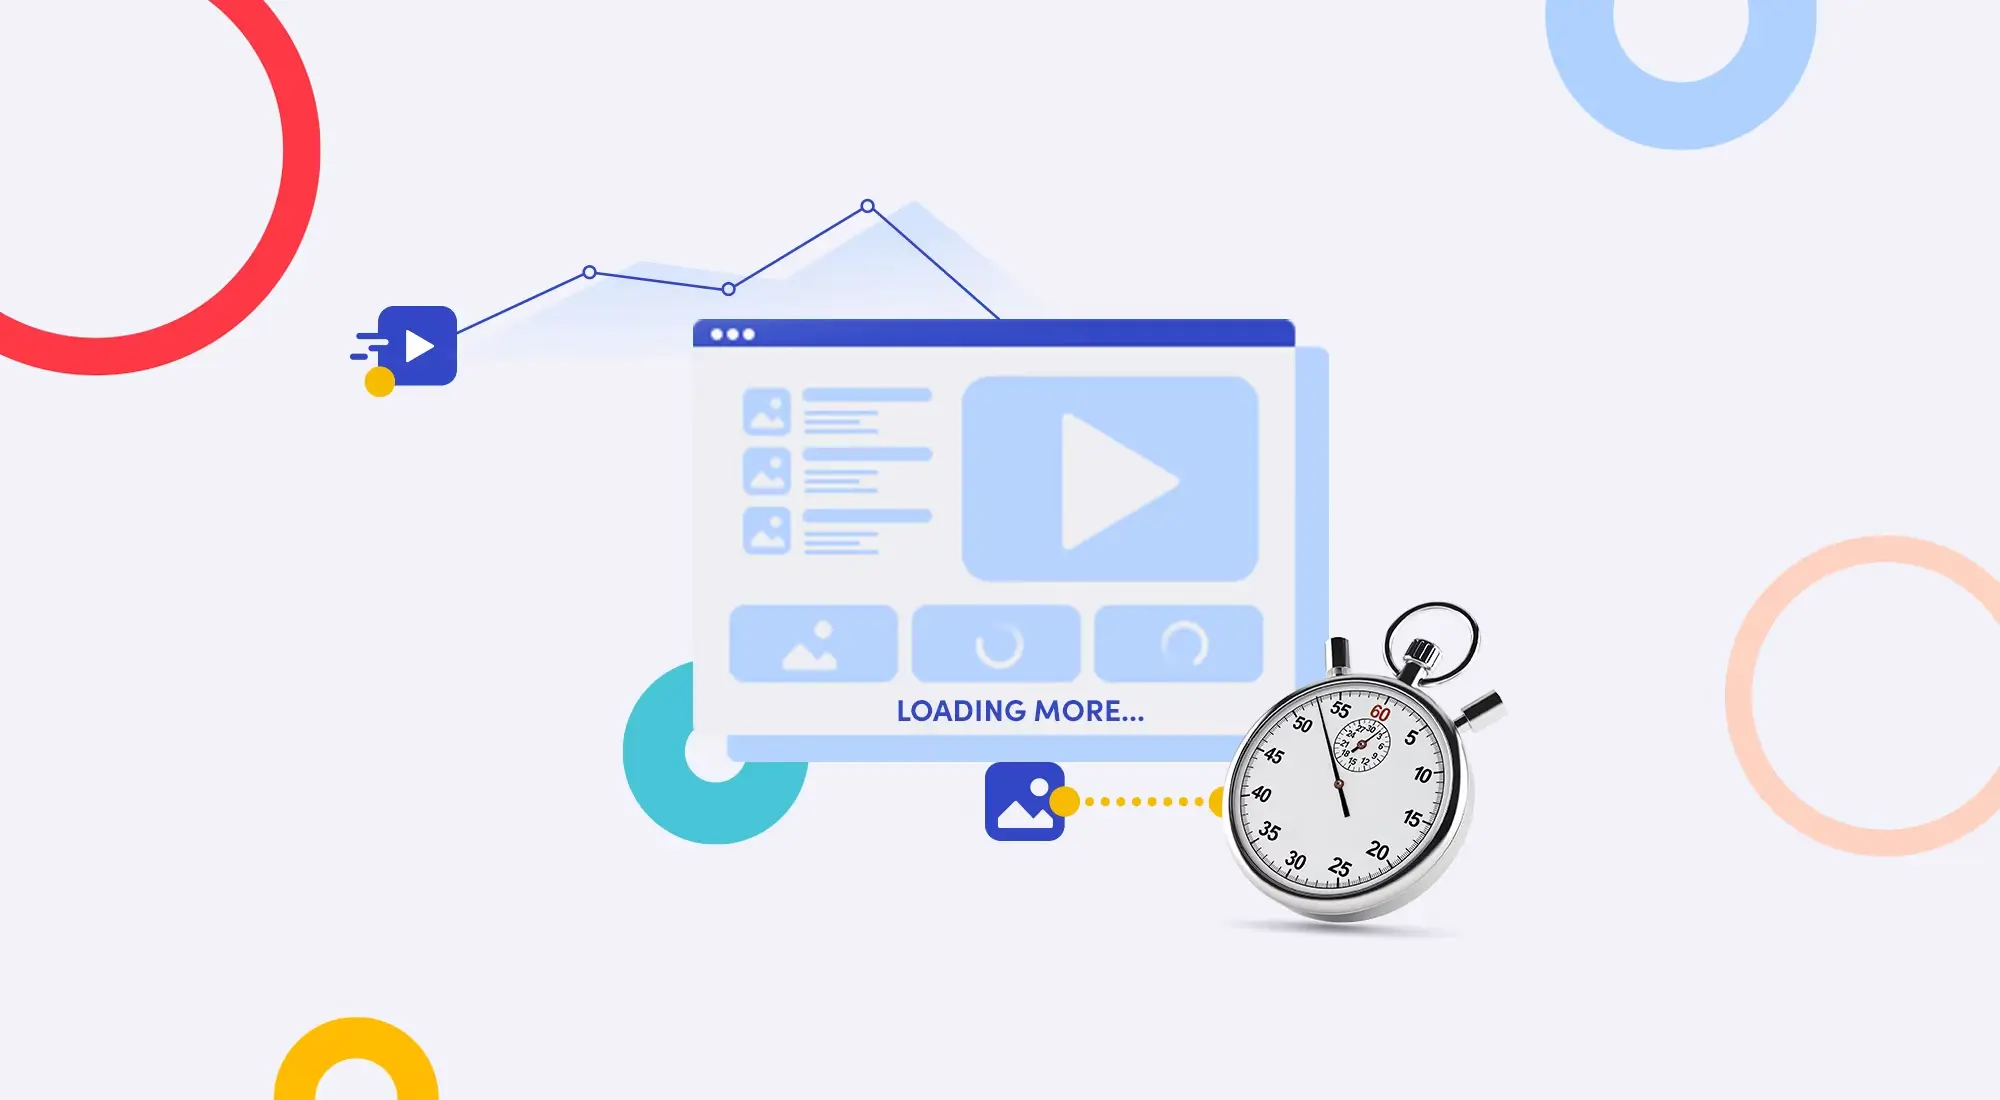
5. Apply "Lazy Loading" technique
Lazy Loading is a smart technique that only loads images when users scroll to their position. Instead of having to load all images right from the start, this technique significantly reduces the initial page load time, especially useful for long pages with many images.
 Apply "Lazy Loading" technique for images on website
Today, implementing Lazy Loading has become extremely simple. You just need to add the loading="lazy" attribute to your <img> tag:
<img src="beautiful-image.jpg" loading="lazy" alt="Image description">
Most modern browsers support this attribute.
Conclusion: Act today!
Image optimization is not a complex task or one requiring sophisticated techniques. It's a combination of good habits and using the right tools. By investing a little time and effort in optimizing each image you upload, you not only deliver a lightning-fast website and excellent user experience but also create a sustainable competitive advantage on your journey to conquer Google's peak.
Start today, check the images on your website, and apply these tips. The difference in speed and ranking will surprise you!