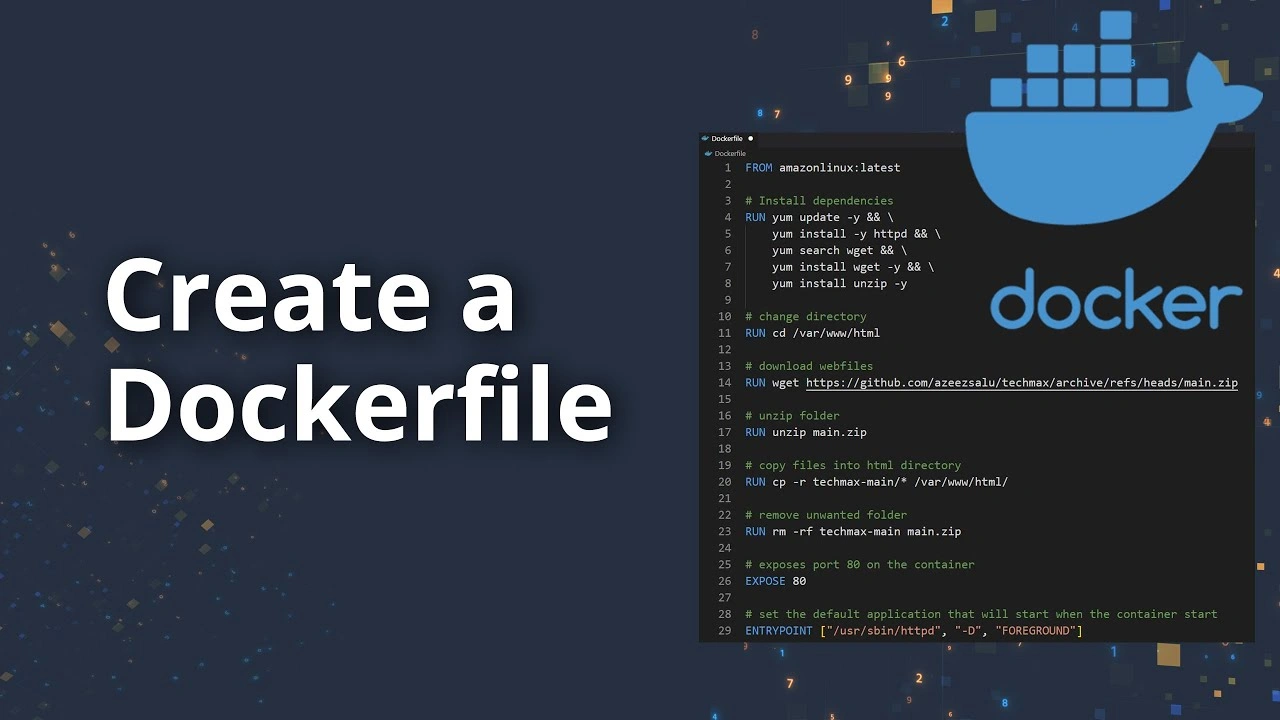
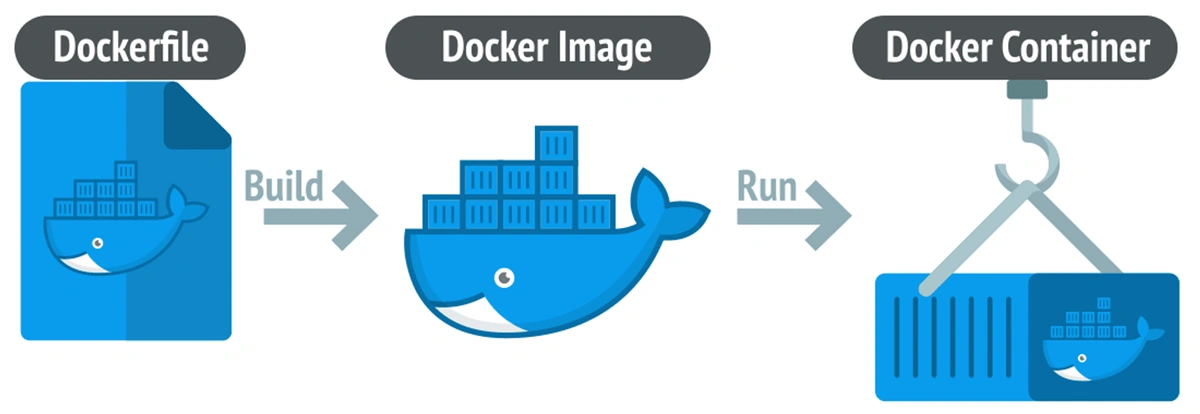
If you’ve explored Docker’s core components, you know that at the heart of every Docker image is the Dockerfile—a "blueprint" or "recipe" that tells Docker how to build an image for your application.
Writing a Dockerfile may seem simple, but writing a good, efficient, secure, and optimized Dockerfile is an art. This article will help you master that art, whether you’re a beginner or have some experience.
What is a Dockerfile? Why is it important?
Imagine preparing a complex dish. Instead of memorizing every step each time, you write a detailed recipe: what ingredients you need, how to prep them, and how to cook.
A Dockerfile is that recipe for your application.
It’s a simple text file (usually with no extension) containing a series of instructions in order. Docker reads this file and executes each instruction to automatically create a Docker image.
Why use a Dockerfile?
Automation: Write once, and you can rebuild the exact same image on any machine with Docker.
Consistency: Ensures your app’s environment (local, staging, production) is always the same—no more "it works on my machine!" issues.
Versioning: You can put your Dockerfile in version control (like Git) to track every change to your app’s environment.
Portability: The resulting image can run anywhere, from a developer’s laptop to cloud services.
"Anatomy" of a Dockerfile: Core Instructions
A Dockerfile is made up of instructions. Each instruction is a "step" in the recipe. Here are the most important and common ones you need to know.
FROM – The Foundation
Every Dockerfile must start with a FROM instruction. It specifies the base image you’ll build on. Choosing the right base image is crucial for optimizing size and security.
node:18-alpine: A lightweight Node.js image based on Alpine Linux.
python:3.10-slim: A minimal Python image.
ubuntu:22.04: A full-featured Ubuntu image.
Example:
Dockerfile
# Use Node.js 18 with lightweight Alpine LinuxFROM node:18-alpine
WORKDIR – Set the Working Directory
This sets the working directory for all subsequent instructions (RUN, CMD, COPY, ADD). If the directory doesn’t exist, it’s created. This is much cleaner and safer than using RUN cd /my-app.
Example:
Dockerfile
# Set the working directory inside the container to /appWORKDIR /app
COPY and ADD – Bringing in the "Ingredients"
Both instructions copy files from your host into the image. Always prefer COPY unless you specifically need ADD’s extra features.
COPY: Simply copies files and folders. Clear and predictable.
ADD: Can also extract tar files and fetch files from URLs (not recommended for most cases due to image size and security).
Example:
Dockerfile
# Copy package.json and package-lock.json into the current working directory (/app)COPY package*.json ./# Copy all source code from the current host directory into the container’s working directoryCOPY . .
RUN – Execute Commands
This instruction runs any command inside the image, such as installing dependencies, creating folders, or compiling code. Each RUN creates a new image layer.
Example:
Dockerfile
# Run npm install to install dependencies from package.jsonRUN npm install# On Ubuntu: update package list and install gitRUN apt-get update && apt-get install -y git
EXPOSE – Document Ports
This tells Docker that the container will listen on a specific network port at runtime. Note:EXPOSE does not actually publish the port. It’s just documentation. To publish a port, use the -p or -P flag with docker run.
Example:
Dockerfile
# Document that the app will run on port 3000EXPOSE 3000
CMD and ENTRYPOINT – Start the App
These two instructions are often confusing. Both define the command to run when the container starts.
CMD: Provides a default command. It can be overridden when running the container. Only one CMD per Dockerfile.
Purpose: Provide a default command for a runnable container.
ENTRYPOINT: Configures the container to run as a main executable. Arguments passed to docker run are appended to ENTRYPOINT.
Purpose: Make an image dedicated to a specific task.
Common pattern: Use ENTRYPOINT for the main executable and CMD for default arguments.
Example:
Dockerfile
# Option 1: Using CMD (common for web apps)# Default command when the container runs. Can be overridden.# Example: docker run my-app-image sh (runs shell instead of node)CMD ["node", "server.js"]# Option 2: Using ENTRYPOINT and CMD together# Container always runs "npm"ENTRYPOINT ["npm"]# Default argument is "start"# docker run my-app-image → npm start# docker run my-app-image test → npm testCMD ["start"]
Practical Example: Dockerizing a Node.js App
Let’s apply what we’ve learned to "containerize" a simple Node.js Express app.
# Stage 1: Choose base imageFROM node:18-alpine AS base# Stage 2: Set up environmentWORKDIR /app# Stage 3: Copy package files and install dependencies# Use caching: only rerun npm install if package.json changesCOPY package*.json ./RUN npm install --only=production# Stage 4: Copy source codeCOPY . .# Stage 5: Expose port and set startup commandEXPOSE 3000CMD ["node", "src/index.js"]
Build and run the image:
Bash
# 1. Build the image named 'my-node-app'docker build -t my-node-app .# 2. Run a container from the image# -p 8080:3000: Map host port 8080 to container port 3000# -d: Run in detached modedocker run -d -p 8080:3000 my-node-app
Now your Node.js app is running in a container and accessible at http://localhost:8080.
Pro Tips for Optimizing Dockerfiles 💡
Writing a working Dockerfile is one thing; writing an optimized one is another. Here are tips to make your images smaller, builds faster, and containers more secure.
Use .dockerignore
Like .gitignore, a .dockerignore file lets you exclude unnecessary files and folders (like node_modules, .git, logs, etc.) from the build context. This reduces image size and speeds up builds.
Docker builds images in layers, one per instruction. If a layer hasn’t changed, Docker reuses it from cache.
Tip: Order instructions from least to most frequently changed.
Wrong ❌:
Dockerfile
COPY . .RUN npm install
(Any code change triggers both COPY and npm install again)
Right ✅:
Dockerfile
COPY package*.json ./RUN npm installCOPY . .
(npm install only reruns if package.json changes; code changes don’t trigger it.)
Reduce Image Size with Multi-stage Builds
A powerful technique: use a "fat" image with all build tools (the builder stage), then copy only the final build artifacts to a "slim" image for production (the final stage).
Result? The final image contains only Nginx and the built static files—no Node.js or node_modules—shrinking the image from hundreds of MB to just a few dozen.
Security: Run as Non-root User 🛡️
By default, containers run as root, which is a security risk. Create a dedicated user and switch to it.
Dockerfile
...# Create a user and groupRUN addgroup -S appgroup && adduser -S appuser -G appgroup# Switch to the new userUSER appuser...CMD ["node", "src/index.js"]
Conclusion: Dockerfile is More Than Just a Config File
A Dockerfile is more than just a config file—it’s a declaration of how your app is built and run. By mastering the core instructions, applying optimization techniques, and always thinking about performance and security, you can create perfect Docker images as a solid foundation for any system.
Learn the basic Docker commands to run containers effectively. This article guides you step-by-step through using docker run, docker ps, and other important options.
Master Docker networking to optimize performance and security for your applications. A detailed guide on creating and configuring networks, helping you connect containers easily and efficiently.
What is Docker and why is it important for developers? This article explains Docker in the most detailed and easy-to-understand way, helping you get familiar with Docker from the very basics.
![[Docker Basics] Docker Hub: How to Store and Manage Docker Images Professionally](/images/blog/what-is-docker-hub.webp)
![[Docker Basics] Essential Commands to Run Docker Containers](/images/blog/how-to-run-docker-container-thumbnail.webp)
![[Docker Basics] Docker Networking: A Guide to Container Connectivity](/images/blog/learn-about-docker-networking.webp)
![[Docker Basics] What is Docker? How has it changed the programming world?](/images/blog/what-is-docker.webp)