You've poured your heart into writing a 2000-word blog post with exceptional, unique content. You're confident it will make waves on Google. But then... your post gets buried among thousands of other results. Traffic trickles in. Rankings barely move.
You've checked everything: keywords, title, meta description... but you've unintentionally overlooked an extremely important "character," a secret weapon that can change the game: Images.
That's right! In today's SEO world, image optimization is no longer optional but mandatory. It doesn't just make your content more vibrant and appealing, but it's also a "magical door" to attract massive traffic from Google Images and significantly improve overall rankings.
In this article, we'll thoroughly examine how to optimize images for SEO from A to Z. Get ready to transform static images into "traffic-pulling machines" that drive growth for your website!
Why Is Image Optimization So Important? "Seeing" Isn't Enough!
Many people mistakenly believe images are just "decoration" to make things pretty. Wrong! For both Google and users, images carry much more significance:
- Improved User Experience (UX): A text-only article can be extremely boring. Images, charts, and infographics help break down content, making articles easier to read, understand, and keeping users on your page longer – an extremely positive SEO signal.
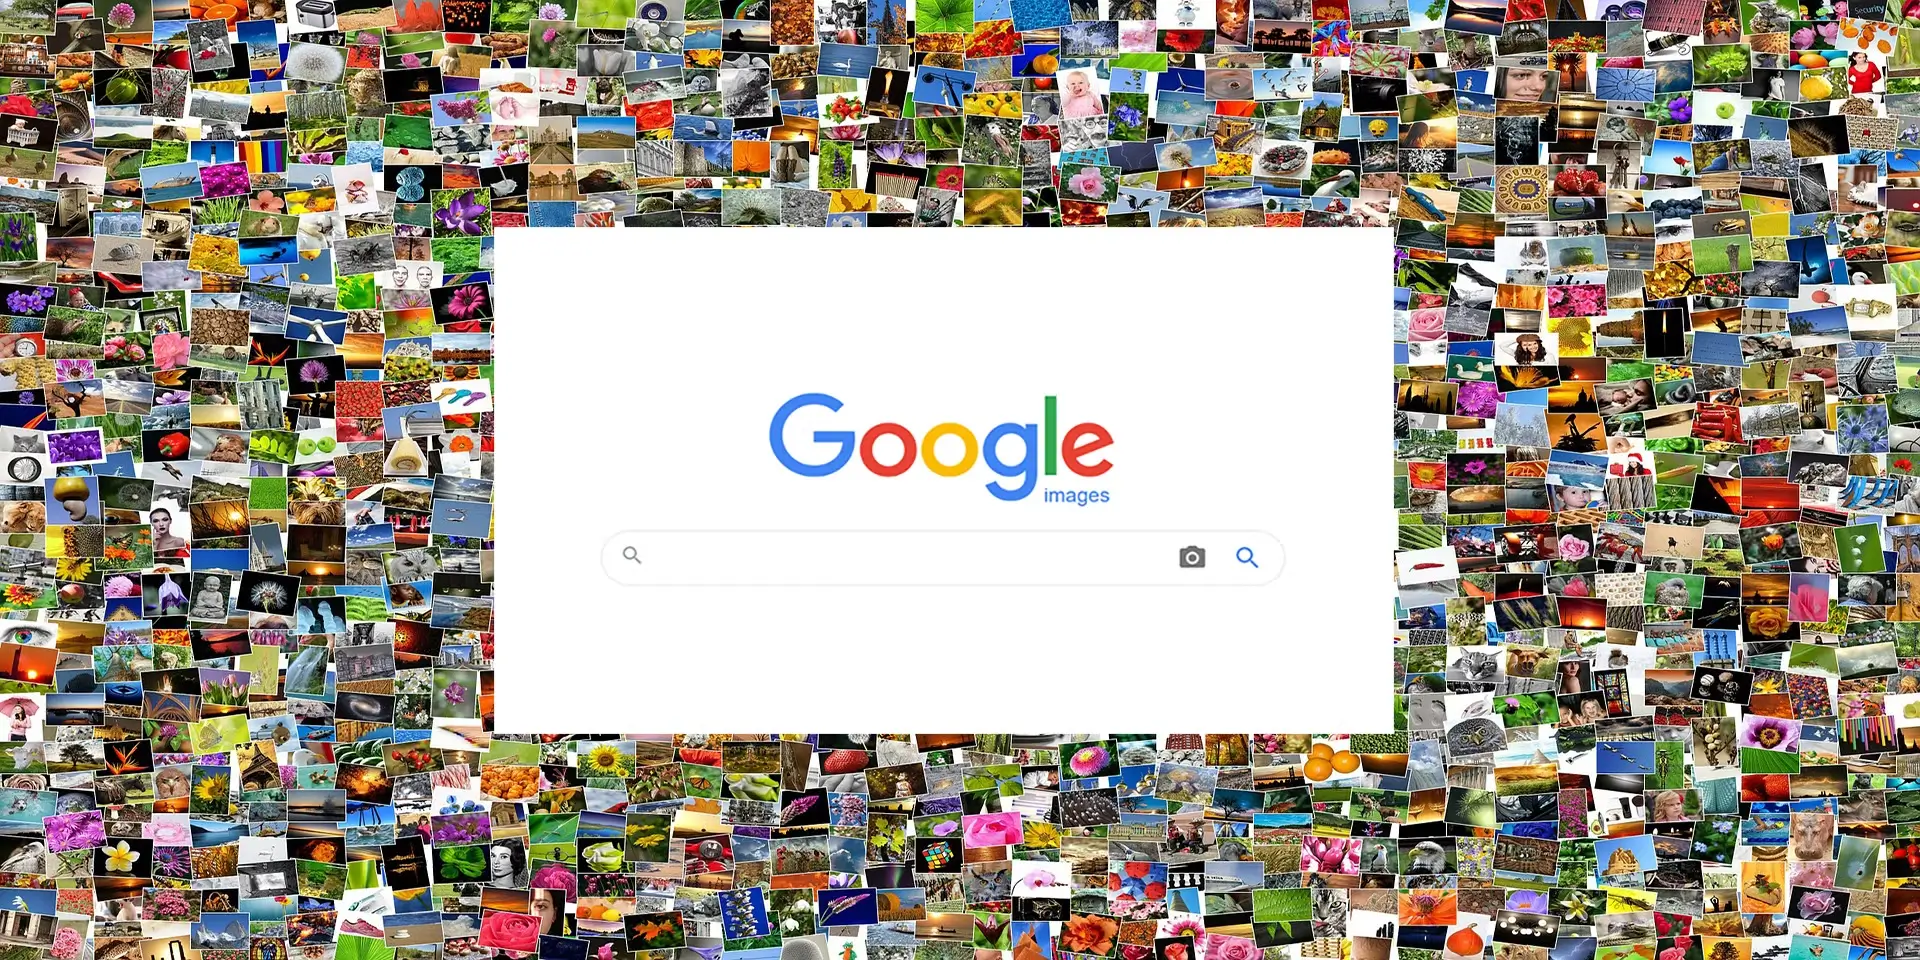
- Traffic "Gold Mine" from Google Images: Google Images is a massive search engine. When your well-optimized images rank high in image search, you'll receive direct, high-quality traffic that competitors might be missing out on.
- Context for Googlebot: Google doesn't "see" images like we do. It "reads" information related to images (file names, alt tags, etc.) to understand the content of both the image and the entire webpage. Well-optimized images help Google better understand your topic.
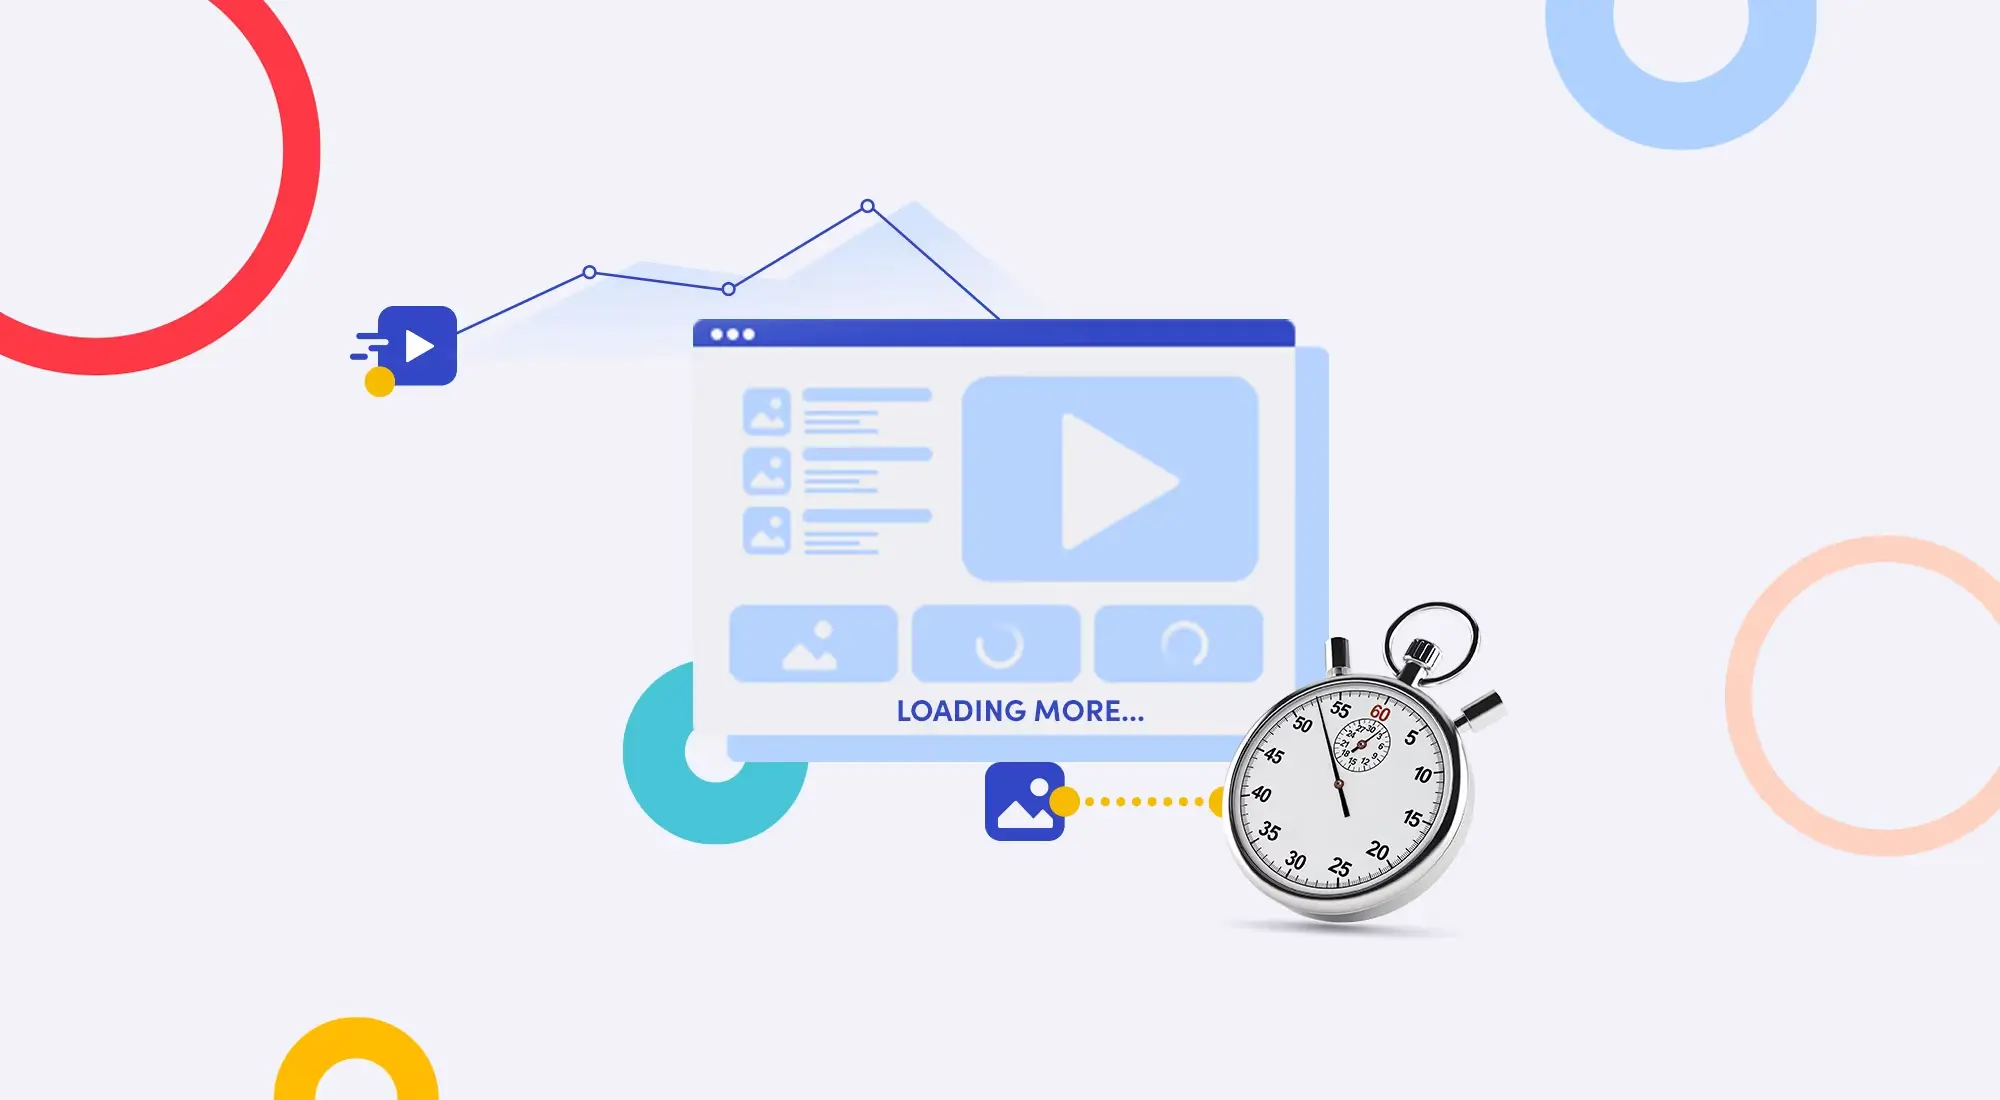
- Increased Page Load Speed: It may sound counterintuitive, but optimizing images (especially compression) is one of the most effective ways to reduce page size and help websites load faster. And as you know, speed is king in SEO!
So how do you "transform" your images to become SEO-friendly? Let's follow these 10 golden steps.
Detailed Step-by-Step Guide to SEO Image Optimization (2025 Checklist)
Step 1: Select Appropriate & Original Images
Before thinking about technique, start with the basics: image content.
- Relevance: Images must be directly related to the surrounding content. Don't post a cute cat picture in an article about "financial analysis."
- High quality: Images must be clear, not pixelated. Image quality reflects your professionalism.
- Prioritize originality: If possible, take your own photos or design your own images (infographics, charts). Google loves original content, and images are no exception. If using stock photos, edit them to create something unique.
Step 2: Name Your Image Files – Don't Skip "The Name That Says It All"
This is the most common mistake. Never upload an image file named IMG_8888.jpg or Screenshot-2025-06-26.png.
Give your file a descriptive name that contains your main keyword, with no accents and words separated by hyphens.
- Poor:
screenshot-1.png - Good:
image-seo-optimization.jpg - Excellent:
guide-to-image-seo-optimization-website-speed.jpg
Step 3: Choose the Right Image Format
Each image format serves a specific purpose. Choosing correctly helps balance quality and file size.
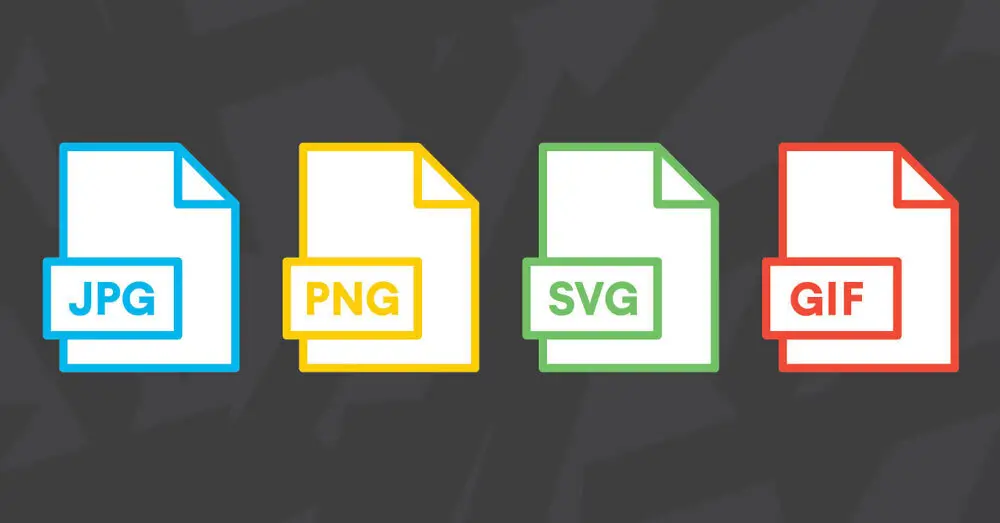
- JPEG (.jpg): Best choice for most photographs and images with many colors. It allows good compression while maintaining relatively good quality.
- PNG (.png): Ideal for logos, icons, and images requiring transparent backgrounds. Higher quality than JPEG but larger file size.
- WebP (.webp): The "rising star" developed by Google. WebP provides superior compression compared to JPEG and PNG at the same quality level. Most modern browsers now support WebP. This is the most recommended format for SEO.
- SVG (.svg): For vector logos and icons. SVG can scale infinitely without pixelation and has extremely small file sizes.
Step 4: Compress Images – "Slim Down" to Speed Up
This is the MOST IMPORTANT step. Large image files are "silent killers" that slow down your website. The goal is to reduce file size (measured in KB) to the lowest possible level without significantly affecting display quality.

Online image compression tools:
- VnnTools (powerful and completely free)
- TinyPNG / TinyJPG (popular and easy to use)
- Squoosh (by Google, with advanced options)
- ShortPixel
WordPress Plugins:
- Smush
- ShortPixel Image Optimizer
- Imagify
Tip: A typical blog image should be under 150KB, ideally under 100KB.
Step 5: Optimize Alt Tags (Alt Text) – Google's "Eyes"
Alt tags (alternative text) are short text descriptions of image content. They serve 2 main purposes:
- Display when images fail to load.
- Important for SEO: Help search engines and visually impaired users (using screen readers) understand what the image shows.
How to write SEO-friendly alt tags:
-
Accurately and concisely describe the image content.
-
Naturally include main or related keywords.
-
Don't stuff keywords!
-
HTML:
<img src="image-seo-optimization.jpg" alt="An expert optimizing images for SEO on computer"> -
Poor:
alt="image, image optimization, image seo, seo image" -
Good:
alt="Step-by-step guide to image SEO optimization"
Step 6: Image Captions – Increase Engagement
Captions are short descriptions that appear directly under images. While not directly impacting SEO like alt tags, captions are highly read by users. A good caption can provide additional information, context, or a call to action, helping increase page engagement.
Step 7: Display Dimensions (Image Dimensions)
Ensure you upload images with dimensions (width x height, measured in pixels) appropriate for their display area on your website. For example, if your article area is maximum 800px wide, don't upload a 4000px-wide image and use code to shrink it. This forces browsers to load an unnecessarily "oversized" file, wasting bandwidth and slowing down the page.
Step 8: Leverage Lazy Loading
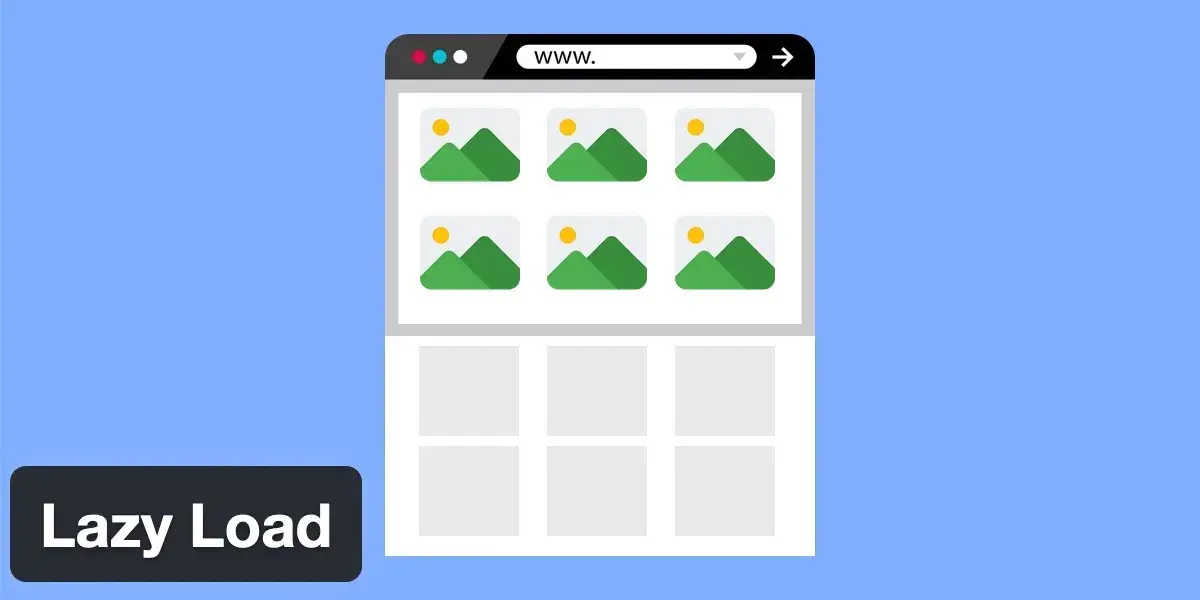
Lazy Loading is a technique that only loads images when users scroll to their position. This significantly improves initial page load speed, especially for long pages with many images. Most modern website platforms (like WordPress) have this feature built-in.
Step 9: Create an Image Sitemap
If your website has many important images (e.g., portfolio pages, product pages), creating an Image Sitemap will help Google discover and index them more easily.

Popular SEO plugins like Yoast SEO and Rank Math typically have features to automatically generate these sitemaps.
Step 10: Use Structured Data
For special types of images like products, recipes, videos, etc., adding Schema Markup (structured data) helps Google understand more deeply and potentially display your images as "rich snippets" (diverse search results) that stand out and attract more clicks.
Fatal Mistakes to Avoid When Optimizing Images
- Using copyrighted images: Never randomly take images from Google without permission. Use free image sources (Pexels, Unsplash) or purchase images from paid sites.
- Leaving alt tags empty: This is the most serious mistake.
- Keyword stuffing: Don't try to indiscriminately stuff keywords into file names and alt tags. Keep it natural.
- Ignoring file size: A multi-MB image can ruin all your SEO efforts.
Conclusion
SEO image optimization isn't complicated, but it requires attention to detail and persistence. It's a perfect blend of art and technique, satisfying both users and search engines.
Don't underestimate the power of images. Start applying this checklist today. Step by step, you'll see positive changes not only in keyword rankings but also in traffic and user engagement on your website. Good luck on your journey to conquer the SEO summit!


![How to Optimize iPhone Photos: Capture & Edit Stunning Pictures [2025]](/images/blog/optimized-images-on-iphone.webp)