In the modern programming world, Git has become an indispensable tool, and the "branch" concept is one of its core strengths. Understanding and mastering branch operations will help you manage projects scientifically, collaborate effectively, and experiment with new ideas without affecting the project's main line.
This article is your guide, leading you from the most basic concepts to confidently practicing essential branch operations.
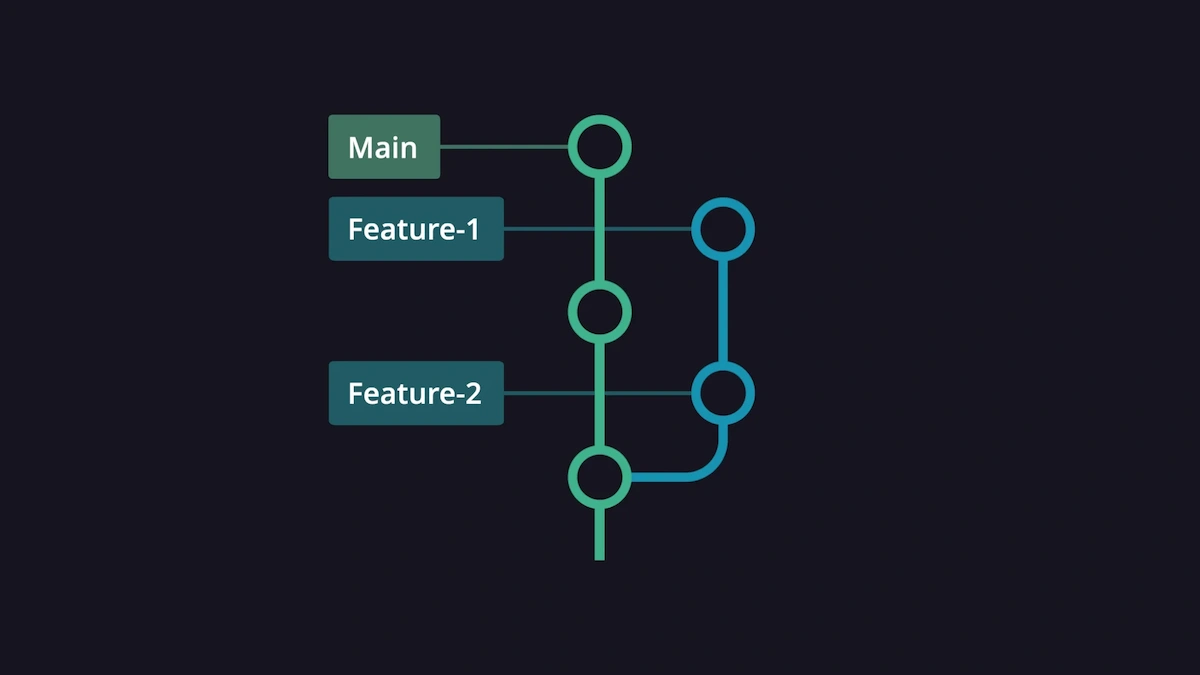
Basic Operations with Git Branch
Below are the commands you'll use daily when working with branches.
View List of Branches
Before doing anything, you need to know which branches you have and where you are.
git branch
This command lists all branches in your local repository. The branch you are currently on (HEAD) will be marked with an asterisk * and is usually green.
To see all branches, including remote branches, add the -a flag:
git branch -a
Create a New Branch
When you want to start a new task, create a new branch. The syntax is simple:
git branch <branch-name>
Example: Create a branch for developing a login feature.
git branch feature/login
Note: This command only creates the branch but does not switch you to it. You are still on your current branch.
Switch Between Branches
To start working on a newly created or existing branch, you need to "jump" to it.
Use the git checkout command:
git checkout <branch-name>
Example: Switch to the feature/login branch you just created.
git checkout feature/login
⭐ Pro Tip: You can combine creating and switching to a branch in one step with the -b flag:
git checkout -b <new-branch-name>
Example: Create and switch to a branch to fix a UI bug.
git checkout -b hotfix/ui-bug
In newer versions of Git, the git switch command was introduced to make branch switching clearer:
git switch <branch-name>
Merging Branches
After finishing your work on a branch (e.g., a feature is done, a bug is fixed), the next step is to integrate those changes into the main branch (usually main or develop). This process is called merge.
Steps:
-
Switch to the target branch: First,
checkoutthe branch you want to receive the changes.git checkout main -
Perform the merge: Run
git mergewith the name of the branch containing the changes.git merge feature/login
Git will try to merge the changes automatically. If the changes on both branches do not conflict (i.e., they don't modify the same lines), the merge will go smoothly.
Handling Merge Conflicts: Sometimes, Git cannot decide which changes to keep when both branches modify the same code. This is called a merge conflict. You need to resolve it manually:
- Git will mark the conflicted files.
- Open those files; you'll see specially marked code blocks (
<<<<<<<,=======,>>>>>>>). - Decide which code to keep or combine them, then remove the Git markers.
- After resolving, use
git addto mark the conflict as resolved, and finallygit committo complete the merge.
Delete a Branch
When a branch has been successfully merged and is no longer needed, you should delete it to keep your repository clean.
Delete a local branch:
git branch -d <branch-name>
The -d flag (short for --delete) is a safe option. Git will only let you delete the branch if it has been merged into the current branch.
If you are sure you want to delete a branch even if it hasn't been merged (be careful!), use the -D flag:
git branch -D <unmerged-branch-name>
Delete a remote branch (e.g., on GitHub):
git push origin --delete <branch-name>
2. Sample Workflow
Imagine a common workflow in practice:
-
Start your workday:
git checkout main(Switch to the main branch).git pull origin main(Update to the latest version from remote).
-
Start a new task (e.g., feature X):
git checkout -b feature/X(Create and switch to a new branch).
-
Work and commit:
- Write code, change files...
git add .git commit -m "Add feature X part 1"- (Repeat this process as needed).
-
Finish and merge:
git checkout main(Switch back to the main branch).git pull origin main(Make sure your main branch is up to date).git merge feature/X(Merge changes from the feature branch).- (If there are conflicts, resolve them).
-
Push to remote and clean up:
git push origin main(Push the updated main branch to the server).git branch -d feature/X(Delete the local branch you no longer need).git push origin --delete feature/X(Delete the remote branch).
Mastering this workflow will help you work professionally and efficiently. Good luck conquering Git!
![[Git Basics] Git Repository: The Essential Foundation for Source Code Management](/images/blog/what-is-git-repository-thumbnail.webp)
![[Git Basics] What is a Git Branch? Mastering Branches in Git](/images/blog/what-is-git-branch-thumbnail.webp)
![[Git Basics] What is a Remote Repository? Everything You Need to Know](/images/blog/what-is-remote-repository-thumbnail.webp)
![[Git Basics] Understanding the File Life Cycle in Git: 3 States You Need to Know](/images/blog/file-life-cycle-in-git-thumbnail.webp)