Hey fellow coders! Surely you've scratched your head more than once, wondering: "I clearly coded this button to be blue, so why is it stubbornly showing red?". Don't worry, you're not alone. This is a classic problem that almost everyone working with CSS has encountered. The main culprit is a concept that sounds dry but is extremely important: CSS Precedence (also known as CSS Specificity).
This article will break down this issue in the most understandable way, helping you master the game and no longer have to "guess" which style the browser will apply.
Why should you care about precedence?
Imagine you're building a house. Multiple teams are involved: the wall painting team, the door installation team, the electrical wiring team. Each team has their own blueprint. Without a "chief architect" to decide which one goes first, which one is more important, your house will become a mess.
In the CSS world, the browser is that "chief architect". When you write different CSS code blocks to style the same HTML element, the browser needs a clear set of rules to decide whose advice to "listen" to. That set of rules is precedence.
Understanding it will help you:
- Code more accurately: Write it right the first time, no more back-and-forth fixes.
- Debug faster: When you encounter display issues, you'll know exactly where to look.
- Write cleaner, more maintainable code: Avoid having to use "forced" styling methods recklessly.
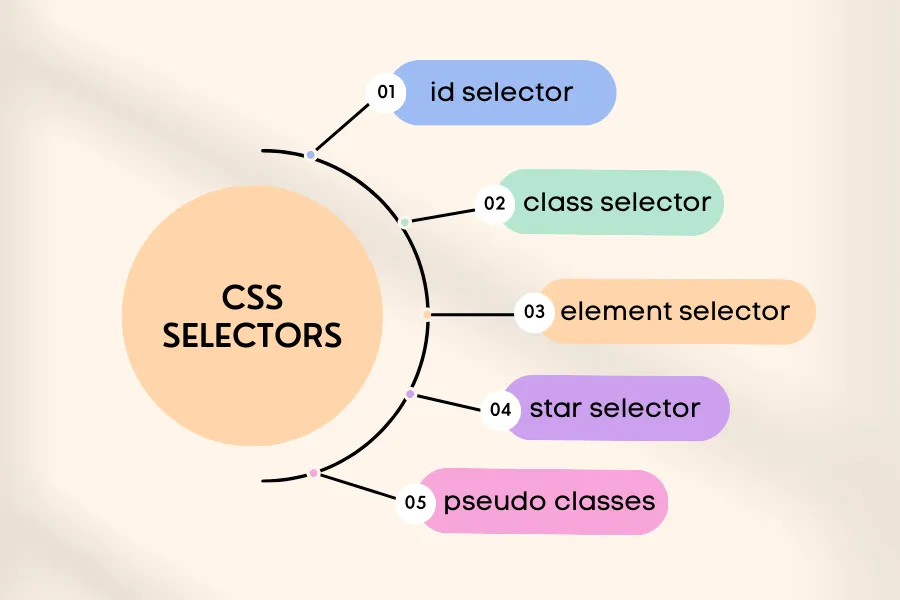
The rules of CSS precedence
The browser decides precedence based on a quite logical scoring system. Just remember the order from high to low as follows.
1. Important - The absolute boss
This can be considered the "trump card", the "supreme power". When you add !important to the end of a CSS property, it will almost immediately get the highest priority, regardless of all other rules.
p {
  color: blue !important; /* I will be blue, no matter what else you write! */
}

#special-paragraph {
  color: red;
}
Even though the <p> tag has an ID of special-paragraph (and IDs usually have very high priority), it will still display blue because of !important.
But wait! While it sounds cool, overusing !important is an extremely bad habit. It's like using "jungle law" to solve problems. It breaks the entire natural order of CSS, making maintenance and debugging later become a nightmare. Only use it when you really have no other choice, such as when you need to override a style from an external library that you can't intervene in the original code.
2. Inline Style - Writing directly into HTML tags
This is when you write CSS directly into the style attribute of an HTML tag. This method has very high priority, second only to !important.
<p style="color: green;">This paragraph will definitely be green.</p>
Even if you define colors for the <p> tag in an external CSS file using ID or class, this inline style will still win.
When should you use it? This method is useful in some specific cases, such as when you want to apply dynamic styling with JavaScript, or for HTML emails (because many email clients don't support external CSS files well). Otherwise, limit its use because it mixes HTML and CSS code, making it difficult to manage.
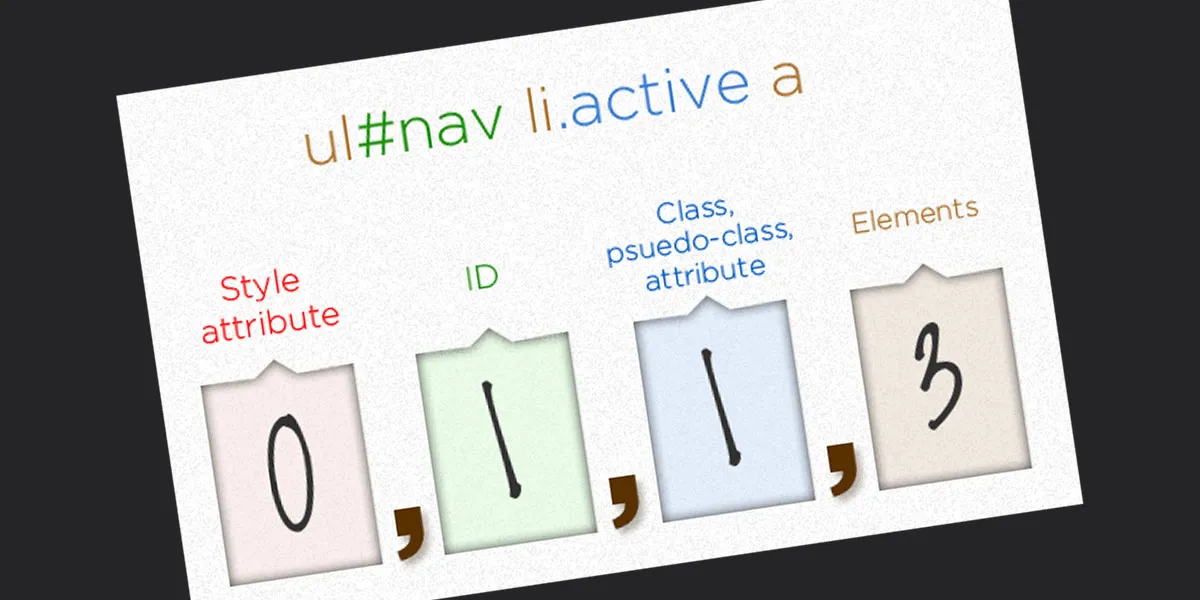
3. Selectors - The scoring race
This is the most important and common part. The browser will "score" each of your selectors to decide which one is stronger. Just remember this simple scoring rule:
- ID
#: 100 points - The "big brother" among selectors. Each ID is unique on a page, so it has very high specificity. - Class
., attributes[ ], and pseudo-classes:hover, :first-child...: 10 points - This group is flexible and most commonly used. - Tag names
p, div, h1...and pseudo-elements::before, ::after...: 1 point - The most basic group, with the lowest priority.
How to calculate points:
The browser will add up the points of the components in your selector. Whoever has higher points wins.
Easy-to-understand example:
/* ---- SELECTORS ---- */

#main-content p {
  color: purple; /* Points: 100 (ID) + 1 (p) = 101 points */
}

div.content p {
  color: orange; /* Points: 1 (div) + 10 (class) + 1 (p) = 12 points */
}

.content p {
  color: brown; /* Points: 10 (class) + 1 (p) = 11 points */
}

p {
  color: gray; /* Points: 1 point */
}
In this case, even if you write p { color: gray; } at the last line, the <p> text inside the element with ID main-content will still be purple because its selector has the highest score (101 points).
What if the points are equal? If two selectors have the same score, then the last rule wins. That is, whichever CSS the browser reads last will be applied.
.highlight {
  color: blue; /* Read first */
}
.highlight {
  color: red; /* Same points, but read later -> Wins! */
}
The element with class highlight will be red.
4. Inheritance - Passing down
Some CSS properties have the ability to "inherit" from parent elements to child elements.
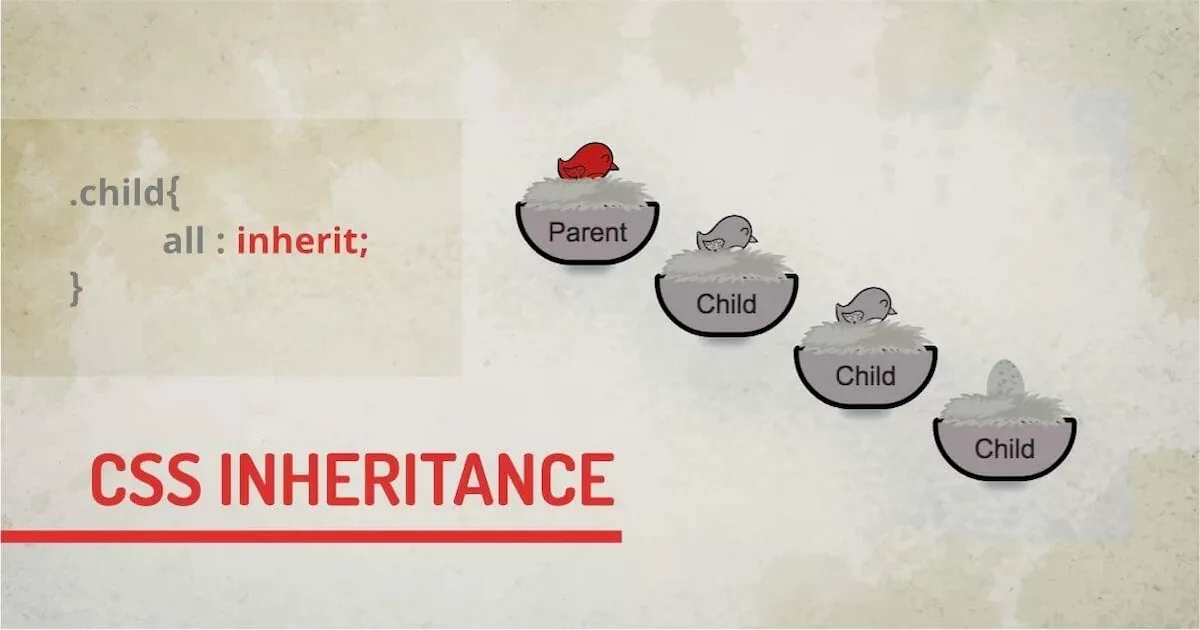
For example, if you set color, font-family, font-size for the <body> tag, then all child tags inside like <p>, <h1>, <li>... will automatically inherit those properties without you having to write them again.
<body style="color: #333; font-family: Arial;">
  <h1>This is a heading</h1>
  <p>This is a paragraph.</p>
</body>
However, inheritance has very low priority. Any rule you write directly for a child element, such as p { color: blue; }, will immediately override the inherited value.
Summary with a diagram
To make it easy to learn and remember, just imagine precedence order like a waterfall (CSS stands for Cascading Style Sheets after all), water flows from top to bottom, the one on top has greater power:
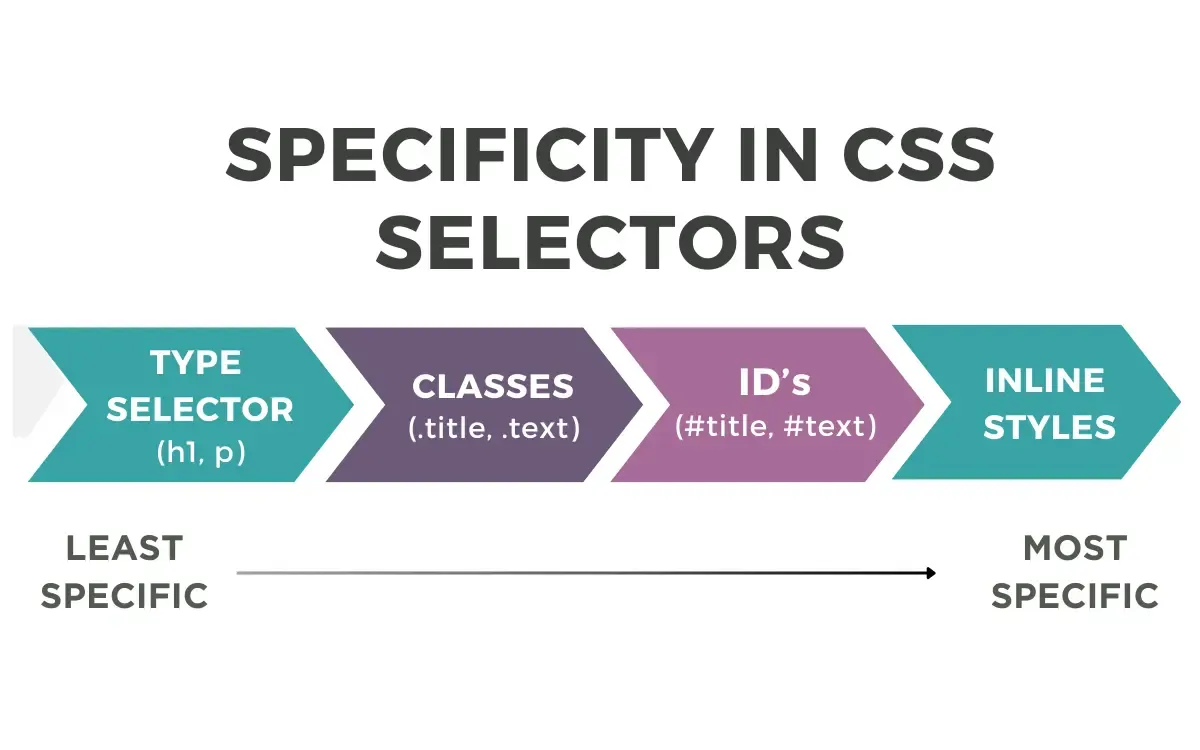
- Important (Strongest water source)
- Inline Styles (Written directly in HTML tags)
- Selectors (Scoring):
- ID
# - Class
., Attribute[ ], Pseudo-class: - Element
p, Pseudo-element::
- ID
- Last rule (If points are equal)
- Inheritance (Values from parent tags)
- Browser default styles (Weakest)
Practical advice
- Write CSS from general to specific: Start with general styles for
body,p,h1, then move to specificclasses, and finally useIDif needed. - Prefer using Classes: Classes are the most flexible and reusable way. Get into the habit of using classes to style instead of overusing IDs.
- Stay away from Important: Only pull out this "trump card" when you really, really need it.
- Use browser tools: "Inspect Element" (or press F12) on Chrome, Firefox is your best friend. It shows you exactly which styles are being applied to an element and which ones are being overridden.
Hopefully through this article, you guys have a clearer and more "absorbed" understanding of CSS precedence. Mastering this rule, you'll find writing CSS becomes much more logical and interesting, no longer a game of chance.
Happy coding, everyone!
![[React Basics] Mastering the Most Important Design Patterns](/images/blog/react-design-patterns.webp)
![[React Basics] The Most Effective Way to Build Nested Routes in React](/images/blog/nested-routes-in-react.webp)
![[React Basics] Effective and Optimal Styling in React](/images/blog/styling-in-react.webp)