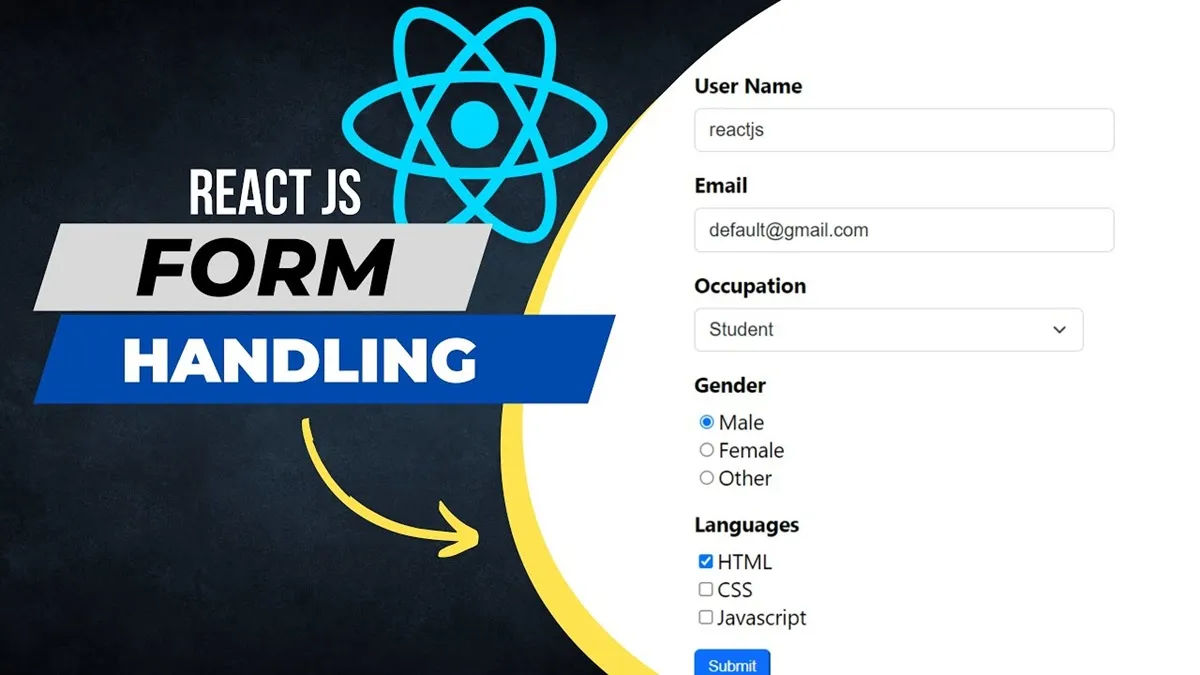
Whether you’re building a simple login form or a complex product configuration page, form handling is an essential skill for any React developer. Forms are the most important bridge between your users and your app.

However, React handles forms a bit differently from traditional HTML. Instead of letting the DOM manage state, React encourages us to use component state as the "single source of truth."
In this article, we’ll dive deep into every aspect of form handling in React, from the most fundamental concepts to professional libraries that help you work more efficiently.
1. Core Foundation: Controlled vs. Uncontrolled Components
In React, there are two main philosophies for managing form data. Understanding the difference is key to writing effective, maintainable code.

Controlled Components 💡
This is the recommended and most popular approach in React.
-
Idea: The state of input elements (
<input>,<textarea>,<select>) is fully controlled by React state. Any user change updates the state, and the state determines what’s displayed in the UI. -
How it works:
- Use
useStateto store the input value. - Assign this value to the input’s
valueprop. - Create an
onChangehandler to update state on every keystroke.
- Use
-
Classic example: A simple login form
import React, { useState } from 'react' function LoginForm() { // 1. Use state to store the value const [username, setUsername] = useState('') const handleChange = (event) => { // 3. Update state on every change setUsername(event.target.value) } const handleSubmit = (event) => { event.preventDefault() // Prevent page reload alert(`Your username is: ${username}`) } return ( <form onSubmit={handleSubmit}> <label> Username: {/* 2. Assign state to 'value' prop */} <input type="text" value={username} onChange={handleChange} /> </label> <button type="submit">Submit</button> </form> ) } -
Advantages:
- Single source of truth: Form data and component state are always in sync.
- Easy validation: You can check and display errors instantly in the
onChangehandler. - High control: You can format data (e.g., allow only numbers) or disable the submit button flexibly.
Uncontrolled Components
-
Idea: Unlike controlled components, here the DOM manages the input state. React only "asks" the DOM for the value when needed (usually on form submit).
-
How it works: Use
useRefto create a direct reference to the input DOM element. When you need the value, access it viaref.current.value. -
Example:
import React, { useRef } from 'react' function UncontrolledForm() { // 1. Use useRef to reference the DOM const inputRef = useRef(null) const handleSubmit = (event) => { event.preventDefault() // 2. Get value directly from DOM on submit alert(`Entered value: ${inputRef.current.value}`) } return ( <form onSubmit={handleSubmit}> <label> Your name: <input type="text" ref={inputRef} /> </label> <button type="submit">Submit</button> </form> ) } -
When to use?
- Extremely simple forms with no instant validation.
- Integrating with non-React libraries.
- When performance is a top priority and you want to avoid re-rendering on every keystroke (though this is rarely an issue).
Tip: Always prefer Controlled Components. They make your code more predictable, manageable, and in line with React’s philosophy.
2. Handling Common Form Scenarios
As forms get more complex, you’ll need these techniques:
Managing multiple inputs
Instead of creating a state for each input, use a single state object and a shared onChange handler.
function RegistrationForm() {
  const [formData, setFormData] = useState({
    username: '',
    email: '',
    password: '',
  })

  const handleChange = (event) => {
    const { name, value } = event.target
    setFormData((prevFormData) => ({
      ...prevFormData,
      [name]: value, // Use computed property name to update the right field
    }))
  }

  // ... handleSubmit ...

  return (
    <form>
      <input
        type="text"
        name="username" // 'name' attribute is important!
        value={formData.username}
        onChange={handleChange}
      />
      <input
        type="email"
        name="email"
        value={formData.email}
        onChange={handleChange}
      />
      <input
        type="password"
        name="password"
        value={formData.password}
        onChange={handleChange}
      />
    </form>
  )
}
Other input types
Besides simple inputs, you’ll often need other types:
- Textarea: Just like
<input type="text">, use thevalueprop.<textarea value={value} onChange={handleChange} /> - Select (Dropdown): Assign
valueto the<select>tag, notselectedon<option>.<select value={selectedValue} onChange={handleChange}> <option value="volvo">Volvo</option> <option value="saab">Saab</option> </select> - Checkbox and Radio: Use the
checkedprop instead ofvalueto control state.<input type="checkbox" name="isFriendly" checked={isChecked} onChange={handleCheckboxChange} />
3. Form Validation: Handling Simple Cases
Validation is the "soul" of a good form. You can do manual validation right in the component.
-
Simple validation:
function PasswordForm() {
  const [password, setPassword] = useState('')
  const [error, setError] = useState('')

  const handlePasswordChange = (e) => {
    const newPassword = e.target.value
    setPassword(newPassword)
    if (newPassword.length < 8) {
      setError('Password must be at least 8 characters.')
    } else {
      setError('')
    }
  }

  return (
    <>
      <input
        type="password"
        value={password}
        onChange={handlePasswordChange}
      />
      {error && <p style={{ color: 'red' }}>{error}</p>}
    </>
  )
}
But as validation logic gets more complex, manual management becomes cumbersome. That’s when you need libraries to help.
4. Professional Form Libraries 🛠️
Writing state, change, and validation logic over and over is time-consuming. Libraries solve this, letting you focus on UI and business logic.
The two most popular and powerful libraries today are React Hook Form and Formik.
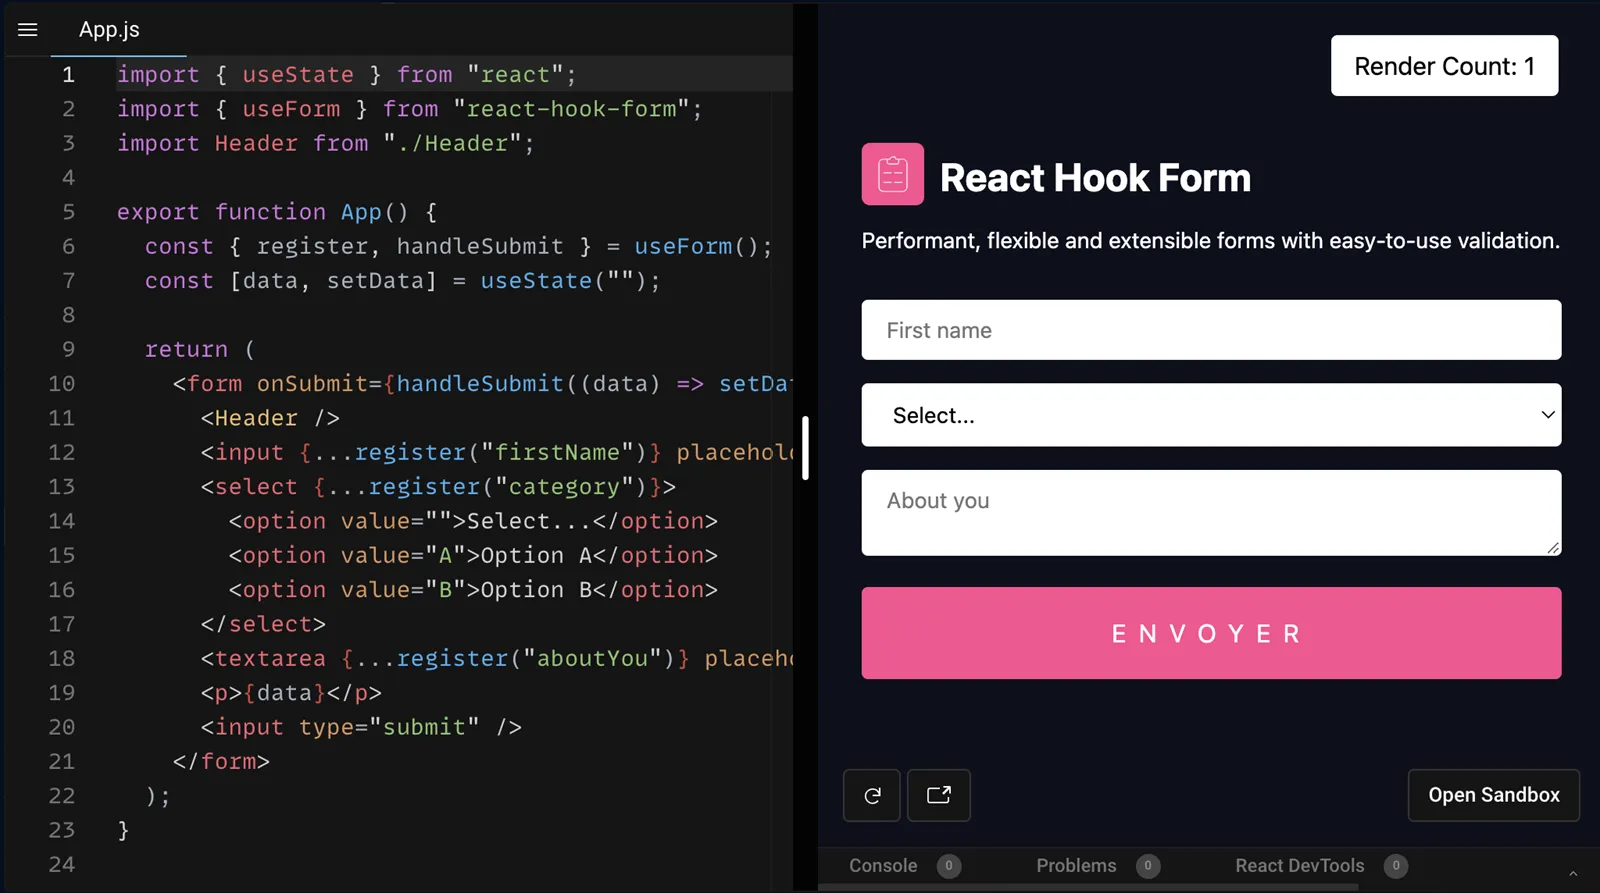
React Hook Form
A rising star, loved for its high performance and concise syntax, making the most of Hooks.

-
Strengths:
- Outstanding performance: Minimizes unnecessary re-renders by using
ref(like Uncontrolled) but still provides a powerful API (like Controlled). - Easy to use: Intuitive hook syntax, easy to learn.
- Easy integration: Works smoothly with validation schema libraries like Yup or Zod.
- Outstanding performance: Minimizes unnecessary re-renders by using
-
Example with React Hook Form + Yup:
import { useForm } from 'react-hook-form'
import { yupResolver } from '@hookform/resolvers/yup'
import * as yup from 'yup'

// 1. Define validation schema
const schema = yup
  .object()
  .shape({
    email: yup
      .string()
      .email('Invalid email')
      .required('Please enter your email'),
    password: yup
      .string()
      .min(8, 'Password too short')
      .required('Please enter your password'),
  })
  .required()

function MyForm() {
  const {
    register,
    handleSubmit,
    formState: { errors },
  } = useForm({
    resolver: yupResolver(schema), // 2. Integrate resolver
  })

  // 4. Handle valid form submission
  const onSubmit = (data) => console.log(data)

  return (
    // 3. Attach handleSubmit
    <form onSubmit={handleSubmit(onSubmit)}>
      <input {...register('email')} />
      <p>{errors.email?.message}</p> {/* Show error */}
      <input type="password" {...register('password')} />
      <p>{errors.password?.message}</p>
      <input type="submit" />
    </form>
  )
}
See how much cleaner the code is? No more
useState, no more manualonChange!
Formik
A veteran library, very stable with a large community. Formik provides a complete toolkit for managing state, events, and validation.

- Strengths:
- Comprehensive: All-in-one solution.
- Proven and stable: Used in many large projects.
- Great documentation.
Conclusion: Form Handling in React Isn’t Hard
Hopefully, this article has given you a comprehensive and deep look at form handling in React. Now you’re equipped to build powerful, flexible, and user-friendly forms.
Here’s a quick summary:
- Start with Controlled Components: This is the foundational knowledge you must master.
- For complex forms: Don’t hesitate to use a library. It will save you lots of time and effort.
- Which library to choose?
- React Hook Form is the top choice for new projects due to its performance and modern syntax.
- Formik is still a great option, especially if you’re familiar with it or need a time-tested solution.
- Don’t forget user experience: Always provide clear feedback (error messages, loading states, etc.) to help users interact with your forms easily.
Good luck on your React journey!
![[React Basics] Rendering Lists in React: Best Practices and Performance Optimization](/images/blog/rendering-lists-in-react.webp)
![[React Basics] React Handling Events: Effective and Optimal Approaches](/images/blog/react-handling-events.webp)
![[React Basics] Understanding React.memo: When to Use It and When Not To?](/images/blog/react-memo.webp)
![[React Basics] Dynamic Routes in React: The Secret to Building Flexible Apps](/images/blog/dynamic-routes-in-react.webp)