You've spent hours, maybe weeks, perfecting every component, optimizing every line of code, and finally, your React "masterpiece" is running smoothly on localhost:3000. It feels amazing! But... how do you let the world see it? How do you send a link to friends, employers, or clients?
The answer is Deploy.
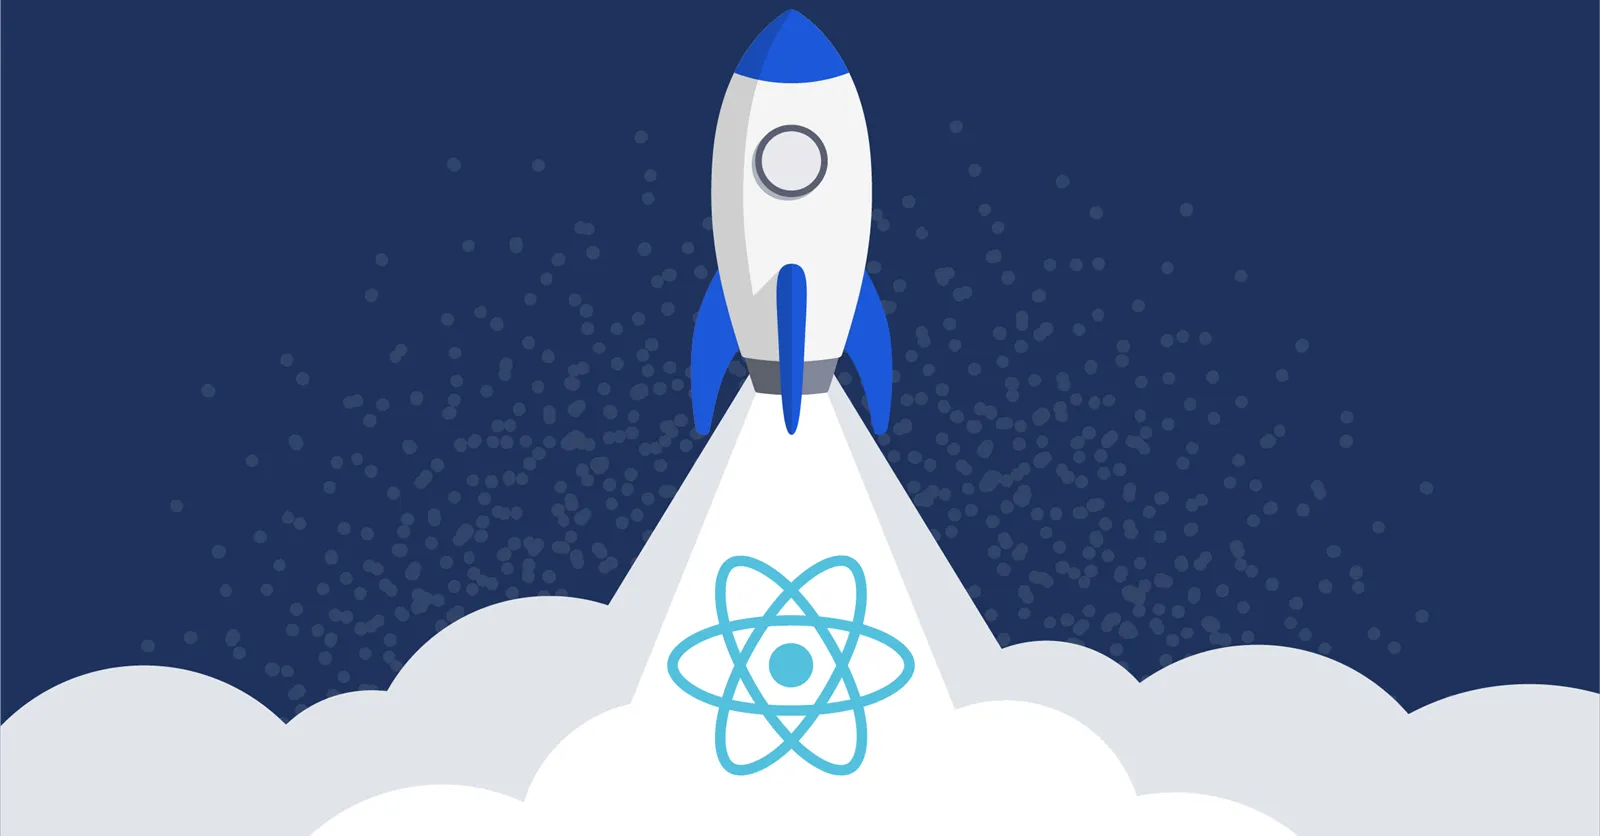
Deploying isn't a fancy term—it simply means taking your app from your personal computer to a server on the Internet so anyone can access it. This article will help you turn your app from "house number 3000 on Localhost Street" into a real address on the digital world map. 🚀
Step 0: Prepare Before Takeoff
Before launching, make sure your app is neatly packaged and ready for production.
1. Build Your App for Production
When you run npm start, you're in development mode. This is great for coding, but it's bulky and slow. For deployment, you need an optimized version.
Open your terminal in the project folder and run:
npm run build
or if you use Yarn:
yarn build
What does this do? It "compiles" all your React, JSX, and CSS code and bundles it into a new folder called build (or dist). This folder contains static, minified, and optimized HTML, CSS, and JavaScript files, ready to serve to end users. This build folder is what you'll deploy.
2. Manage Environment Variables
Never hard-code sensitive information in your code. Instead, use environment variables.
- Create a file named
.envin your project root. - Declare variables with the
REACT_APP_prefix. Example:REACT_APP_API_URL=https://api.example.com - In your code, access them via
process.env.REACT_APP_API_URL. - Important: Add
.envto your.gitignoreso you don't push sensitive info to Git. Most deployment platforms have a place to configure these variables for production.
Popular Deployment Paths: From Easiest to Most Advanced
There are many ways to deploy a React app. Let's start with the simplest and most popular methods.
1. Static Site Hosting Platforms
This is the easiest, fastest, and often free way to deploy React apps without a complex backend (e.g., portfolios, blogs, landing pages, or apps that use external APIs). The idea is you just "throw" your build folder up and the platform handles the rest.
Top players in this space:
- Vercel (Recommended): Extremely powerful, user-friendly, created by the makers of Next.js. Deployment is just a few clicks.
- Netlify: Similar to Vercel, very popular with a strong ecosystem (serverless functions, forms, authentication).
- GitHub Pages: Integrated with GitHub, a great choice for open-source projects.
How to deploy with Vercel (just 2 minutes):
- Push your code to GitHub/GitLab/Bitbucket: Make sure your project is on one of these platforms.
- Sign up/log in to Vercel: Use your GitHub account for convenience.
- Create a new project:
- On the Vercel dashboard, choose "Add New... > Project".
- Click "Continue with Git" and authorize Vercel to access your Git account.
- Select your React project repository and click "Import".
- Configure and Deploy:
- Framework Preset: Vercel usually auto-detects "Create React App".
- Build and Output Settings: Usually, you don't need to change anything. Vercel knows the build command is
npm run buildand the output folder isbuild. - Environment Variables: This is where you add variables (like
REACT_APP_API_URL) as mentioned above. - Click "Deploy".
✨ That's it! Vercel will build and give you a link like your-project.vercel.app. The best part? Every time you git push to the main branch, Vercel auto-deploys the latest version. This is CI/CD (Continuous Integration/Continuous Deployment) in its simplest form.
2. Platform as a Service (PaaS)
If your app needs a custom Node.js backend, database connection, or more customization, PaaS platforms are a good fit.
- Render: A rising competitor to Heroku, offers generous free tiers for web services and databases. Modern, easy-to-use interface.
- Heroku: One of the oldest and most famous PaaS platforms. Free tier is now limited, but still a strong choice.
- Firebase Hosting: If you use other Google Firebase services (like Firestore, Authentication), deploying to Firebase Hosting is a natural, seamless choice.
These platforms work similarly to Vercel/Netlify: connect to your Git repo, configure build/start commands, then deploy.
3. Virtual Private Server (VPS)
This is for those who want full control over their environment. You rent a "virtual computer" in the cloud and set up everything yourself.
- Providers: DigitalOcean, Vultr, Linode, AWS EC2, Google Cloud Compute Engine.
Basic process:
- Rent a VPS: Choose an OS (usually Ubuntu).
- SSH into the server: Use your terminal to connect and control the server remotely.
- Set up the environment: Install Node.js, npm/yarn.
- Install a web server: Set up Nginx or Apache. This software receives user requests and serves files from your
buildfolder. - Upload your code: Use
git cloneto pull your repo. - Build and configure: Run
npm run buildand configure Nginx to point to yourbuildfolder. - Set up domain and SSL (HTTPS): Important steps for a professional and secure website.
- ✅ Pros: Full control, potentially cheaper as your app grows.
- ❌ Cons: Requires Linux system admin knowledge, security, and more setup effort.
Post-Deployment Tweaks
Deploying is just the beginning. For a truly professional project, consider these steps:
- Add a custom domain: Instead of
my-app.vercel.app, buy a domain (e.g.,myapp.com) and point it to your hosting service. Detailed guides are available in Vercel, Netlify docs, etc. - Automate with CI/CD: As mentioned, Vercel/Netlify have built-in CI/CD. If using VPS, you can set up your own with GitHub Actions. For example, configure it so every time new code is pushed to GitHub, it automatically SSHs into your VPS, pulls the latest code, rebuilds, and restarts the server.
- Optimize performance: Use techniques like Code Splitting with
React.lazy()to reduce initial load time.
Conclusion: Deploying a React App Isn't Hard
Deploying a React app isn't as scary as you think. Start with the simplest path like Vercel or Netlify for instant results. Seeing your product "live" on the Internet is a huge motivator.
As your project grows and requirements get more complex, you can always explore more flexible and powerful options like Render or VPS. Don't let "localhost" be the final stop on your coding journey.
Good luck deploying! 🎉
![[React Basics] What is JSX in React? A Comprehensive Guide for Beginners](/images/blog/jsx-in-react-thumbnail.webp)
![[React Basics] How to Use the Profiler in React DevTools to Optimize Performance](/images/blog/how-to-use-profiler-in-react-devtools.webp)
![[React Basics] Guide to Setting Up a React Development Environment](/images/blog/how-to-set-up-a-react-development-environment.webp)
![[React Basics] When Do You Need State Management in a React App?](/images/blog/when-is-state-management-needed-in-react.webp)