Welcome to the world of React! If you’re here, you’re probably ready to start your journey building beautiful, fast, and interactive user interfaces. But before you create magical components, the first and most important step is to set up a solid development environment.

Many beginners feel overwhelmed at this stage with so many tools and choices. Don’t worry! This article will walk you through each step in a clear, up-to-date, and beginner-friendly way, ensuring you have a smooth and effective start. 🚀
1. Essentials: The Must-Have Tools
Before diving into React, make sure your computer is equipped with the right "weapons." These are the prerequisites.
Node.js and npm/yarn
These are the "core" tools of the modern JavaScript development environment.
- Node.js: A JavaScript runtime for running code on the server. While React runs in the browser, we need Node.js to run build tools, dev servers, and manage libraries.
- npm or yarn: Package managers that come with Node.js. They help you easily install, update, and manage the millions of packages your React project may depend on.
Action:
-
Visit the Node.js homepage and download the LTS (Long Term Support) version. This is the most stable and recommended for most users.
-
Install it following the instructions. After installation, open Terminal (on macOS/Linux) or Command Prompt/PowerShell (on Windows) and check:
node -v
npm -v
If you see both version numbers, congratulations, you’ve completed the most important step! ✅
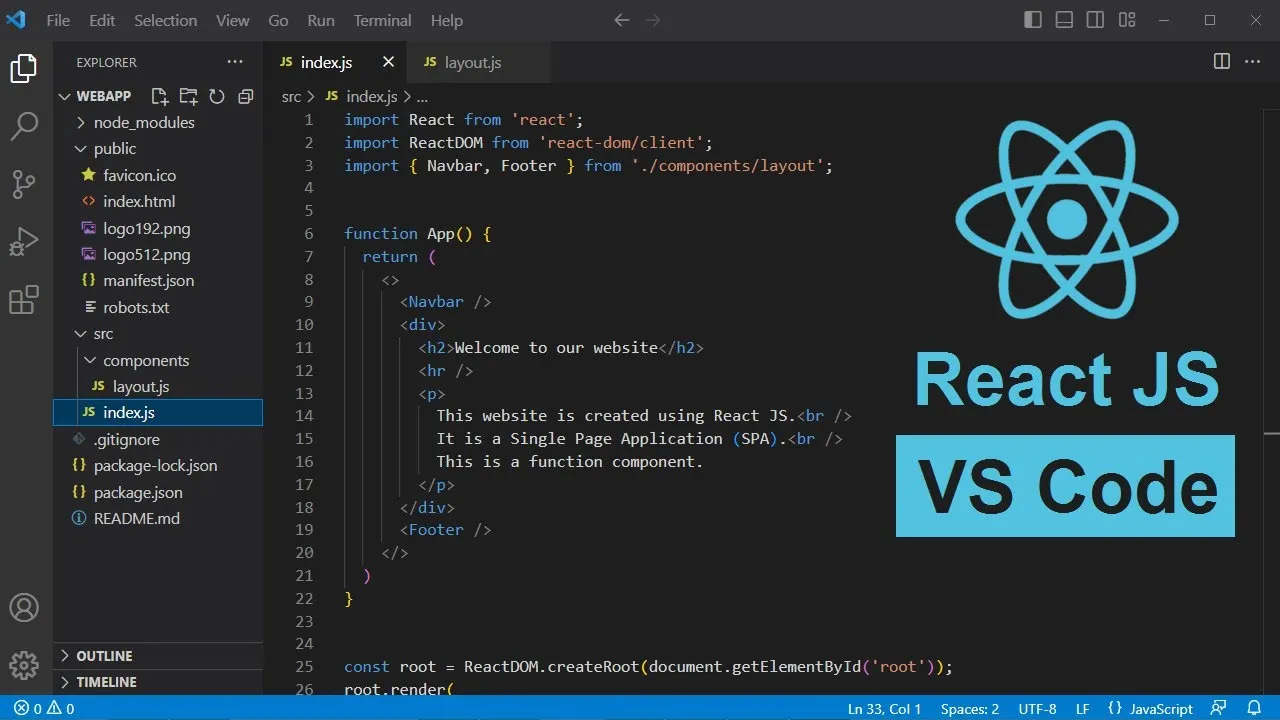
Code Editor
You need a place to write code. Visual Studio Code (VS Code) is the most popular and powerful choice today, loved by the React community for its huge extension ecosystem.
Action:
- Download Visual Studio Code for free.
- Install some "must-have" extensions to boost productivity:
- ES7+ React/Redux/React-Native snippets: Provides handy code snippets.
- Prettier - Code formatter: Automatically formats your code for neatness and consistency.
- ESLint: Analyzes your code for potential errors, helping you write cleaner code.
2. The Modern Way: Create a React Project with Vite
Forget the days of slow project builds. Vite (pronounced /vit/, French for "fast") is a next-generation build tool that delivers a lightning-fast development experience. For new React projects in 2025, Vite is the top recommended choice.

Why choose Vite?
- ⚡ Blazing fast: Dev server starts almost instantly.
- 🔥 Super-fast Hot Module Replacement (HMR): When you edit code, changes are reflected in the browser without a full reload.
- 🛠️ Minimal configuration: Everything is sensibly pre-configured.
Action: With a single command, you can create a complete React project. Open your terminal and run:
npm create vite@latest my-react-app -- --template react
Command breakdown:
npm create vite@latest: Use npm to run the latestcreate-vitepackage.my-react-app: Your project folder name (change as you like).-- --template react: Specify that you want the React template (Vite also supports Vue, Svelte, etc.).
After the command finishes, follow the on-screen instructions:
# Move into your new project folder
cd my-react-app

# Install dependencies
npm install

# Start the development server
npm run dev
Now, open your browser and go to http://localhost:5173 (or another port shown in the terminal). You’ll see the React + Vite welcome page!
3. The Classic Way: Create React App (CRA)
Create React App (CRA) was the official and "gold standard" tool for starting React projects. While Vite is taking over, CRA is still a good, stable tool used in millions of projects.

When should you consider CRA?
- When working with older projects built with CRA.
- When tutorials or courses you follow use this tool.
Action: Just like Vite, creating a project with CRA is very simple:
npx create-react-app my-react-app
Command breakdown:
npx: An npm tool to run packages without installing them globally.create-react-app: The project starter package.my-react-app: Your project folder name.
After installation completes:
# Move into your project folder
cd my-react-app

# Start the development server
npm start
Your browser will automatically open the React welcome page at http://localhost:3000.
4. Quick Comparison: Vite vs. Create React App
Here’s a quick comparison table on key criteria:
| Criteria | Vite | Create React App (CRA) |
|---|---|---|
| Dev Server Speed | ⚡ Super fast (uses esbuild) | Slower (uses Webpack) |
| Build Speed | Fast | Slower |
| Configuration | Easy to customize if needed | Harder, requires "eject" or craco |
| Support | Modern, fast-growing community | Stable, but fewer major updates |
| Recommendation | ✅ For all new projects | For maintaining old projects |
Tip: If you’re starting a new project, go with Vite. Its speed and developer experience will save you lots of time and frustration.
5. Explore the React Project Structure
After initialization, you’ll see a project folder with a structure like this:
my-react-app/
├── node_modules/     # All installed libraries
├── public/           # Static files (HTML, images, favicon, etc.)
├── src/              # Where you’ll write 99% of your code
│   ├── App.css       # CSS for the App component
│   ├── App.jsx       # Main React component
│   └── main.jsx      # Entry point for the React app
├── .gitignore        # Files/folders ignored by Git
├── index.html        # Main HTML file
├── package.json      # Project "ID card" for scripts and dependencies
└── vite.config.js    # Vite config file (if using Vite)
The great thing is you only need to focus on the src folder. That’s where the magic happens. Try opening src/App.jsx, change some text, save, and watch your browser update instantly!
Conclusion: Your React Journey Begins
Congratulations! 🥳 You’ve not only set up a professional React development environment but also understand the "why" behind each tool. With a solid foundation, it’s time to unleash your creativity and build your dream apps.
Remember, the React community is huge and always ready to help. Don’t hesitate to search, learn, and experiment.
Now, open App.jsx and start writing your first lines of React code. Wishing you a fun and productive coding journey!
├
![[React Basics] A Guide to Testing in React: Ensuring Your App Works Perfectly](/images/blog/testing-in-react.webp)
![[React Basics] How to Use the Profiler in React DevTools to Optimize Performance](/images/blog/how-to-use-profiler-in-react-devtools.webp)
![[React Basics] How to Deploy a React App Easily in 5 Minutes](/images/blog/typescript-with-react.webp)