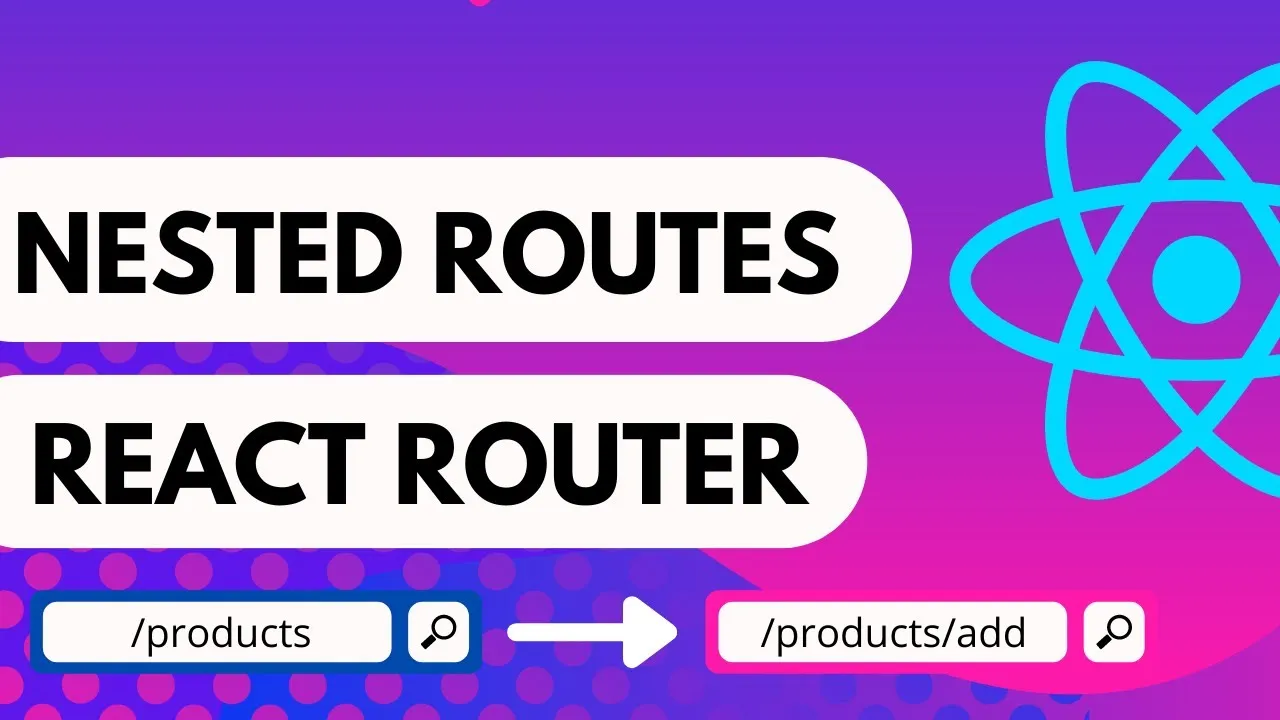
Have you ever built a user interface (UI) with persistent sections, like a sidebar or a common menu, while the main content changes frequently? Do you struggle with managing state and conditionally rendering components? If so, Nested Routes in React are the golden key you've been looking for. 🔑

In this article, we'll "dissect" every aspect of Nested Routes: from core concepts and outstanding benefits to a detailed implementation with React Router v6 using clear examples. Get ready to level up your React app development skills! 🚀
🧐 What are Nested Routes? A Visual Perspective
Imagine your app's UI as a folder system on your computer. You have a root folder /users containing a list of all users. When you click on a specific user, you go deeper into /users/123 to view details. If you want to edit that user's info, you go further to /users/123/edit.

That's the core idea of Nested Routes! Nested Routes structure your routes in a parent-child manner, allowing UI components to be nested, mirroring the URL structure.
Simply put:
- A parent route defines a layout or a shared UI section.
- Child routes are rendered inside the parent route's layout.
This allows a part of the UI (the parent) to remain fixed while other parts (the children) change based on the URL.
✨ Why "Nest"? The Outstanding Benefits of Nested Routes
Using Nested Routes isn't just a "nice-to-have" technique—it brings real, practical benefits to your app development process.
1. Layout Reusability ♻️
This is the biggest benefit. Instead of importing and rendering a Sidebar or DashboardLayout in every child component, you define it once in the parent route. All child routes are automatically "wrapped" by that layout. This keeps your code DRY (Don't Repeat Yourself), clean, and much easier to maintain.
2. Clear, Logical Code Organization 📁
Nested route structures help organize your components logically, matching the URL structure. When you look at the route definition file, you can immediately understand the hierarchical relationship between pages and features in your app.
3. More Efficient State Management 🧠
Since the parent component is always rendered alongside its children, you can easily manage and share state from parent to child. For example, a dashboard layout component can fetch user data once and pass it down to child routes like "Profile", "Settings", or "Notifications".
🛠️ Nesting with React Router v6: A Step-by-Step Guide
Now for the fun part! Let's build a practical example of a product management page using React Router v6.
Key Components You'll Use
Before we start, get familiar with these key players:
<Routes>and<Route>: The foundation for defining routes.<Outlet />: The "star" of Nested Routes. It acts as a placeholder. Whenever a child route matches the URL, its component is rendered at the<Outlet />position.<Link>or<NavLink>: Used to create navigation links between pages.
Example: Building a Product Management Page
Imagine we have a /products page with a shared layout: a product list on the left and a detail display area on the right.
Step 1: Define Nested Route Structure in App.js
First, define the route structure. The /products route is the parent, and child routes are nested inside it.
// src/App.js
import { BrowserRouter, Routes, Route } from 'react-router-dom'
import Home from './pages/Home'
import ProductsLayout from './pages/ProductsLayout'
import ProductList from './pages/ProductList'
import ProductDetail from './pages/ProductDetail'
import NewProduct from './pages/NewProduct'

function App() {
  return (
    <BrowserRouter>
      <Routes>
        <Route path="/" element={<Home />} />

        {/* Parent Route */}
        <Route path="products" element={<ProductsLayout />}>
          {/* Child routes rendered inside <Outlet /> of ProductsLayout */}
          <Route index element={<ProductList />} />{' '}
          {/* 'index' route for default '/products' */}
          <Route path=":id" element={<ProductDetail />} />{' '}
          {/* Route for '/products/1', '/products/2', etc. */}
          <Route path="new" element={<NewProduct />} />{' '}
          {/* Route for '/products/new' */}
        </Route>
      </Routes>
    </BrowserRouter>
  )
}

export default App
Notes:
- Child routes are placed inside the parent
<Route>tag. - The
indexroute is the default route shown when the URL matches the parent route (/products). - Child route paths are relative to the parent. For example,
path=":id"matches/products/:id.
Step 2: Create the Parent Layout Component ProductsLayout.js
This component defines the shared UI and contains the <Outlet /> "gateway".
// src/pages/ProductsLayout.js
import { Outlet, Link } from 'react-router-dom'

function ProductsLayout() {
  return (
    <div style={{ display: 'flex' }}>
      <nav style={{ borderRight: '1px solid #ccc', padding: '1rem' }}>
        <h2>Products</h2>
        {/* Navigation links to child routes */}
        <Link to="/products/1">Product 1</Link>
        <br />
        <Link to="/products/2">Product 2</Link>
        <br />
        <Link to="/products/new">Add New Product</Link>
      </nav>

      <main style={{ padding: '1rem' }}>
        <h1>Product Details</h1>
        {/* This is where child components will be rendered! */}
        <Outlet />
      </main>
    </div>
  )
}

export default ProductsLayout
Step 3: Create the Child Components
These are the components that will be rendered in the <Outlet /> position.
// src/pages/ProductList.js
// Component shown at /products
function ProductList() {
  return <p>Please select a product to view details.</p>
}

// src/pages/ProductDetail.js
// Component shown at /products/:id
import { useParams } from 'react-router-dom'

function ProductDetail() {
  const { id } = useParams() // Hook to get dynamic URL parameter
  return <h2>This is the detail page for Product with ID: {id}</h2>
}

// src/pages/NewProduct.js
// Component shown at /products/new
function NewProduct() {
  return <h2>This is the page to create a new product.</h2>
}

// Don't forget to export these components
export { ProductList, ProductDetail, NewProduct }
When you run this app:
- Visiting
/productsshowsProductsLayoutwithProductListinside<Outlet />. - Clicking "Product 1" (to
/products/1) keeps theProductsLayoutbut replacesProductListwithProductDetailshowing "ID: 1". - Clicking "Add New Product" replaces
ProductDetailwithNewProduct.
Pretty cool, right?
🎯 Common Use Cases
Nested Routes are perfect for many real-world scenarios:
- Dashboards: A fixed sidebar with changing main content (stats, user management, settings).
- Tab Interfaces: Tabs (Info, Reviews, History) as child routes of a product detail page.
- Multi-step Wizards: Each step in a registration or checkout form is a child route, making state and navigation management easier.
- User Settings Pages: A common left menu (Profile, Security, Notifications) with corresponding content on the right.
Conclusion: Nested Routes are a Powerful Pattern
Nested Routes are more than just a React Router feature—they're a mindset, a powerful pattern for designing complex React apps in a clean, efficient, and scalable way. By mastering <Outlet /> and parent-child route organization, you have a powerful tool to tackle even the most challenging UIs.
Start "nesting" your app today and feel the difference!
![[React Basics] The Most Effective Ways to Use Conditional Rendering in React](/images/blog/conditional-rendering-in-react.webp)
![[React Basics] Effective and Optimal Styling in React](/images/blog/styling-in-react.webp)
![[React Basics] useState Hook: How to Manage State Effectively in React](/images/blog/react-usestate-hook.webp)
![[React Basics] Managing Complex State with the useReducer Hook in React](/images/blog/usereducer-hook.webp)