When building a modern web application, the user interface (UI) and user experience (UX) are the soul of your product. A beautiful, consistent, and high-performance UI can determine the success or failure of a project. Next.js, as a leading React framework, offers a highly flexible and powerful ecosystem to "style up" your application.
However, this flexibility often comes with a big question: "What is the best styling method for my Next.js project?"

This article will walk you through each popular styling method in Next.js, analyze their pros and cons, and provide practical advice so you can confidently choose the most suitable path.
1. Basic (Built-in) Styling Methods 🎨
Next.js natively supports several intuitive and easy-to-use CSS approaches.
Global CSS
This is the most basic method, just like how you write CSS in traditional websites.
-
How it works: You create a
.cssfile (e.g.,styles/globals.css) and import it directly into your app's root layout file.- With App Router (Next.js 13+): Import in
app/layout.js. - With Pages Router: Import in
pages/_app.js.
- With App Router (Next.js 13+): Import in
-
Example (
app/layout.js):import '../styles/globals.css' export default function RootLayout({ children }) { return ( <html lang="en"> <body>{children}</body> </html> ) } -
Pros:
- ✅ Easy to approach: Familiar to all web developers.
- ✅ Centralized management: Great for defining foundational styles like CSS reset, fonts, CSS variables, and styles for
body,htmltags.
-
Cons:
- ❌ Class name conflicts: Since these styles affect the entire app, careless class naming can lead to collisions as the project grows.
- ❌ Hard to maintain: Difficult to track which styles affect which components.
-
When to use: Only for global, foundational styles for the whole website.
CSS Modules
This is Next.js's recommended solution to the problems of Global CSS. CSS Modules let you write component-scoped CSS.

-
How it works: You create a CSS file with the
.module.cssextension (e.g.,Button.module.css). Next.js automatically generates a unique class name for each class you define in that file. -
Example:
-
components/Button.module.css.button { background-color: #0070f3; color: white; padding: 10px 20px; border-radius: 5px; border: none; cursor: pointer; } .error { background-color: #f44336; } -
components/Button.jsimport styles from './Button.module.css' export default function Button() { // styles.button will be transformed into a unique class name // e.g., "Button_button__1a2b3c" return <button className={styles.button}>Click Me</button> }
-
-
Pros:
- ✅ No more conflicts: Your styles only affect the component they're imported into.
- ✅ Easy to manage: CSS code is placed right next to the component, making development and maintenance more intuitive.
- ✅ Built-in support: No need to install any extra libraries.
-
Cons:
- ❌ A bit verbose: You have to import
stylesand access classes viastyles.className.
- ❌ A bit verbose: You have to import
-
When to use: This is an excellent default choice for most Next.js projects. It balances simplicity, performance, and maintainability.
2. Advanced Styling Methods (Libraries) 📔
For more complex projects, you may need the power of specialized CSS libraries and frameworks.
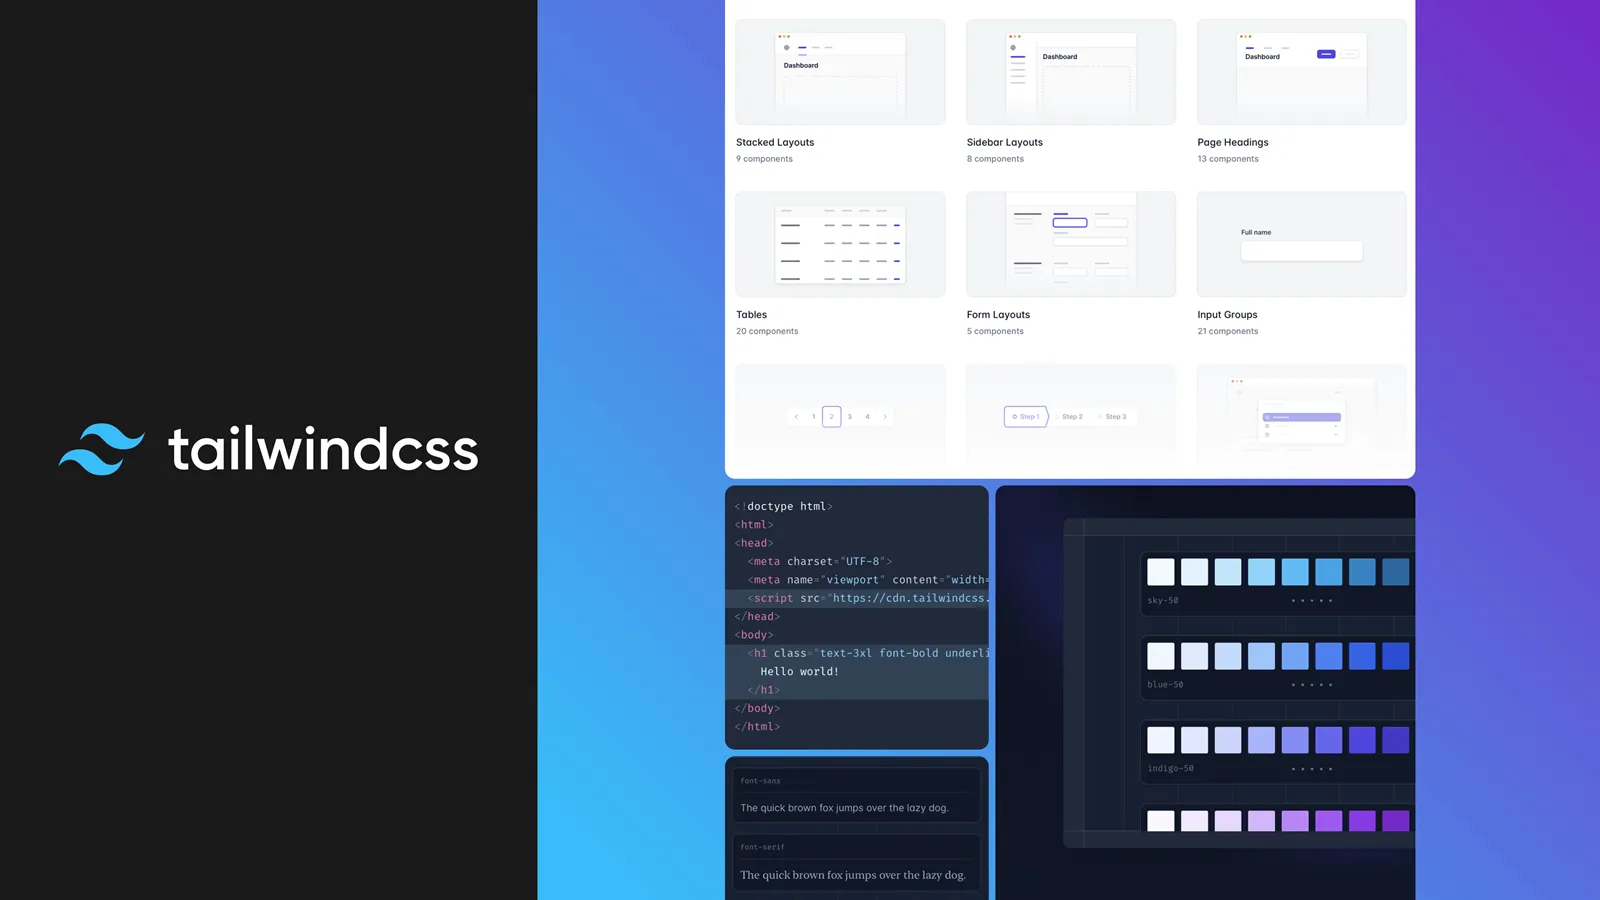
Tailwind CSS (Utility-First)
Tailwind CSS is a real force in the CSS world. Instead of writing separate CSS files, you "compose" utility classes directly in your HTML/JSX.
-
How it works: Install and configure Tailwind. Then, simply apply available classes like
bg-blue-500,text-white,p-4,rounded-md, etc. -
Example:
export default function Alert() { return ( <div className="p-4 bg-green-100 border border-green-400 text-green-700 rounded-lg"> <p className="font-bold">Success!</p> <p>Your data has been saved.</p> </div> ) } -
Pros:
- 🚀 Super fast development: No need to switch between JSX and CSS files.
- ✅ High consistency: Design system is defined in the config file, keeping the UI consistent.
- ✅ Optimized performance: Tailwind automatically purges unused classes during build, resulting in a tiny final CSS file.
- ✅ No need to think of class names: Say goodbye to the headache of naming CSS classes.
-
Cons:
- ❌ "Messy" HTML/JSX: Markup can get long and hard to read with many classes.
- ❌ Learning curve: Takes time to get used to Tailwind's class naming system.
-
When to use: Ideal for projects that need rapid development, design systems, and when you want an efficient workflow without much custom CSS.
CSS-in-JS (Styled Components, Emotion)
This method lets you write CSS directly inside your JavaScript/TypeScript files using tagged template literals.
-
How it works: You create React components with attached styles. These styles can change dynamically based on props.
-
Example (using Styled Components):
import styled from 'styled-components' // Create a <Button> component with attached styles const Button = styled.button` background-color: ${(props) => (props.primary ? '#0070f3' : 'white')}; color: ${(props) => (props.primary ? 'white' : '#0070f3')}; padding: 10px 20px; border: 2px solid #0070f3; border-radius: 5px; cursor: pointer; &:hover { opacity: 0.9; } ` // Use it like a normal component export default function MyComponent() { return ( <div> <Button>Normal Button</Button> <Button primary>Primary Button</Button> </div> ) } -
Pros:
- 💡 Component-first thinking: Logic and UI are tightly coupled in one place.
- ✅ Powerful dynamic styling: Easily change styles based on props, state, etc.
- ✅ Automatic vendor prefixing: The library handles browser prefixes for you.
-
Cons:
- ⚠️ Performance issues with Server Components: Traditional CSS-in-JS libraries can struggle with the new App Router architecture in Next.js because they rely on client-side JavaScript at runtime. Special configuration is needed for good support. Emotion currently has better support in this environment.
- ❌ Increases bundle size: Adds a JavaScript library to your app.
-
When to use: When you need a dynamic, complex styling system and want to encapsulate all logic and UI in one place. Carefully consider usage with App Router.
Advice: So, What Should You Choose for Your Project? 🤔
There is no single "right" answer for everyone. The choice depends on your project's scale, requirements, and your (and your team's) preferences.
| Criteria | Global CSS | CSS Modules | Tailwind CSS | CSS-in-JS |
|---|---|---|---|---|
| Scope | Global | Component-scoped | Utility class-scoped | Component-scoped |
| Conflict risk | 🔴 Very high | ✅ Almost none | ✅ None | ✅ None |
| Dev speed | Slow | Medium | 🚀 Very fast | Fast |
| Performance | Good | Excellent | ⚡️ Awesome (after purge) | Good (may slightly affect) |
| Best for | Base styles, reset | Most projects | Fast dev, design systems | Dynamic, complex UIs |
-
For beginners or small projects: Start with CSS Modules. It's safe, efficient, and built-in, helping you understand how Next.js works.
-
For projects needing speed and consistency: Tailwind CSS is an excellent choice. It helps you build UIs quickly and maintain a consistent design system.
-
For complex component systems: If you need powerful dynamic styling and want to encapsulate everything in JavaScript, CSS-in-JS (especially Emotion) is worth considering, but make sure you configure it properly for App Router.
-
Mix and match: The best part is you don't have to pick just one. A common and effective strategy is:
- Use Global CSS for base styles (fonts, reset, variables).
- Use Tailwind CSS or CSS Modules for main component styling.
Hope you find the perfect "style" for your Next.js project and build amazing user interfaces!
![[Next.js Tutorial] Testing: The Complete Guide to Unit, Integration, and E2E Testing](/images/blog/testing-in-nextjs.webp)
![[Next.js Tutorial] Basic Directory Structure and Routing in Your Project](/images/blog/basic-directory-structure-and-routing-in-nextjs.webp)
![[Next.js Tutorial] Caching: The Secret to Making Your Website 10x Faster](/images/blog/caching-in-nextjs.webp)
![[Next.js Tutorial] Server Components vs. Client Components: When to Choose Which?](/images/blog/server-components-and-client-components-in-nextjs.webp)