When stepping into the world of Docker, we're often fascinated by its ability to package and deploy applications quickly. But an important question will inevitably arise: "Where does my data go when the container stops?". If you don't have an answer, you might lose all your valuable data.

The answer lies in Docker Volumes—a foundational yet extremely powerful concept for managing persistent data in Docker. This article will guide you from the basics to advanced techniques for using Volumes like a pro.
The Core Issue: The "Ephemeral" Nature of Containers
Imagine each Docker container as a whiteboard. You can draw, write, and calculate on it. But when you "erase" the container (stop and remove it), everything on that board disappears forever. This is called an ephemeral file system.
This is great for stateless applications, but a disaster for apps that need to store data, like databases (PostgreSQL, MySQL), content management systems (WordPress), or any app that generates log files, uploads, etc.
👉 This is where Docker Volumes shine.
What are Docker Volumes? An Overview 💡
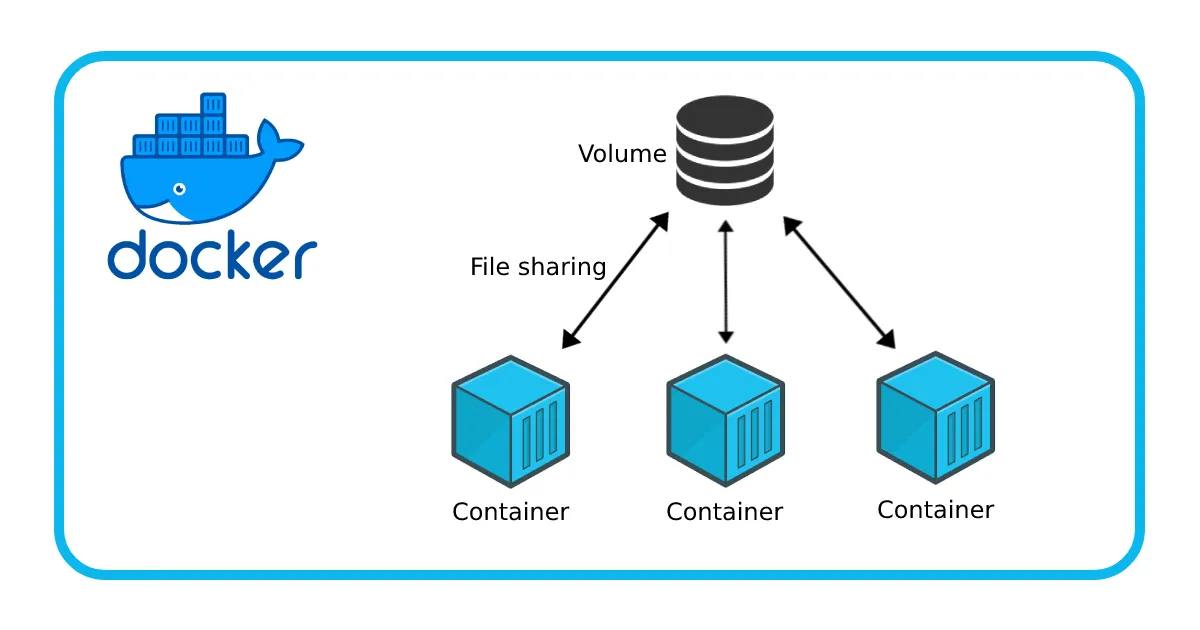
Docker Volumes are Docker's preferred mechanism for storing persistent data created and used by containers.
Think of a Volume as a dedicated "USB drive" for your container. This USB is fully managed by Docker, plugged into the container when it starts and unplugged when it stops. The data inside this USB is completely independent and safe, unaffected by the container's lifecycle.
Key characteristics of Volumes:
- Managed by Docker: Volumes are created and managed by the Docker daemon, stored in a special area on the host (usually
/var/lib/docker/volumes/on Linux). You don't need to worry about their physical location. - Safe and persistent: Data in a volume persists even if the container is deleted, modified, or rebuilt.
- High performance: Volumes are optimized for I/O operations and usually perform better than writing data directly to the container's writable layer.
- Easy sharing: A volume can be "plugged" into multiple containers at once, allowing them to share data easily.
- Portable: Easy to back up, move, and restore.
Volumes vs. Bind Mounts: The Classic Showdown
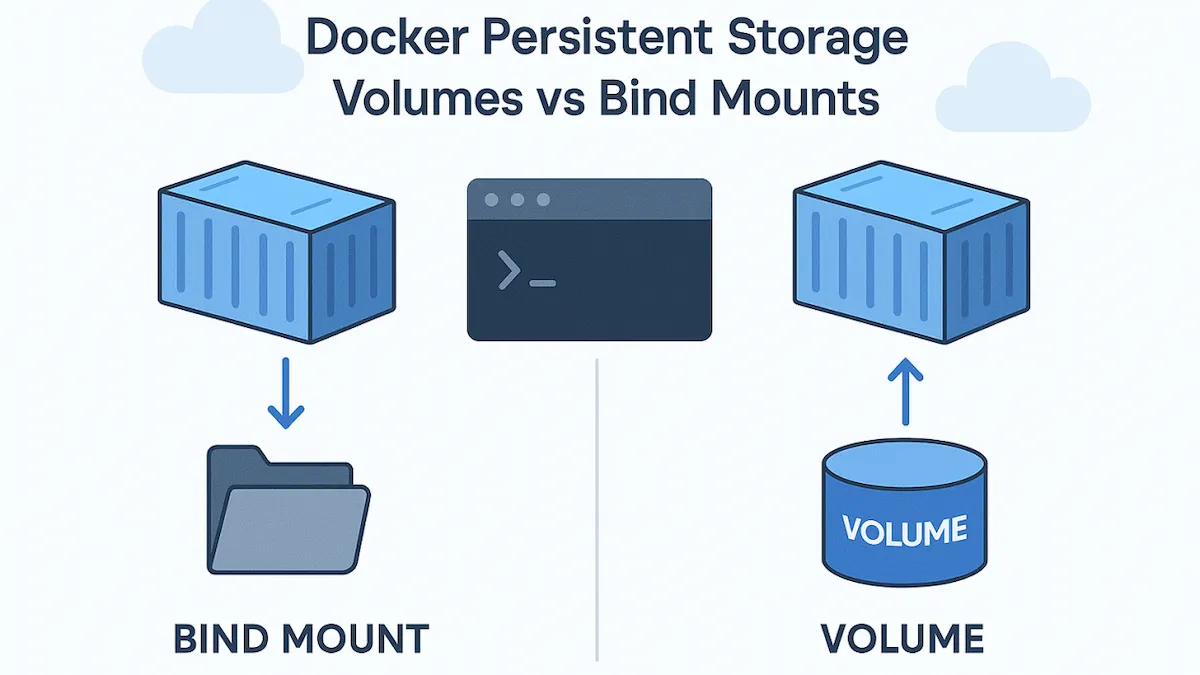
This is one of the most confusing points for beginners. Both are used to bring data from the host into the container, but they differ in philosophy and use case.

| Criteria | Docker Volumes | Bind Mounts |
|---|---|---|
| Management | Fully managed by Docker. | Managed by user/OS. |
| Location on Host | In Docker's own directory (/var/lib/docker/volumes/). | Anywhere on the host's file system. |
| Portability | Very high. Consistent across all platforms (Linux, Windows, macOS). | Low. Completely depends on the host's directory structure. |
| Initialization | Docker can automatically copy data from the image to the volume if it's empty. | Overwrites the image content at the mount point. |
| Use cases | 💾 Database data, file uploads, logs, app state in production environments. | 💻 Development: Mount source code for live-reload, mount config files. |
Golden rules:
- When you need to store data generated by your app (database, uploads, etc.), use Volumes.
- When you want to edit code or config files on the host and see changes instantly in the container, use Bind Mounts.
How to Use Volumes: From Theory to Practice 💻
Master these commands and you'll be in control of Docker Volumes.
1. Managing Volumes (CRUD)
-
Create a volume:
docker volume create my-precious-data -
List all volumes:
docker volume ls -
Inspect a volume:
docker volume inspect my-precious-data -
Remove a volume (Be careful!):
docker volume rm my-precious-data -
Clean up unused (dangling) volumes:
docker volume prune
2. Mounting a Volume to a Container
There are two common ways, but --mount is recommended for its clarity.
-
Method 1: Using the
-vor--volumeflag- Named Volume (Recommended):
my-volume:/path/in/container# Run an Nginx container and store logs in the `nginx-logs` volume docker run -d --name my-nginx -p 8080:80 -v nginx-logs:/var/log/nginx nginx - Anonymous Volume: Docker creates a volume with a random name.
docker run -d --name my-nginx -v /var/log/nginx nginx
- Named Volume (Recommended):
-
Method 2: Using the
--mountflag (Clearer and more powerful) Syntax:type=volume,source=<volume-name>,target=<path-in-container>docker run -d --name my-nginx -p 8080:80 --mount type=volume,source=nginx-logs,target=/var/log/nginx nginx
3. Sharing Data Between Containers
Suppose you have one container creating data and another that needs to read it. Just mount the same volume to both.
# Container 1: Creates data in the `shared-data` volume
docker run -d --name creator -v shared-data:/app/data alpine sh -c "while true; do echo 'Hello from Creator at $(date)' >> /app/data/log.txt; sleep 5; done"

# Container 2: Reads data from the `shared-data` volume
docker run --name reader -v shared-data:/app/data alpine tail -f /app/data/log.txt
Integrating Volumes with Docker Compose: Multi-Container Power
In reality, we rarely run apps with long docker run commands. Docker Compose is the tool for defining and running multi-container Docker apps. Managing volumes in Compose is very intuitive.
Here's a classic example with WordPress and MySQL:
docker-compose.yml
version: '3.8'

services:
  # MySQL Database Service
  db:
    image: mysql:8.0
    container_name: mysql_db
    # Mount the `db_data` volume to MySQL's default data directory
    volumes:
      - db_data:/var/lib/mysql
    environment:
      MYSQL_ROOT_PASSWORD: your_strong_password
      MYSQL_DATABASE: wordpress
      MYSQL_USER: wordpress
      MYSQL_PASSWORD: password
    networks:
      - app-network

  # WordPress Service
  wordpress:
    image: wordpress:latest
    container_name: wordpress_app
    # Mount the `wp_files` volume to WordPress's content directory
    volumes:
      - wp_files:/var/www/html
    ports:
      - '8000:80'
    environment:
      WORDPRESS_DB_HOST: db:3306
      WORDPRESS_DB_USER: wordpress
      WORDPRESS_DB_PASSWORD: password
      WORDPRESS_DB_NAME: wordpress
    depends_on:
      - db
    networks:
      - app-network

# Declare the volumes to be used
volumes:
  db_data:
  wp_files:

networks:
  app-network:
    driver: bridge
In this file:
- We declare two named volumes at the top level:
db_dataandwp_files. - In each service, we specify
volumesto mount the appropriate volume into the container. - When you run
docker-compose up, Docker will automatically create these volumes if they don't exist. Your database and WordPress site data are now completely safe.
Pro Tip: Backup and Restore Volumes 🛡️
Since volumes are just directories on the host, backing them up is straightforward.
How to back up: Run a temporary container, mount the volume and a host directory, then archive the data.
docker run --rm \
  -v db_data:/data \
  -v $(pwd)/backups:/backup \
  alpine \
  tar czf /backup/db_data_backup_$(date +%Y-%m-%d).tar.gz -C /data .
How to restore: Create a new volume (if needed), then run a temporary container to extract the backup into the volume.
# 1. Create a new volume (if you want to restore to a different volume)
docker volume create db_data_restored

# 2. Extract

docker run --rm \
  -v db_data_restored:/data \
  -v $(pwd)/backups:/backup \
  alpine \
  tar xzf /backup/db_data_backup_2025-08-25.tar.gz -C /data
Conclusion: Mastering Docker Volumes is a Must
Docker Volumes are not an option, but a requirement for any serious Dockerized application that needs to store data. By decoupling the data lifecycle from the container lifecycle, Volumes provide durability, flexibility, and safety.
Mastering Volumes, understanding the difference from Bind Mounts, and integrating them into your Docker Compose workflow is a crucial step to go from a Docker amateur to a pro who can build robust and reliable systems.
Good luck on your journey to mastering Docker!
![[Docker Basics] Docker Hub: How to Store and Manage Docker Images Professionally](/images/blog/what-is-docker-hub.webp)
![[Docker Basics] Docker Networking: A Guide to Container Connectivity](/images/blog/learn-about-docker-networking.webp)
![[Docker Basics] What is Docker Compose? Importance and Effective Usage](/images/blog/what-is-docker-compose.webp)
![[Docker Basics] Image and Container: Concepts, Differences, and Usage](/images/blog/docker-image-and-container-thumbnail.webp)