Have you ever put your heart and soul into capturing a beautiful photo, only to find it blurry, pixelated, and stripped of its original charm after posting it on Facebook? Don't worry, you're not alone. This is a common pain point for millions of users on this social media platform.
Facebook, in an effort to save storage space and increase page loading speed, "mercilessly" compresses all uploaded images. However, the good news is that we can work around this and maintain the highest possible image quality.

In this article, let's explore all the tips and tricks for image optimization from A to Z, ensuring that every photo you post on Facebook is sharp, stunning, and catches everyone's attention.
Why Do Facebook Photos Get Blurry? Understanding the "Rules of the Game"
Before diving into solutions, we need to understand the root of the problem. The main culprit is Facebook's image compression algorithm. When you upload an image that's too large or has incorrect dimensions, Facebook will automatically:
- Resize the image: Adjust it to a standard size according to their specifications - Resize image.
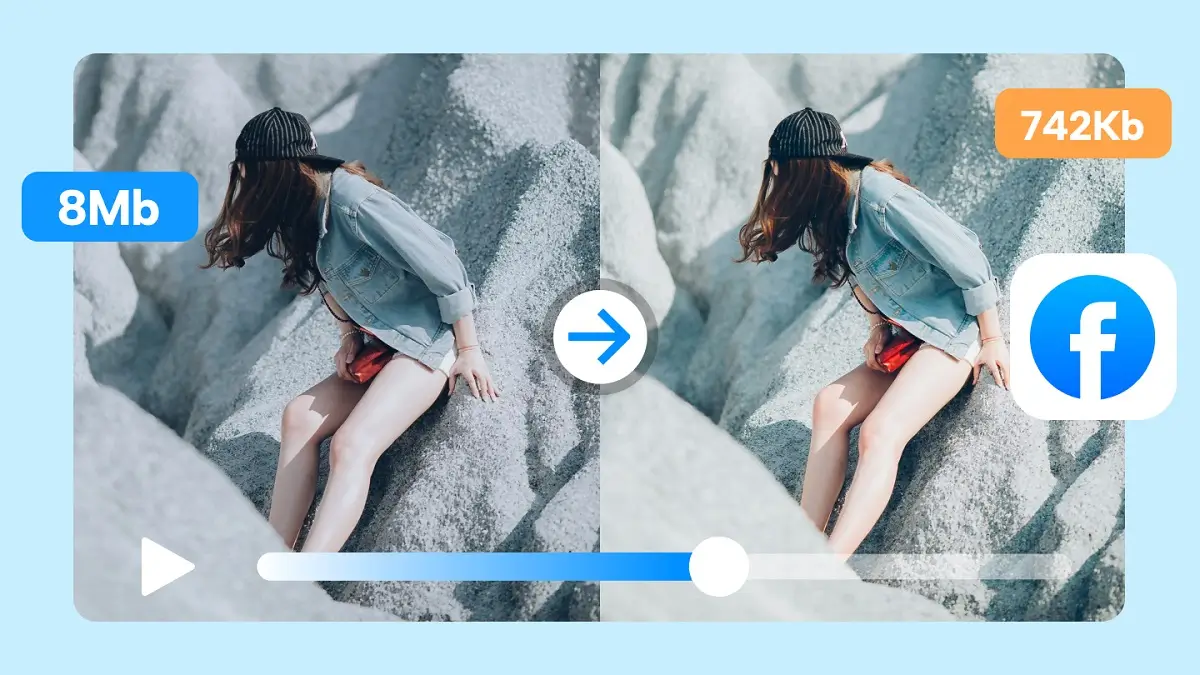
- Compress the file: Reduce the quality to make it lighter - Compress image.
This automatic process isn't always optimal, resulting in reduced image quality, blurriness, pixelation, especially in small details. Our goal is to "set the table" by preparing an image with dimensions and file size that perfectly match Facebook's standards, so their algorithm doesn't need to intervene too much.
Perfect Image Dimensions - The Key to Sharpness
This is the most important part! Uploading images with the correct dimensions will minimize Facebook's intervention. Here are the standard dimensions you need to remember (latest update for 2025):
Regular post images (square, landscape, portrait):
- Most optimal: Width of
2048px. This is the "divine" dimension that Facebook favors, allowing for the highest quality display. Resize your images so that the longest side is2048px. - High quality: Width of
1200px. This is a safe and popular choice, balancing quality and loading speed. - Minimum: Width of
960px. Avoid using images smaller than this size.
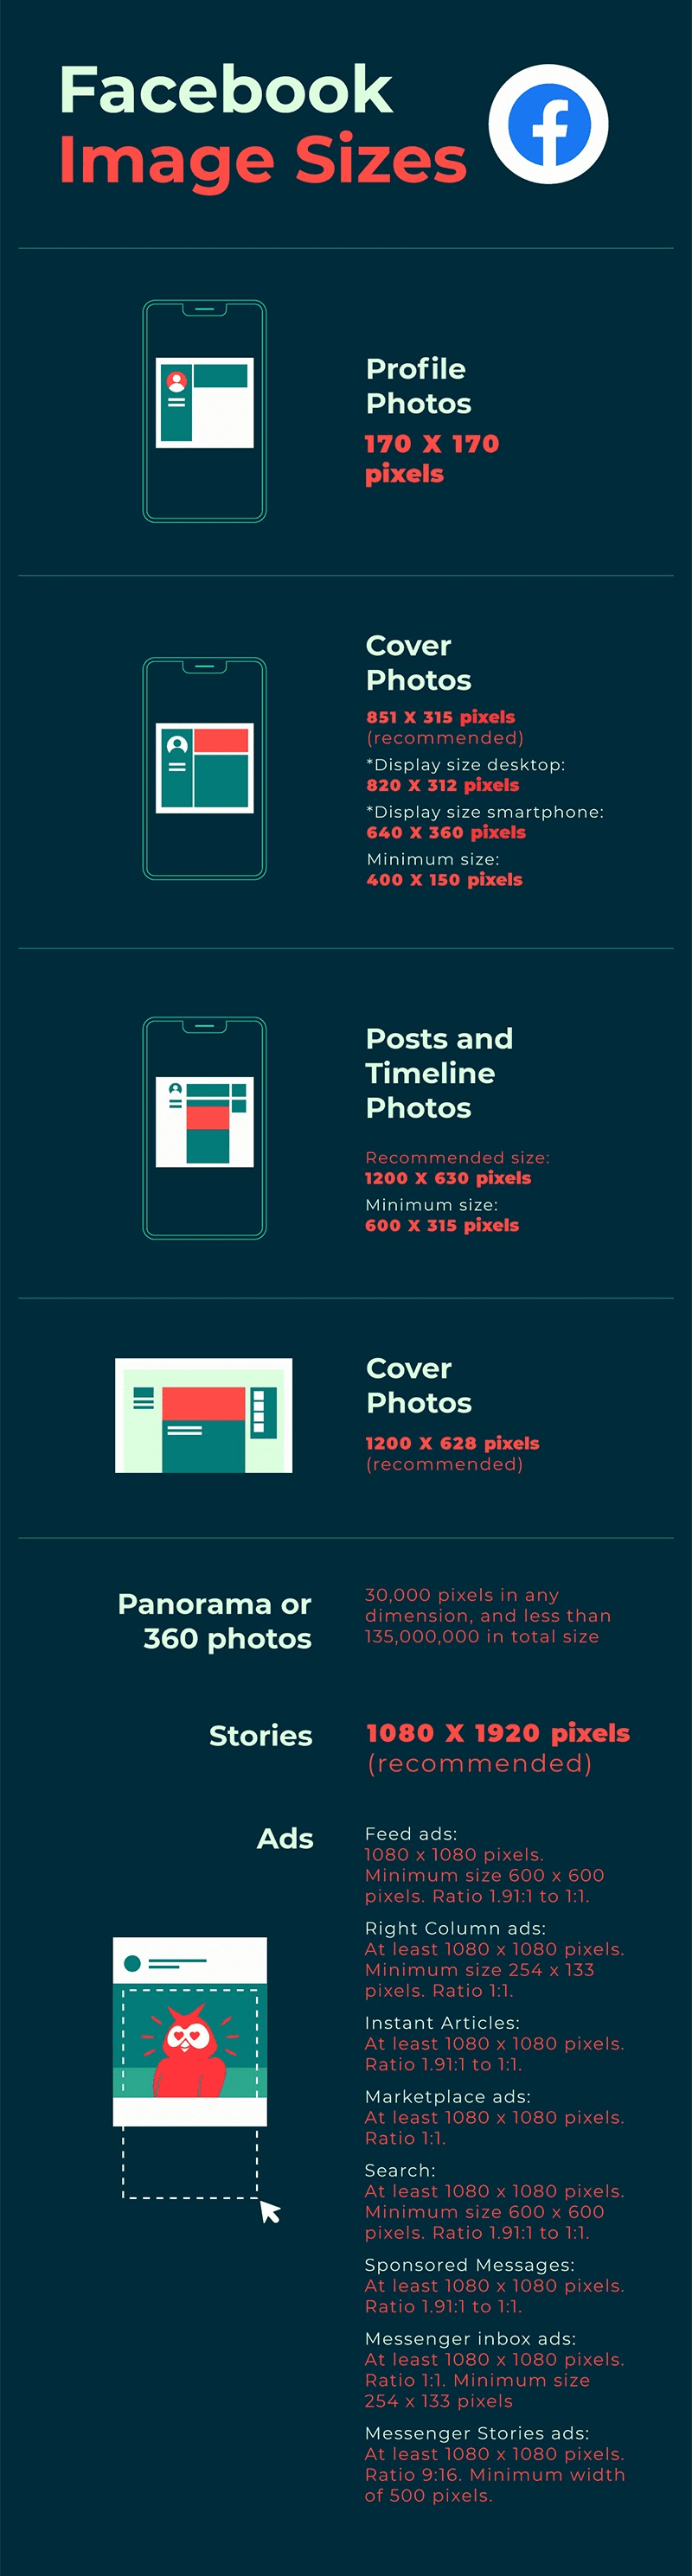
Cover Photos:
- On desktop: Displayed at
820 x 312 pixels. - On mobile: Displayed at
640 x 360 pixels. - Optimal upload size:
851 x 315 pixelsand keep the file size under100KBfor the fastest loading speed. Design your cover photo so that important elements (text, logo) are in the safe zone in the middle to avoid cropping on both devices.
Profile Pictures:
- Displayed as a circle, with a minimum size of
180 x 180 pixels. - Upload a high-quality square image: It's better to upload a larger image, such as
960 x 960 pixels, so Facebook can crop it while maintaining sharpness.
Facebook Story Images:
- Standard aspect ratio is
9:16. - Optimal size:
1080 x 1920 pixels. Keep this size to ensure your Story displays full-screen and remains sharp.
Pro Tip: Popular photo editing applications like Lightroom, Photoshop, Snapseed, or even online image resizing tools like VnnTools (simple, free), Canva, Photopea all allow you to easily change image dimensions.
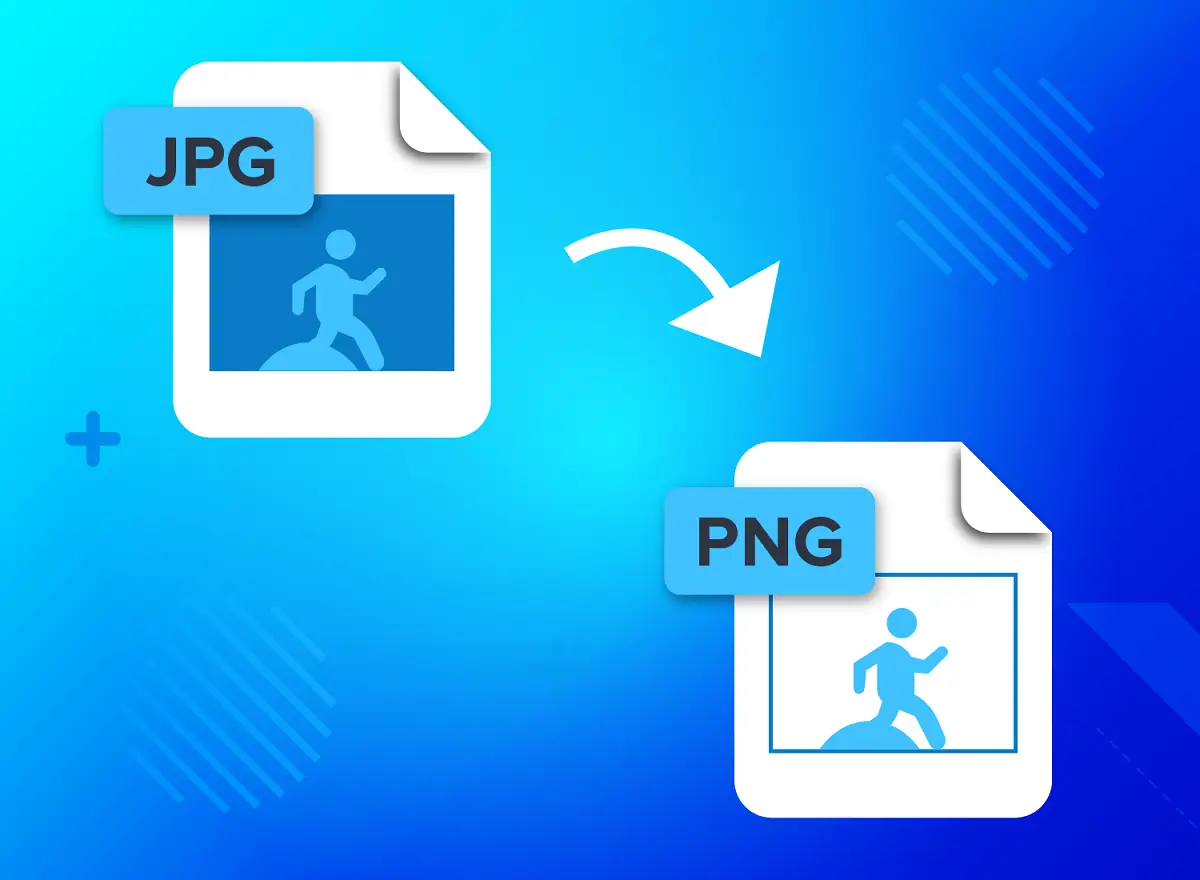
File Format: JPG or PNG - Which Is Better?
Facebook supports multiple image formats, but the two most popular and optimal formats are JPG (or JPEG) and PNG.
When to use JPG?
- For most regular photos (landscapes, portraits, everyday shots...).
JPGhas good image compression capabilities, helping keep file sizes small while maintaining acceptable quality.
When to use PNG?
- When your image contains text, logos, graphic elements, or has a transparent background.
PNGpreserves sharp edges and solid colors better thanJPG. However,PNGfiles are usually larger.
Conclusion: For 95% of cases, JPG will be your optimal choice.
Enable "HD Mode" - Small Action, Big Impact
Did you know that within the Facebook app itself, there's a hidden setting to prioritize high-quality image uploads? Don't skip this simple yet extremely effective step!
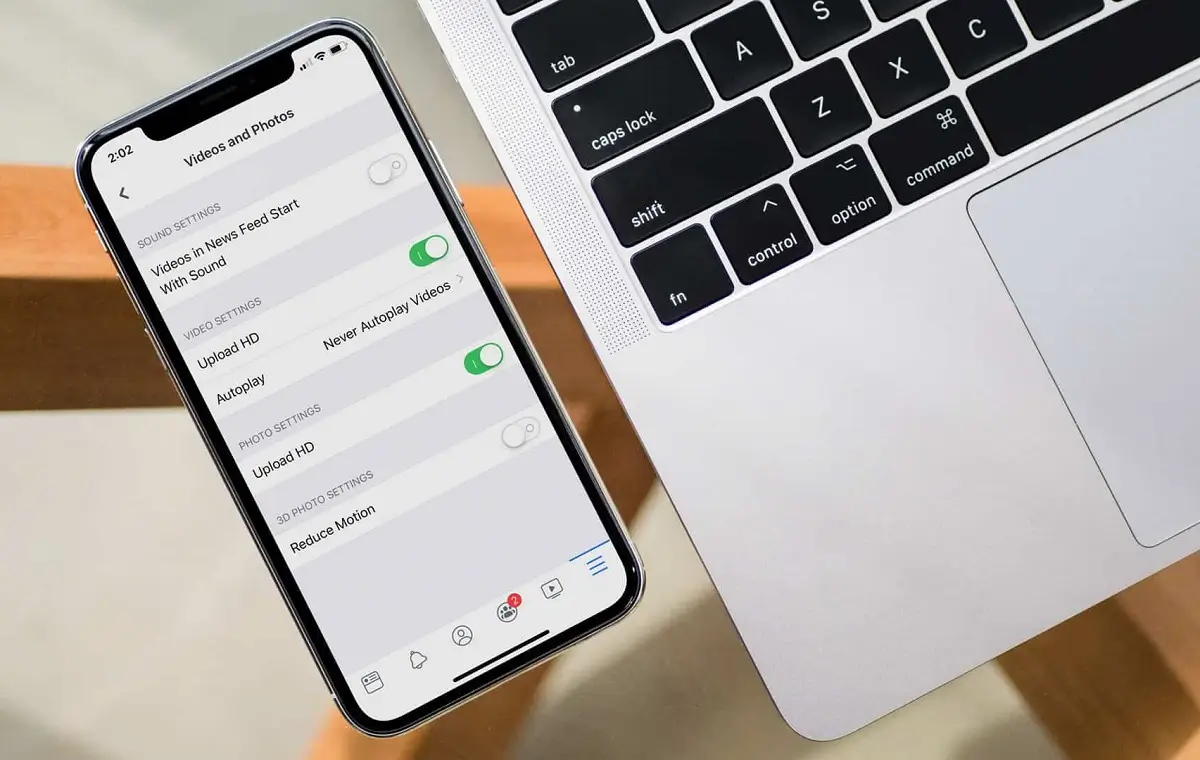
On mobile (iOS & Android):
- Open the Facebook app, go to Settings & Privacy menu (three horizontal lines icon).
- Select Settings.
- Scroll down to the Media section.
- Under Video and Photo Quality, enable the Upload photos in HD option.
With just these few steps, you're telling Facebook: "I want my photos to look their best!"
Complete Image Optimization Process Before Posting to Facebook
Now, let's summarize everything into a standard process for you to easily follow:
- Step 1: Post-processing: Feel free to be creative with your favorite apps (Lightroom, Snapseed, VSCO...) to adjust colors, lighting, and composition to your satisfaction.
- Step 2: Resize the image: Open your edited image in an application that allows dimension changes. Set the longest side to
2048px. - Step 3: Export/Save the file:
- Choose
JPGas the format. - Set the quality to between
80-90%. - Important: Ensure the color space is sRGB. Most devices and web browsers display this color space best. If you use a different color space (like Adobe RGB), colors may appear incorrect when posted to Facebook.
- Choose
- Step 4: Check the file size: An optimized image usually has a file size under
1MB. If your image file is still too large (several MB), try reducing the Quality level a bit, for example to70-80%. - Step 5: Post: Upload your optimized image to Facebook and don't forget to check that you've enabled the Upload photos in HD option in settings!
Conclusion
Taking a few extra minutes to optimize your images before posting not only demonstrates technical savvy but also shows respect for your own work and your audience. A sharp, high-quality image will more effectively convey emotions, attract engagement, and build your personal brand in a more professional way.
Wishing you success and many "million-like" photos on Facebook!