Surely you've been in this situation before: racing against a deadline, needing to finish that image for a client, when suddenly the mouse cursor turns into a spinning wheel, Photoshop freezes, and everything lags terribly. That feeling of helplessness and wanting to smash your computer - trust me, we designers have all been there.
Many people quickly blame their "weak" computer. That might be partially true, but the main cause usually lies in the fact that we don't know how to "tame" the resource-hungry monster called Photoshop.
No more beating around the bush! This article will be a detailed guide to help you transform your sluggish Photoshop into one that runs smoothly and efficiently like never before. We'll go from the root of the problem (hardware) to the smallest tweaks inside (software) and even smart work habits.
Let's get started!
Part 1: Optimize from Hardware
Like building a house, you need a good foundation. With Photoshop, the foundation is your computer's hardware.
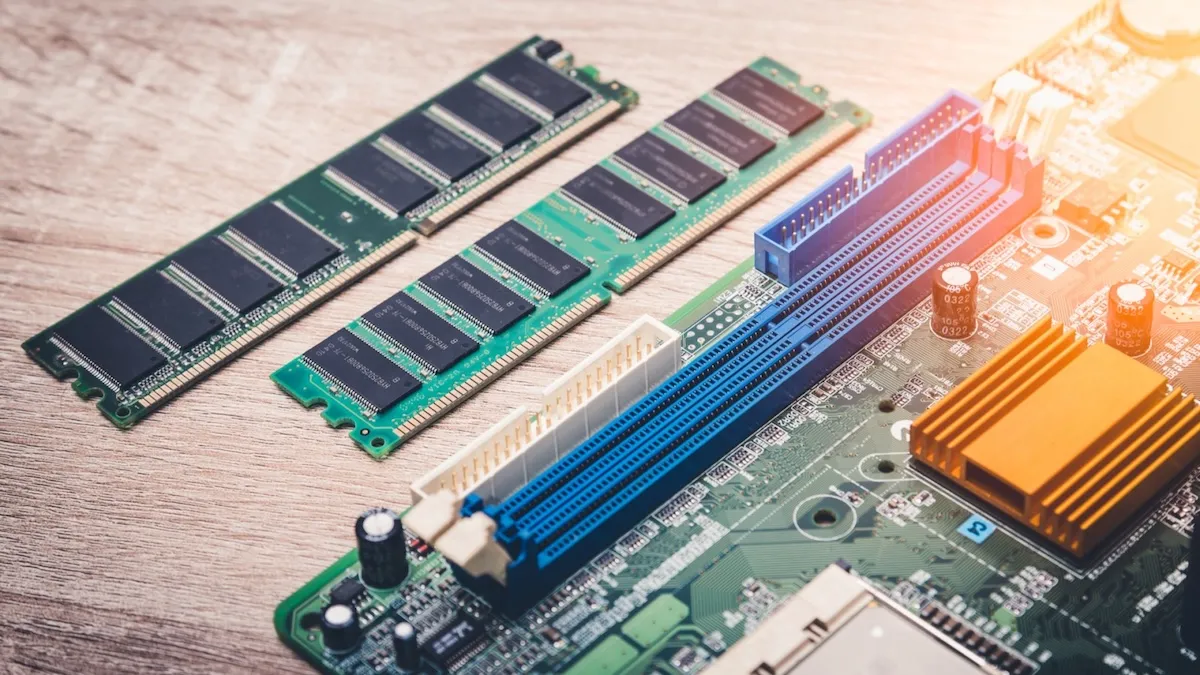
RAM - Random Access Memory
To put it mildly, Photoshop devours RAM like a hungry beast. RAM is temporary memory where Photoshop stores all the image data, layers, history... that you're working with.
- Minimum: 16GB RAM. This is the "breathable" level for common tasks like photo editing, simple banner design.
- Ideal: 32GB RAM or more. If you frequently work with large files, hundreds of layers, panorama images, or complex designs, 32GB (or more) will be your true love.
So if you're using 8GB and experiencing lag, the first and most worthwhile thing you should do is upgrade your RAM. Plus, RAM prices are now at an accessible level for most users.
SSD - Solid State Drive
If you're still using a traditional HDD, that's one of the biggest reasons why Photoshop runs slowly. Think of HDD as a bumpy village road, while SSD is a 6-lane highway.
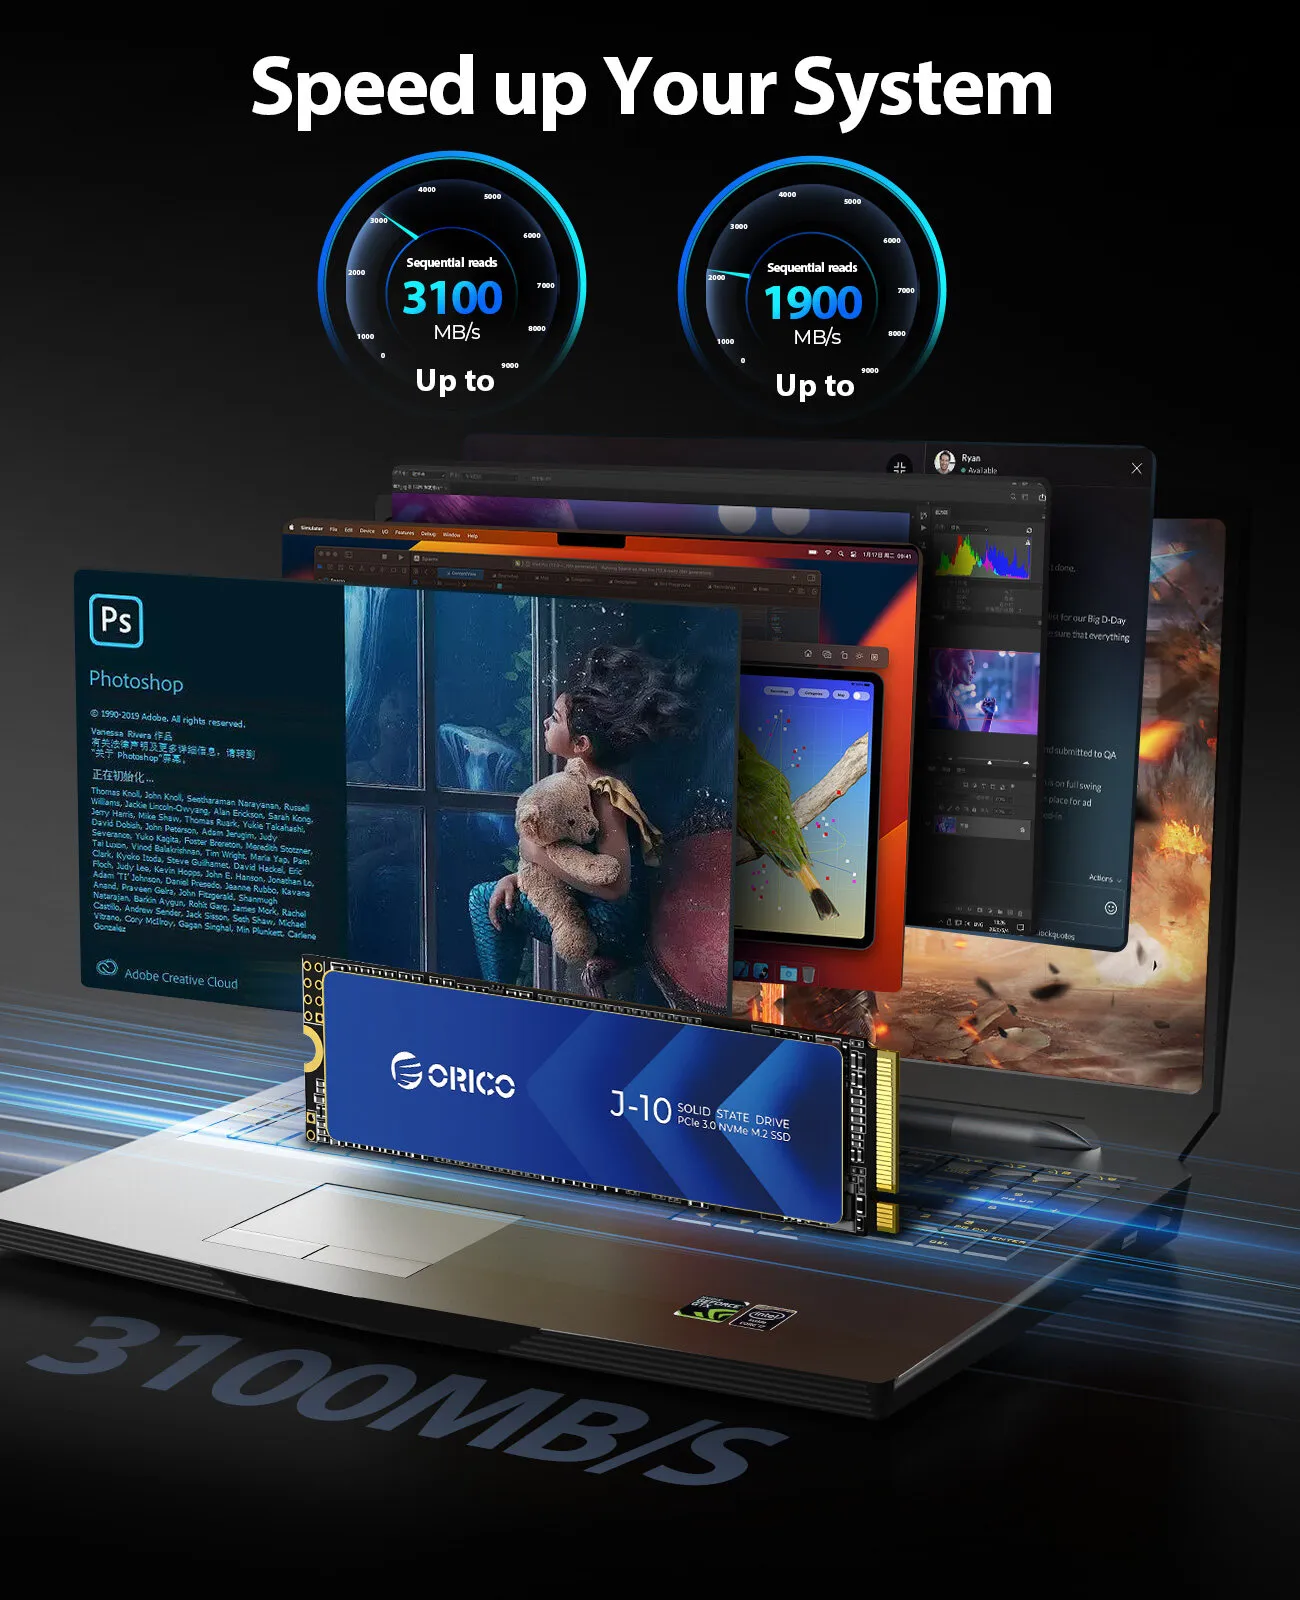
- Why SSD? SSD has read/write speeds many times faster than HDD. This helps Photoshop start up faster, open files almost instantly, and most importantly, helps the Scratch Disk (we'll discuss this later) work efficiently.
Recommended Configuration:
- Good: Use 1 SSD for the operating system and Photoshop.
- Better: Use 1 SSD for the operating system/software and 1 dedicated SSD just for Photoshop's Scratch Disk. This is the "dream" configuration for maximum performance.
CPU and GPU
- CPU (Central Processing Unit): The "brain" of your computer, processing most general tasks. The higher the clock speed and more cores/threads, the better.
- GPU (Graphics Card): The "muscle" that helps Photoshop handle heavy graphics tasks like smooth Zoom, image rotation, filters in Filter Gallery, Liquify, 3D...
Important: You must ensure that GPU "assistance" is enabled in Photoshop. We'll learn about this right below.
Part 2: Deep Photoshop Tweaks
This is the most important part, where we directly "command" Photoshop on how to work. Open Photoshop and go to Edit > Preferences > Performance... (On macOS it's Photoshop > Settings > Performance...).
Memory Usage
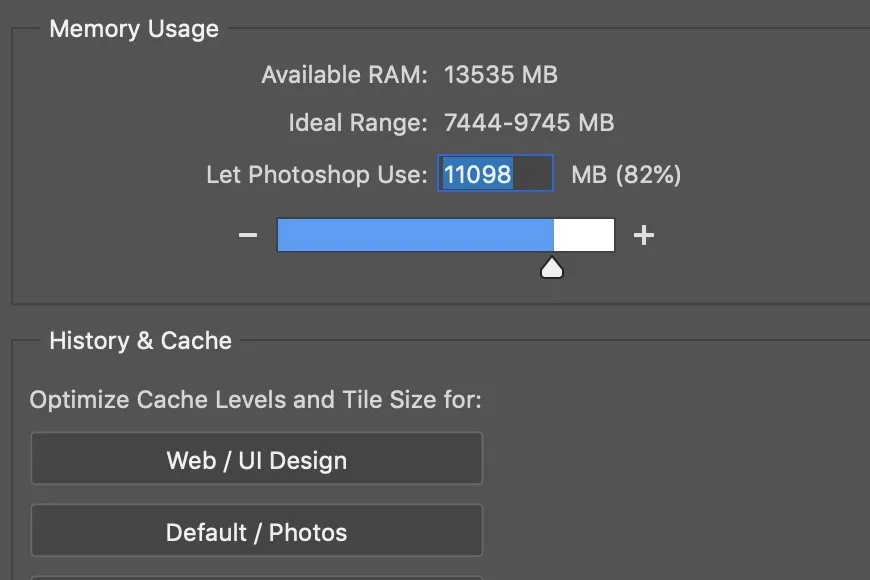
- What is it? This is where you allow Photoshop to use how much % of your computer's RAM.
- How to set it? Drag the slider to 70-80%.
- Why not 100%? Because your computer still needs RAM to run the operating system and other applications. Setting it to 100% will cause the entire system to freeze.
Scratch Disks
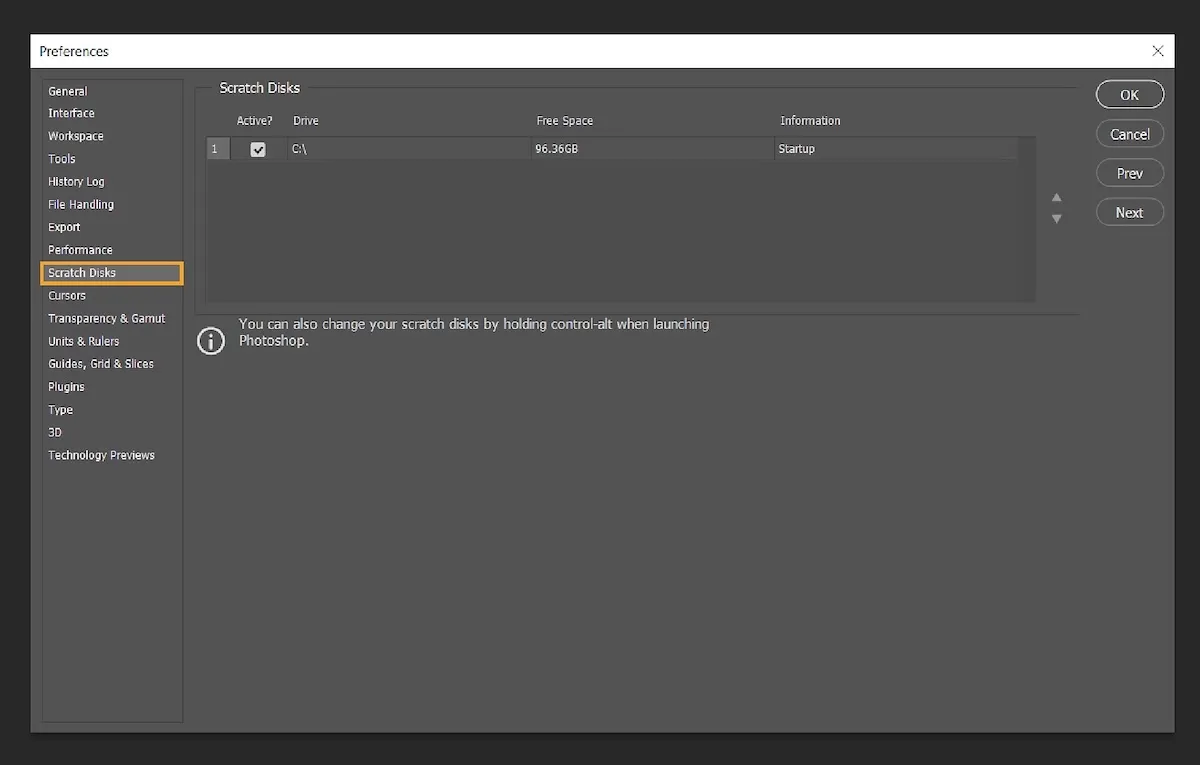
- What is it? When you're working and RAM gets full, Photoshop will use a portion of your hard drive as "virtual cache memory". This is the Scratch Disk. If your Scratch Disk is full or located on a slow HDD, Photoshop will lag terribly.
- How to set it up?
- Priority #1: Choose the fastest SSD with the most free space. Ideally, a dedicated SSD that's not the Windows/macOS system drive.
- Absolutely avoid: Never choose the C drive (system drive) as the only Scratch Disk if it's nearly full.
- You can select multiple drives as Scratch Disks. Photoshop will use the first drive in the list, and when it's full, it will move to the next one.
Check Scratch Disk usage: Look at the status bar at the bottom left of the workspace, select "Scratch Sizes". The number on the left is the space being used, the number on the right is the total RAM allocated. If the left number is much larger than the right number, it means Photoshop is using the hard drive heavily, and you need more RAM.
History States & Cache

- History States: The number of steps you can Undo (Ctrl+Z). Default is 50. If you don't need too many, reduce it to 20-30 to save RAM.
- Cache Levels & Cache Tile Size: These are slightly advanced settings.
- If you often work with small files but many layers (web design, app design): Choose higher Cache Levels (e.g., 6) and smaller Cache Tile Size (e.g., 128K).
- If you often work with large files but few layers (high-resolution photo editing, panorama): Choose lower Cache Levels (e.g., 2-4) and larger Cache Tile Size (e.g., 1024K).
- If unsure, just leave the default settings according to the
Web/UI DesignorDefault/Photosoption.
Graphics Processor Settings

- This is when we call the "muscle" to work.
- Make sure you've checked the
Use Graphics Processorbox. - Click the
Advanced Settingsbutton and chooseNormalorAdvancedmode to maximize graphics card power. If you encounter display errors, you can lower it toBasic.
Part 3: Smart Work Habits
Software tweaks alone aren't enough - your habits determine work efficiency.
- Turn off unnecessary things: Close image files you're not using. Each open file is a burden on RAM and Scratch Disk. Similarly, close other programs (especially web browsers with tons of tabs) when focusing on Photoshop work.
- Clean up "junk": Occasionally, go to
Edit > Purge > All.... This command will delete all cached data like clipboard, history... helping free up a significant amount of RAM. (Note: you won't be able to Undo after Purge). - Keep your "house" tidy: Name and group layers into Groups (folders). A file with 100 messy layers will be much heavier and laggier than a file with 100 layers organized in neat groups.
- Work in 8-bit: Unless you're a professional photographer needing deep color editing, work in 8 Bits/Channel mode (set in
Image > Mode). 16-bit or 32-bit modes provide better color but also increase file size and processing load many times over. - Update regularly: Always update to the latest Photoshop version and graphics card drivers. Updates usually come with bug fixes and performance improvements.
- Reset settings when "all else fails": If Photoshop suddenly acts up for no clear reason, try resetting settings to default. Hold
Ctrl + Alt + Shift (Windows)orCmd + Opt + Shift (Mac)right when starting Photoshop.
Conclusion
Optimizing Photoshop isn't a one-time job. It's a combination of three factors: sufficiently powerful hardware, smart software settings, and scientific work habits.
Don't get discouraged, try applying each step in this article one by one. Start by checking Preferences > Performance, cleaning up Scratch Disk, and developing the habit of closing unnecessary files. With just a few small changes, I'm sure you'll feel a clear difference.
Now, open Photoshop and turn it into your true "war horse". Wishing you success and truly inspiring creative moments!
![How to Optimize iPhone Photos: Capture & Edit Stunning Pictures [2025]](/images/blog/optimized-images-on-iphone.webp)