In the programming world, Git is like a "time machine" that lets us return to any moment in a project's history. But among hundreds or thousands of "points in time" (commits), how do you find the exact milestone, such as the day version 1.0 was released or an urgent bug fix?
The answer is Git Tag.

Think of git tag as a bookmark or a milestone. Instead of remembering a long, meaningless commit hash like f8a2b3c, you can assign it a friendly, meaningful name like v1.0-release.
This article is your comprehensive guide to mastering Git Tag, from the basics to advanced techniques for managing project versions professionally.
Why use Git Tag? 🚀
If git commit is about saving every small change, then git tag is about marking important milestones that can't be erased. Using tags brings invaluable benefits:
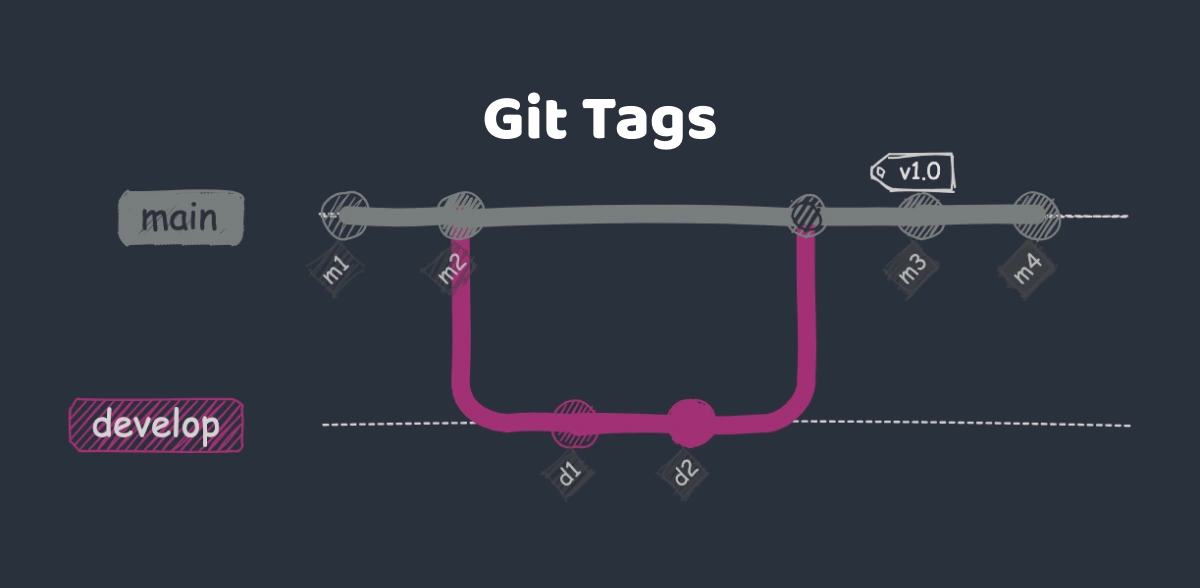
- Marking release versions: This is the most common and important use. When you finish a product version (e.g.,
v1.0,v1.1,v2.0-beta), you create a tag to "freeze" the code at that point. This helps you and your team easily return to, review, or patch a specific version. - Easy referencing: Saying
check out version v1.2is much clearer and less error-prone thancheck out commit 8c3eafb. Tags provide human-readable, memorable names. - Increased stability and reliability: A tag always points to exactly one commit. Unlike branches, which can change, a tag is immutable. When you build from a tag, you can be 100% sure the source code hasn't changed.
- Improved team communication: Tags create a common language. When a PM asks "Which version has feature X?", you can confidently answer "It was added in
v2.5.1". Everything becomes clear and transparent.
Two types of Git Tag: Lightweight vs. Annotated
Git provides two types of tags, and understanding the difference is crucial.
1. Lightweight Tag
As the name suggests, this is the simplest type of tag.
- Nature: It's just a pointer to a specific commit. It doesn't store any extra information.
- Analogy: Think of it as a sticky note you put on a page. It just marks the spot, nothing more.
- When to use: Usually for personal, temporary purposes, or when you don't need to store metadata about the tag.
2. Annotated Tag
This is the recommended type for all important milestones, especially official releases.
- Nature: It's a full object in Git's database. It stores the tagger's name, email, date, and a tag message (separate from the commit message). It can also be GPG-signed for security.
- Analogy: Like a commemorative plaque carefully engraved. It not only marks the spot but also records "Who tagged, when, and why".
- When to use: Always use for public releases and important project milestones.
Complete Guide to Using Git Tag 💡
Master these commands to confidently work with Git Tag in any situation.
1. List existing tags
To see all tags in your repository:
git tag
You can also search for tags matching a pattern. For example, to find all tags starting with v1.8:
git tag -l "v1.8.*"
2. Create a new tag
Create an Annotated Tag (Recommended):
Use the -a (annotated) and -m (message) flags.
# Syntax: git tag -a <tag-name> -m "<tag-message>"
git tag -a v1.0 -m "Release version 1.0"
Create a Lightweight Tag:
Just don't use the -a and -m flags.
# Syntax: git tag <tag-name>
git tag v1.0-beta
Tag an old commit:
If you forgot to tag at release time, just find the commit hash (git log) and run:
# Syntax: git tag -a <tag-name> <commit-hash>
git tag -a v0.9 9fceb02
3. View tag details
To see details of a tag (including the commit it points to), use git show:
git show v1.0
You'll see the difference:
- With annotated tags, you'll see the tagger, date, tag message, and then the commit info.
- With lightweight tags, you'll only see the commit info.
4. Push tags to remote
This is important and often forgotten! By default, git push does not push tags to the remote server (like GitHub, GitLab).
Push a specific tag:
# Syntax: git push origin <tag-name>
git push origin v1.0
Push all local tags:
Be careful with this command—make sure you only have the tags you want to push.
git push origin --tags
5. Delete a tag
Delete a local tag:
# Syntax: git tag -d <tag-name>
git tag -d v1.0-beta
Delete a remote tag (a bit more complex):
You need to push an "empty reference" to that tag on the remote.
# Syntax: git push origin --delete <tag-name>
git push origin --delete v1.0
6. Checkout a tag
You can "time travel" to the code state at a tag using git checkout.
git checkout v1.0
Important note: When you checkout a tag, you're in a "detached HEAD" state. This means you're not on any branch. If you make changes and commit, that commit won't belong to any branch and could be lost.
If you want to develop a new feature or fix a bug based on a tag, it's best to create a new branch from that tag:
# Syntax: git checkout -b <new-branch-name> <tag-name>
git checkout -b hotfix-v1.0.1 v1.0
Best Practices for Using Git Tag ✅
To use Git Tag like a pro, follow these rules:
- Prefer Annotated Tags: Always use annotated tags for releases and public milestones. Their metadata is invaluable.
- Consistent naming: Agree on a naming convention. Semantic Versioning (SemVer) is very popular (
MAJOR.MINOR.PATCH, e.g.,v2.5.1). - Write meaningful tag messages: With annotated tags, use the message to summarize key changes in that version.
- Tags are immutable: Never move a tag (especially after pushing) to point to a different commit. Tags are meant to mark a fixed point in history. If you need to change, create a new tag (e.g.,
v1.0.1).
Conclusion: Mastering Git Tag for a More Organized Project
Git Tag is not just an auxiliary feature—it's a foundational tool for a professional workflow, making your project organized, reliable, and easy to manage. It turns a complex commit history into a clear story with carefully marked chapters.
Start placing those golden milestones in your project today!
![[Advanced Git] What is Git cherry-pick? The "Magic" Command for Selective Commits](/images/blog/what-is-git-cherry-pick-thumbnail.webp)
![[Advanced Git] How to Use Git Stash to Handle Unfinished Changes](/images/blog/what-is-git-stash-thumbnail.webp)
![[Advanced Git] Git Rebase Guide: Understand and Use Effectively](/images/blog/what-is-git-rebase-thumbnail.webp)
![[Advanced Git] Git reflog: Recovering commit history and every action in Git](/images/blog/what-is-git-reflog-thumbnail.webp)