If you ever asked previous generations of Mobile developers about their memories of the first day learning the trade, 90% would tell you about a "tragedy" called: Environment Setup.
Downloading an Android Studio weighing tens of GBs, configuring laggy virtual machines, setting up complicated Environment Variables, and then receiving a red screen reporting errors right on the first run. Many people gave up before they even had a chance to write a line of code.
But today, you are living in the era of Expo. In this article, we will skip all those nightmares. In just about 15 minutes, you will see your application running smoothly on the very phone you are holding in your hand.
1. Zero-installation coding experience with Expo Snack
Before starting to install anything on your computer, I want to introduce you to a "secret weapon" of the React Native community: Expo Snack.
Imagine Expo Snack as Google Docs but for developers. It is an online development environment right in your web browser.
- How to try it now: Just visit snack.expo.dev.
- The magic: You can type code in the left pane and instantly see the app interface update in the simulator pane on the right (supports iOS, Android, and Web interfaces).

When should you use Expo Snack? Snack wasn't created to build large projects. It is perfect when you want to quickly test an idea, debug a piece of code, or share source code for others to see with just a link.
To build a complete application, we need to set up the environment on a personal computer. Don't worry, it's extremely simple.
2. Preparing the "tools" for Windows & macOS
To start, your computer only needs exactly 2 basic pieces of software. Whether you use Windows or macOS, the steps are exactly the same:
Install Node.js
Node.js is a runtime environment for executing JavaScript on a computer, and React Native needs it to function.

- Go to the homepage nodejs.org.
- Download the version with LTS (Long Term Support). This is the most stable version with the fewest bugs.
- Run the installer and just click "Next" until completed.
Pro tip: Open Terminal (on macOS) or Command Prompt/PowerShell (on Windows), type the command node -v. If numbers appear on the screen (e.g., v20.11.0), congratulations, you have successfully installed it!
Install Visual Studio Code (VS Code)
This is the national, free, and currently the best code editor for React Native.
- Download and install at code.visualstudio.com.
- Recommended Extensions: You should install extensions like ESLint (for checking code errors), Prettier - Code formatter (for formatting code automatically), and React Native Tools to support faster coding.
3. Expo Go: The bridge between Code and Real Devices
Instead of having to install heavy Emulators/Simulators that slow down the computer, we will use your actual phone to run the application.
Open your phone (iPhone or Android), go to the App Store or Google Play, search for the keyword Expo Go, and download this app.
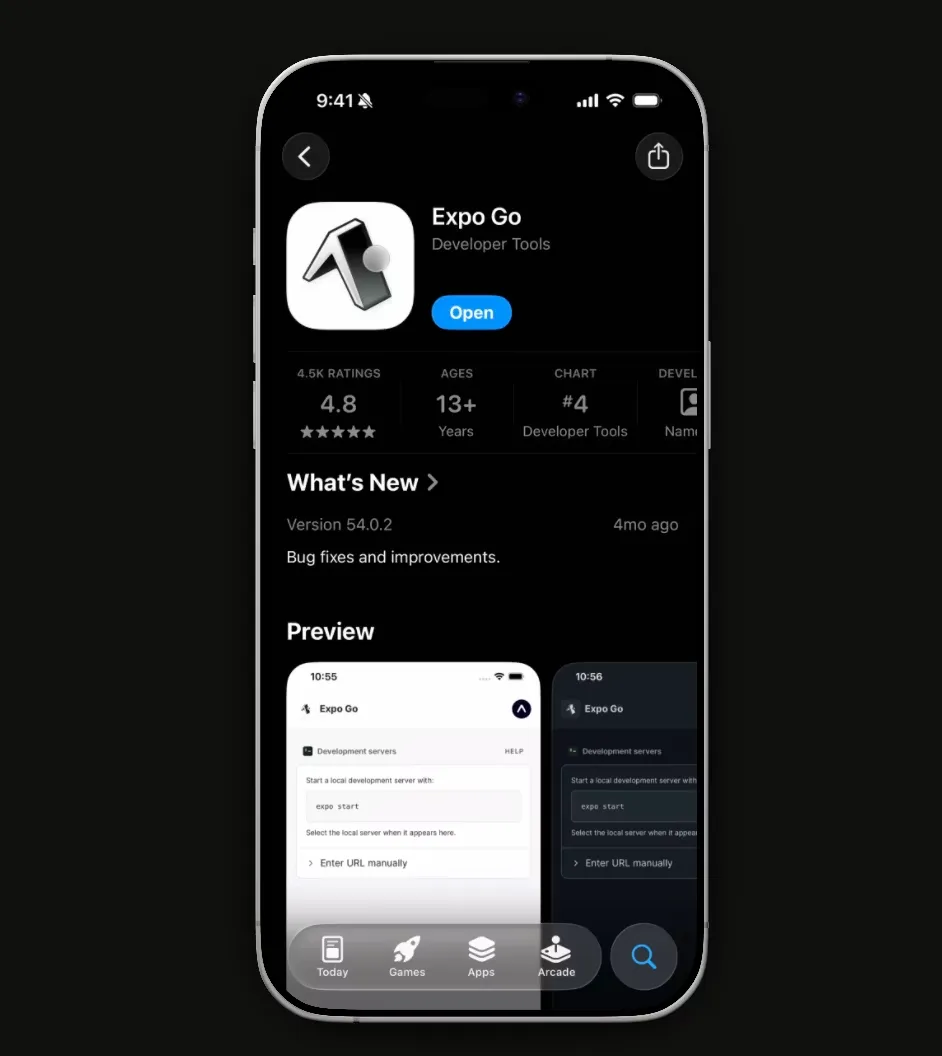
Expo Go acts as a wrapper. When you write code on your computer, the computer will push that code over the Wi-Fi network to the Expo Go app on your phone, and Expo Go will instantly "translate" it into the app interface.
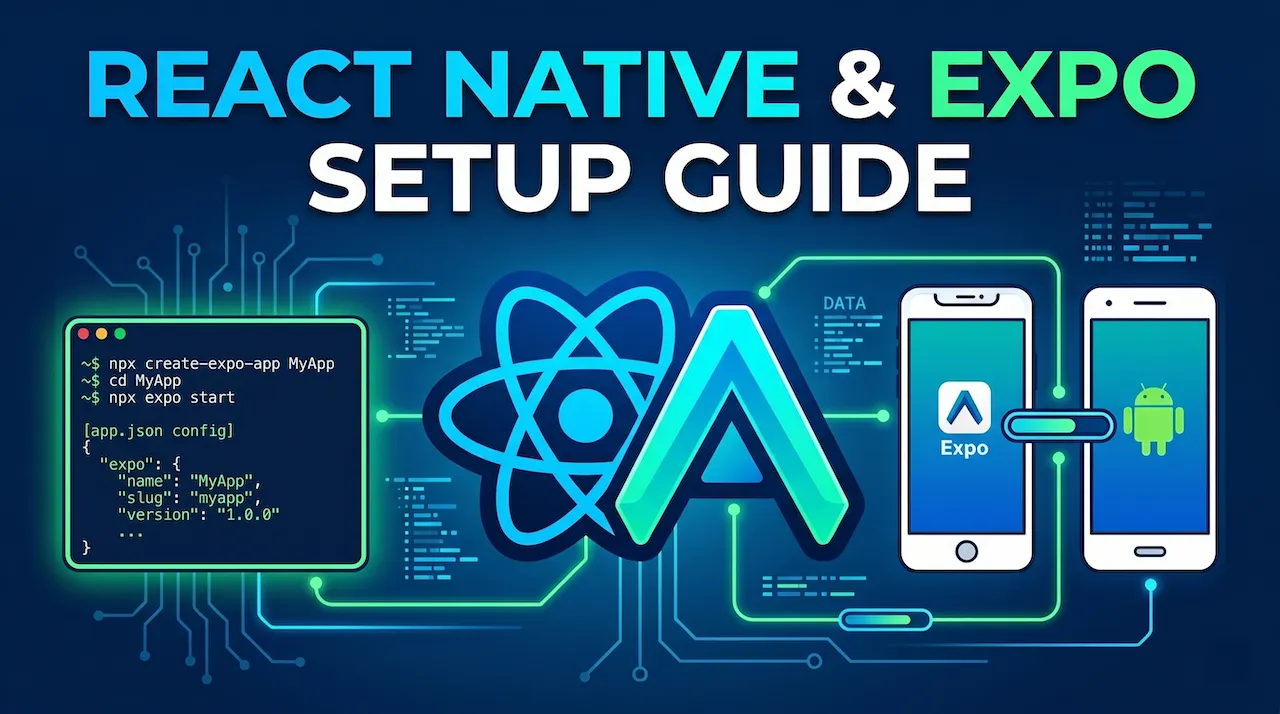
4. Creating your first project
The computer is ready, the phone has Expo Go installed. Now it's time to create the project!
- Open Terminal or Command Prompt on your computer.
- Use the
cdcommand to navigate to the folder where you want to save the project (e.g.,cd Desktop). - Type the following "magical" command line and press Enter:
npx create-expo-app@latest my-first-app
Here my-first-app is your project folder name. This command will automatically download the standard folder structure of the latest Expo, pre-installing all necessary libraries. You just need to make a cup of coffee and wait for about 1-2 minutes for the Terminal to finish running.
5. Run the app and experience Fast Refresh
The last and most exciting step.
- Navigate into the newly created project folder:
cd my-first-app - Start the Expo server:
npx expo start - At this point, a large QR code will appear on the computer screen (Terminal).
- If you are using an iPhone: Open the default Camera app, scan that QR code, and tap the notification to open it with Expo Go.
- If you are using Android: Open the downloaded Expo Go app, select the "Scan QR Code" button, and scan the code on the screen.
BOOM! Your first application is displayed on your phone screen.
The "Magic" called Fast Refresh
Now, open the my-first-app folder using VS Code. Find and open the App.js file (or app/index.tsx if you are using the new architecture).
You will see a piece of code containing a familiar text string. Try changing that text string to:
"Hello world, I'm mastering React Native!"
Press Save (Ctrl + S or Cmd + S). As soon as you hit save, look at your phone. The interface changes immediately without having to rebuild the app, nor does it lose its running state. This feature is called Fast Refresh, and it will be a powerful assistant helping you speed up your workflow dozens of times!
Conclusion: Environment is no longer a barrier
You see, there is no Xcode, no Android Studio, no complicated configurations. With Node.js, VS Code, and Expo Go, you have completed setting up the super-fast React Native development environment.
Now you have a perfect "laboratory". In the next article, we will dissect what's inside the newly created project, where the flow starts, and why it works.