In the previous article, you grasped Stack Navigation - the "art" of opening pages stacked on top of each other.
However, look at the Facebook, Shopee, or Tiktok app on your phone. To switch between "Home", "Notifications", and "Account", you cannot just use Stack to push pages and then press the Back button forever. You need a fixed Menu bar that always appears on the screen!
In Mobile programming, there are 2 most popular types of Menus:
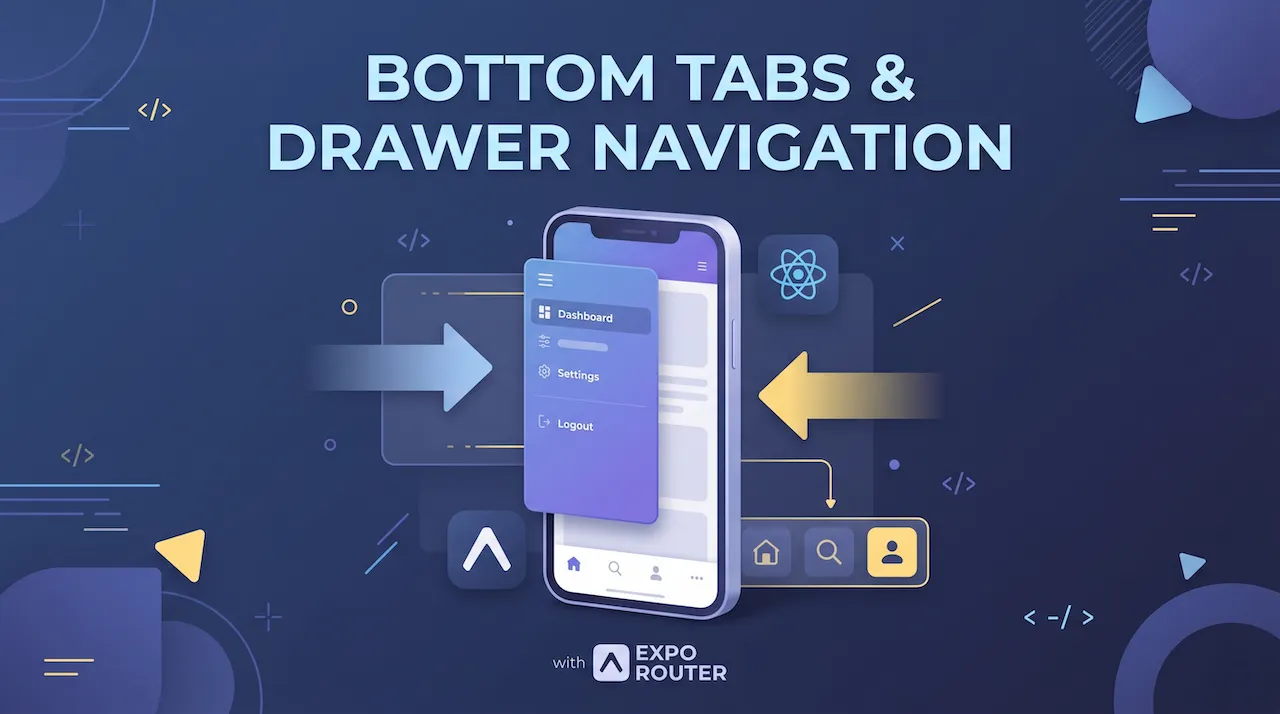
- Bottom Tabs: The navigation bar located at the bottom of the screen.
- Drawer: A hidden menu that swipes out from the edge (often called a Hamburger menu).
Today, we will use the "power" of Expo Router to create both types of Menus extremely easily.
1. The Secret Behind the Menu Bar: _layout.tsx
Before coding, you must understand a vital rule of Expo Router: File-based routing.
Do you remember in previous articles we mentioned a specially named file _layout.tsx?
- In Expo Router,
_layout.tsxacts as a Wrapper (skeleton). - Instead of just displaying a single screen, this file is responsible for "wrapping" all screens located in the same directory and adding a common framework (like a shared Header, or shared Bottom Tabs).
To create Bottom Tabs, we will use the _layout.tsx file!
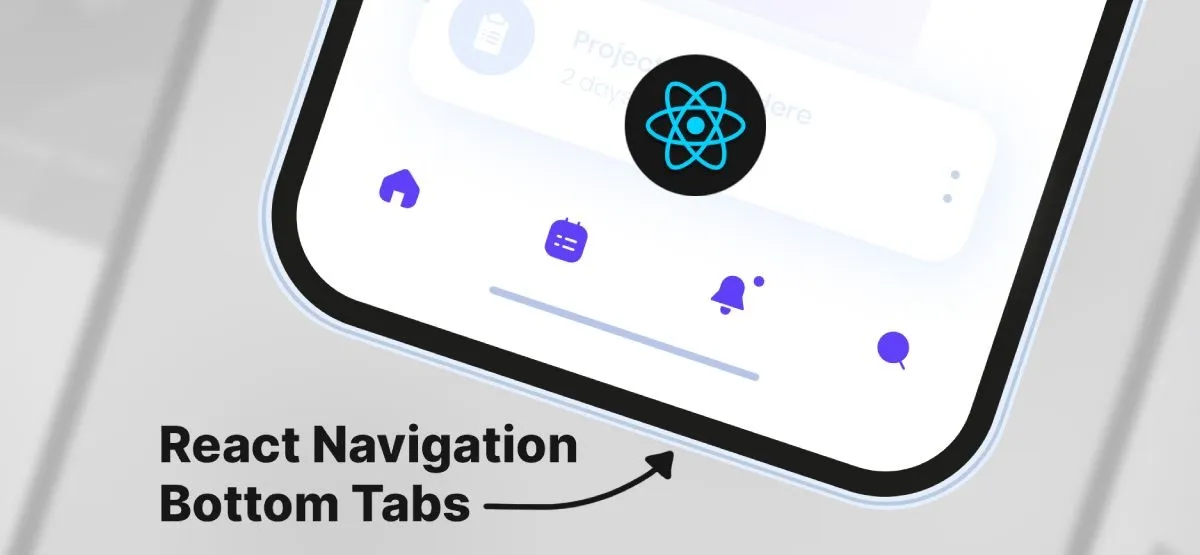
2. Quickly Build Bottom Tabs in 5 Minutes
Bottom Tabs is the gold standard of modern Mobile design (UX/UI) because it is right within reach of your thumb.
To create neat Tabs, inside the app/ directory, we often group Tab screens into a folder with parentheses, for example: app/(tabs).
(Note: A folder with parentheses () is called a Route Group, it helps group files WITHOUT changing the URL path).
The project structure will now look like this:
📁 app
 └── 📁 (tabs)
      ├── 📄 _layout.tsx   <-- The heart of Bottom Tabs
      ├── 📄 index.tsx     <-- Home Tab
      └── 📄 profile.tsx   <-- Profile Tab
Now, open the app/(tabs)/_layout.tsx file and enter the following code:
import { Tabs } from 'expo-router'
import { Ionicons } from '@expo/vector-icons' // Expo's built-in icon library

export default function TabLayout() {
  return (
    <Tabs screenOptions={{ tabBarActiveTintColor: '#e91e63' }}>
      {/* Define Home Tab */}
      <Tabs.Screen
        name="index" // Points to index.tsx file
        options={{
          title: 'Home',
          tabBarIcon: ({ color }) => <Ionicons name="home" size={24} color={color} />,
        }}
      />

      {/* Define Profile Tab */}
      <Tabs.Screen
        name="profile" // Points to profile.tsx file
        options={{
          title: 'Profile',
          tabBarIcon: ({ color }) => <Ionicons name="person" size={24} color={color} />,
        }}
      />
    </Tabs>
  )
}
Decoding the code:
- The
<Tabs>Component is imported directly fromexpo-router. It will automatically turn the files next to it into a menu bar at the bottom. name="index"andname="profile"are the connection between the Tab structure and your UI files.tabBarIconis where you attach beautiful icons. Expo has a built-in huge@expo/vector-iconslibrary, you don't need to install anything else!
With just a few lines of code above, you have an accurate, smooth Bottom Tabs bar that automatically colors when selected!
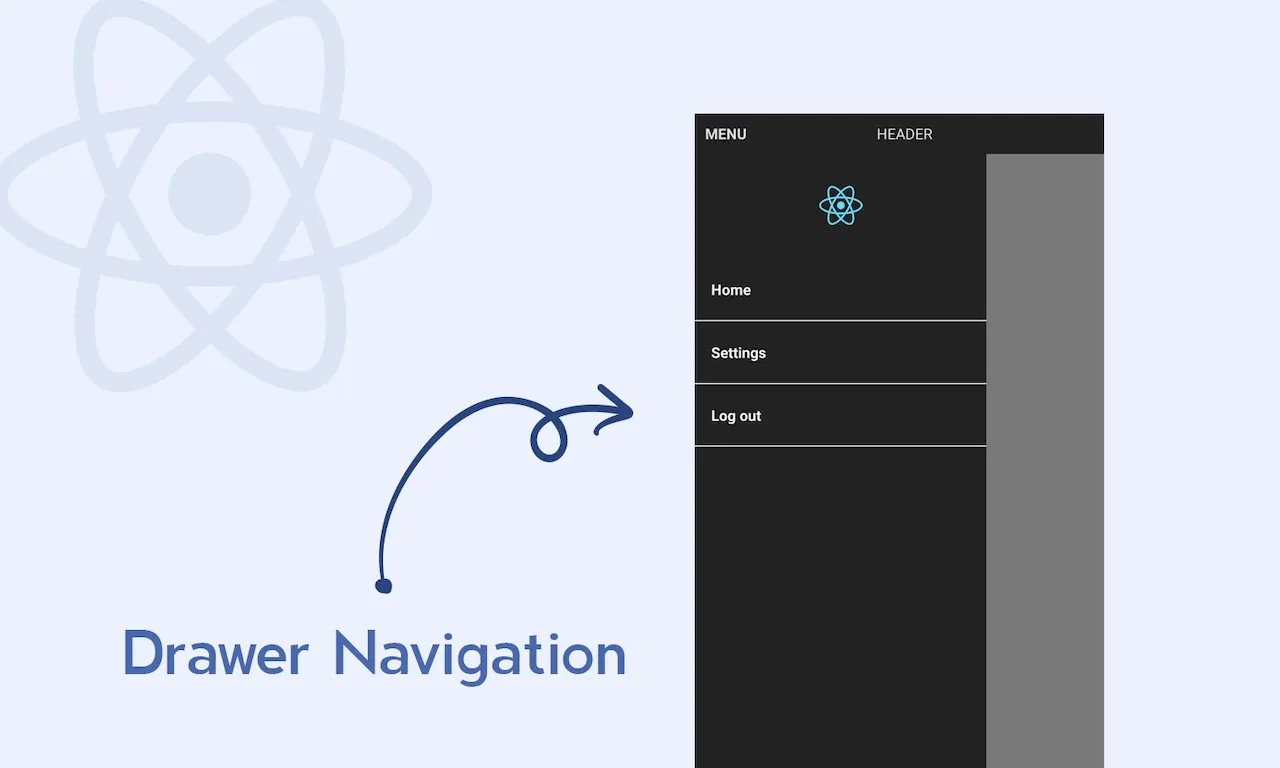
3. Create a Swipe Menu from the Edge (Drawer Navigation)
Drawer Navigation is often used when your app has too many items (like Settings, Contact, Help, Terms...) that the Bottom Tabs bar (maximum 5 items) cannot contain.
Unlike built-in Tabs, to use Drawer, you need to install 2 additional powerful gesture support libraries of React Native:
Step 1: Open Terminal and run the installation command:
npx expo install @react-navigation/drawer react-native-gesture-handler react-native-reanimated
Step 2: Code structure
The structure is completely similar to Tabs. You create a folder app/(drawer) and add the _layout.tsx file to it:
// app/(drawer)/_layout.tsx
import { GestureHandlerRootView } from 'react-native-gesture-handler'
import { Drawer } from 'expo-router/drawer'
import { Ionicons } from '@expo/vector-icons'

export default function DrawerLayout() {
  return (
    // Must wrap Drawer inside GestureHandlerRootView to recognize swipe gestures
    <GestureHandlerRootView style={{ flex: 1 }}>
      <Drawer screenOptions={{ drawerActiveTintColor: '#0984e3' }}>
        <Drawer.Screen
          name="index" // Points to index.tsx file (Main Drawer screen)
          options={{
            drawerLabel: 'Home',
            title: 'Home',
            drawerIcon: ({ color }) => <Ionicons name="home-outline" size={24} color={color} />,
          }}
        />

        <Drawer.Screen
          name="settings" // Points to settings.tsx file
          options={{
            drawerLabel: 'Settings',
            title: 'System Settings',
            drawerIcon: ({ color }) => <Ionicons name="settings-outline" size={24} color={color} />,
          }}
        />
      </Drawer>
    </GestureHandlerRootView>
  )
}
Now, at the top left corner of your screen, a "3 dashes" (Hamburger) icon will appear. When you click it or swipe from the left edge of the screen, a beautiful Menu panel will slide out!
4. Practical Architecture: Combining all 3 types of Navigation
You might wonder: "So should I use Stack, Tabs, or Drawer?"
The answer of top applications (like Facebook) is: Use all 3! They are nested together in an extremely smart tree architecture:
- Level 1 (Root Stack): Consists of 2 large areas:
[Login Screen]and[Logged In Area]. (If not logged in, Tabs are not shown). - Level 2 (Inside Logged In Area): Contains a Bottom Tabs bar to switch between Home, Video, Friends, Account.
- Level 3 (Inside Account Tab): Can contain a Drawer to pull out options for Security Settings, Help, Logout.
- Level 4 (Inside Home Tab): When clicking on a post, the application uses Stack to push the Post Detail page on top.
With Expo Router, this nesting is extremely simple. You just need to arrange folders nested within each other, the file-based routing system will automatically understand and arrange the flow for you!
Conclusion: Navigation is no longer an obstacle
Congratulations! Finishing this lesson, you have officially mastered the 3 most "powerful" navigation tools: Stack, Tabs, and Drawer. Currently, your application has a perfect framework, gorgeous interface, and smooth page transition experience comparable to any app on the Store.
However, all data from the beginning of the series until now is "dead" data (because we typed it directly into the code). In the real world, information about posts, accounts, or comments must be fetched from the server.
Prepare yourself to enter the next phase, we will work together to bring life to the application through API.