From the very first lessons until now, we have built an application with a gorgeous interface and smooth navigation. But there is a truth: All the displayed data (like character lists, detailed information) are hardcoded directly into the UI files.
In reality, a strategy guide article or an updated champion list cannot lie dead in the code. They must be fetched from a Server. When there is a new update, the Server changes the data, and the application on the phones of millions of users will automatically update without needing to redownload the app.
To do that, your application needs to know how to "talk" to the Server. And that communication language is the API.
1. What is an API? The simplest understanding of RESTful API
An API (Application Programming Interface) is like a waiter in a restaurant.
- You (Application / Client) look at the menu and order a dish. You give a request to the waiter.
- The waiter (API) takes that request into the kitchen (Server / Database).
- The kitchen finishes cooking, and gives the dish (Data - Response) back to the waiter to bring to you.
In Mobile programming, we usually work with RESTful API. The data that the "waiter" brings back to you is usually formatted in the JSON standard (looks exactly like an Object in JavaScript).

For example, when you call the API endpoint that provides the champion guides list, the Server will return a JSON array like this:
[
  {
    "id": "1",
    "name": "Lee Sin",
    "role": "Jungle",
    "guide_outline": ["Runes", "Items", "Jungle Path", "Basic Combo"]
  },
  {
    "id": "2",
    "name": "Wukong",
    "role": "Top / Jungle",
    "guide_outline": ["Runes", "Items", "Trading", "Teamfight"]
  }
]
2. Two Powerful Tools: fetch vs Axios
For the React Native application to act as the "ordering customer", we need to use HTTP Request sending tools. There are 2 most popular choices:

The Default Tool: fetch API
This is a built-in function of JavaScript. You don't need to install any additional libraries.
- Pros: Built-in, lightweight, Web/Native standard.
- Cons: Must write an extra step to parse data from Text to JSON (response.json()), error handling (catch error) is sometimes a bit verbose.
The Professional Tool: Axios
This is a 3rd party library (must be installed with the command npm install axios). Experienced developers and large projects often use Axios.
- Pros: Super concise syntax, automatic JSON parsing, easy to set up global configurations (like automatically attaching Login Token to every request), excellent error handling.
In this lesson, for you to master the core concept, we will practice with fetch (you can easily switch to Axios later because the mindset is exactly the same).
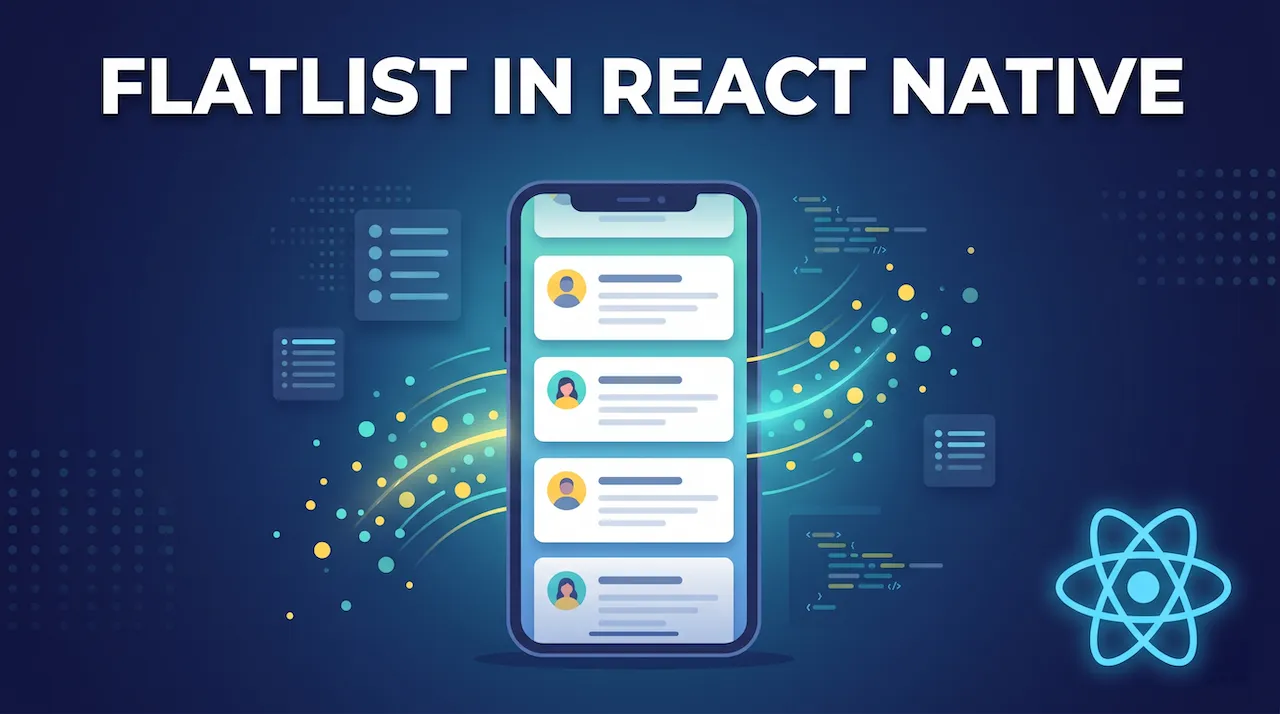
3. Practice: Call API to fetch Champion Guides list
To call the API and display it on the screen, we will need to combine all the knowledge we have learned: useState (save data), useEffect (trigger fetching data when opening screen), and FlatList (display list).
We will set up the 3 most important States that every API-calling application must have:
data: Variable to store fetched data.isLoading: Variable to show a spinning circle (Loading) while waiting for the Server's response.error: Variable to store error messages if network drops or Server crashes.
Let's look at the complete code snippet below:
import React, { useState, useEffect } from 'react'
import { View, Text, FlatList, ActivityIndicator, StyleSheet, TouchableOpacity } from 'react-native'

export default function ChampionGuidesScreen() {
  // 1. Initialize 3 core States
  const [champions, setChampions] = useState([])
  const [isLoading, setIsLoading] = useState(true) // Default is Loading when just entering the screen
  const [error, setError] = useState(null)

  // 2. Write API call function with async / await
  const fetchChampions = async () => {
    try {
      // Start calling the waiter (Assuming this is a real API URL)
      const response = await fetch('https://api.mockapi.io/v1/champions')

      // Check if Server returns an error (404, 500)
      if (!response.ok) {
        throw new Error('Cannot connect to server!')
      }

      // Parse data brought by the waiter into JSON
      const json = await response.json()

      // Store data into State
      setChampions(json)
    } catch (err) {
      // Catch error if offline or wrong URL
      setError(err.message)
    } finally {
      // Whether success or failure, must turn off Loading spinner
      setIsLoading(false)
    }
  }

  // 3. Use useEffect to automatically call function when opening screen
  useEffect(() => {
    fetchChampions()
  }, []) // Empty array = Only run exactly once

  // --- UI PROCESSING ---

  // If loading data
  if (isLoading) {
    return (
      <View style={styles.center}>
        <ActivityIndicator size="large" color="#0984e3" />
        <Text style={{ marginTop: 10 }}>Loading guides...</Text>
      </View>
    )
  }

  // If there's an error
  if (error) {
    return (
      <View style={styles.center}>
        <Text style={styles.errorText}>An error occurred: {error}</Text>
        <TouchableOpacity
          style={styles.retryBtn}
          onPress={() => {
            setIsLoading(true)
            setError(null)
            fetchChampions()
          }}
        >
          <Text style={{ color: 'white' }}>Retry</Text>
        </TouchableOpacity>
      </View>
    )
  }

  // If fetched data successfully, put into FlatList
  return (
    <View style={styles.container}>
      <Text style={styles.header}>Guides Library</Text>
      <FlatList
        data={champions}
        keyExtractor={(item) => item.id.toString()}
        renderItem={({ item }) => (
          <View style={styles.card}>
            <Text style={styles.name}>{item.name}</Text>
            <Text style={styles.role}>Role: {item.role}</Text>
            <Text style={styles.outlineTitle}>Guide Outline ({item.guide_outline?.length || 8} sections):</Text>
            <Text style={styles.outlineText}>{item.guide_outline?.join(' ➔ ')}</Text>
          </View>
        )}
      />
    </View>
  )
}

const styles = StyleSheet.create({
  container: { flex: 1, backgroundColor: '#f5f6fa', padding: 15 },
  center: { flex: 1, justifyContent: 'center', alignItems: 'center' },
  header: { fontSize: 24, fontWeight: 'bold', marginBottom: 15, color: '#2d3436' },
  card: { backgroundColor: '#fff', padding: 15, borderRadius: 10, marginBottom: 15, elevation: 3 },
  name: { fontSize: 18, fontWeight: 'bold', color: '#0984e3' },
  role: { fontSize: 14, color: '#636e72', marginTop: 4 },
  outlineTitle: { fontSize: 13, fontWeight: '600', marginTop: 10 },
  outlineText: { fontSize: 13, color: '#b2bec3', fontStyle: 'italic' },
  errorText: { color: '#d63031', fontSize: 16, marginBottom: 10 },
  retryBtn: { backgroundColor: '#d63031', padding: 10, borderRadius: 5 },
})
4. Technical Analysis: Why use async/await?
In the code snippet above, you see the words async and await appear. This is the core knowledge of Asynchronous programming in JavaScript.

When the phone requests data from the Server, this process can take 0.1 seconds or up to 5 seconds depending on the network speed.
Without await, JavaScript will slide straight down to the line below, grabbing empty data and throwing it onto the screen even before the Server has time to reply. The await keyword forces the application to stop and wait until "the waiter brings the food out", after that it is allowed to execute the following lines of code to load into the State.
Conclusion: APIs open up a new world
A perfect API calling function always includes 3 states: Loading, Error, and Success. By combining useEffect to trigger the call, fetch/axios to communicate, and useState to save the result, your application is now able to connect to the whole Internet world!
However, APIs only help fetch dynamic data from the Server. For static personal information of the user (like Light/Dark theme, Recent search history, or logged-in Access Token), if we keep calling the Server to fetch it, it will be very wasteful and slow.
How to store that information permanently right on the phone's local memory? See you in the next article!