
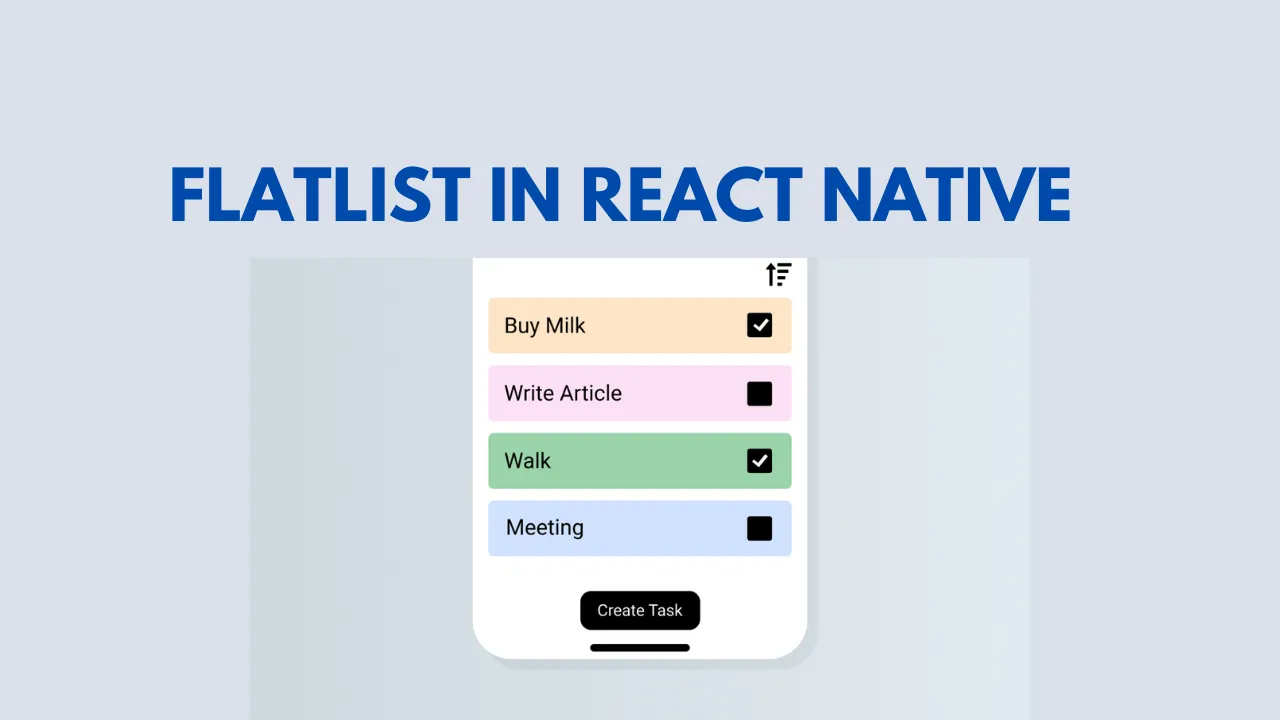
While building applications, you will constantly face displaying lists: Social media feeds, product lists, transaction histories, or phone contacts...
In previous articles, we learned about ScrollView to make content swipeable up and down. However, if you use ScrollView to display a list containing hundreds or thousands of items, your app will immediately become a performance "disaster": The phone gets hot, scrolling is laggy, and finally, the app crashes.
Why does this happen? And how can large applications scroll through thousands of posts smoothly? The answer lies in the "ultimate weapon" called FlatList.
1. Why does ScrollView fail against large data?
To understand the greatness of FlatList, you need to understand the fatal weakness of ScrollView.
When you pass 1,000 data items into a ScrollView, it commands the phone: "Render all 1,000 of these items into memory immediately, even though the screen can only display 5 items right now". Forcing the system to load and process thousands of images and texts simultaneously will deplete the memory (RAM) rapidly.
FlatList was born to completely solve this problem with a smart mechanism called Virtualization / Lazy Loading:
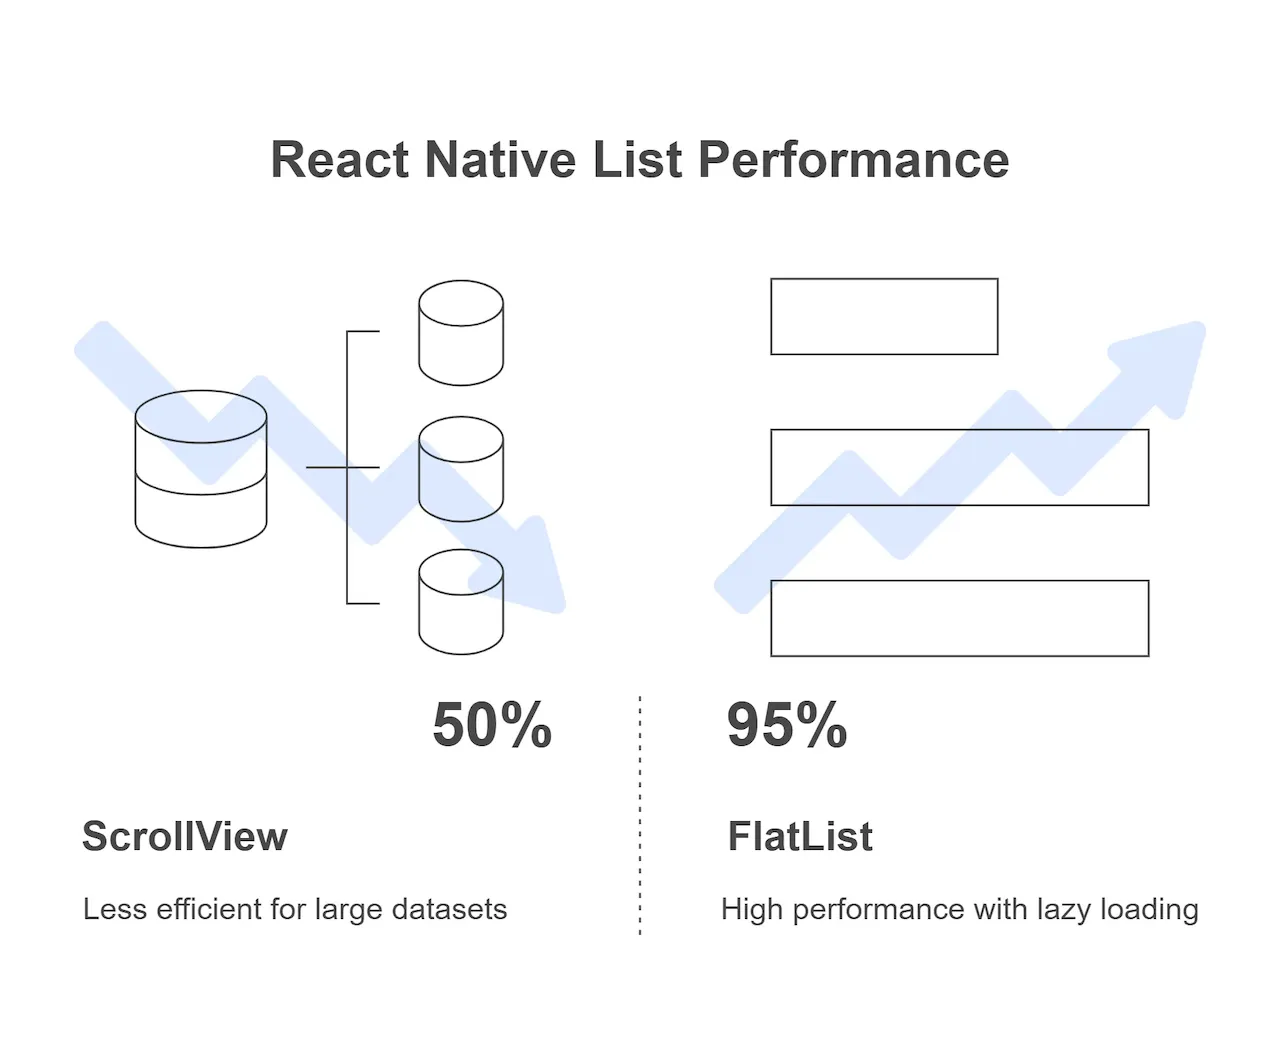
- FlatList only renders the items currently visible on the screen and a few items preparing to appear as you scroll.
- When you scroll past an item and it disappears from the screen, FlatList immediately removes it from memory to make room for a new item.
- Result: Whether your list has 10 items or 100,000 items, the RAM consumption of the app remains almost unchanged!
2. Core structure of a FlatList
For a FlatList to work, it requires you to provide exactly 3 most important pieces of information (via 3 properties - props):
data: The data source (An array of objects).renderItem: The design blueprint. How do you want each row in the list to look?keyExtractor: The identifier. How FlatList distinguishes this row from another (like an ID card number).
Practice: Building a champion guide
Suppose we are making an encyclopedia application, compiling detailed guide articles for a series of champions. We have an initial data list as follows:
const CHAMPION_DATA = [
  { id: '1', name: 'Master Yi', role: 'Assassin / Fighter', avatar: 'https://link-to-yi.png' },
  { id: '2', name: 'Wukong', role: 'Fighter', avatar: 'https://link-to-wukong.png' },
  { id: '3', name: 'Lee Sin', role: 'Fighter / Assassin', avatar: 'https://link-to-leesin.png' },
  { id: '4', name: 'Katarina', role: 'Assassin', avatar: 'https://link-to-katarina.png' },
  // ... Hundreds of other champions
]
Now, let's pass this data into FlatList:
import React from 'react'
import { View, Text, Image, FlatList, StyleSheet, TouchableOpacity } from 'react-native'

export default function ChampionListScreen() {
  // renderItem function: Declare the interface for EACH item in the list
  // Note: FlatList will pass in an object containing the 'item' property
  const renderChampionCard = ({ item }) => (
    <TouchableOpacity style={styles.card}>
      <View style={styles.infoContainer}>
        <Text style={styles.name}>{item.name}</Text>
        <Text style={styles.role}>{item.role}</Text>
      </View>
    </TouchableOpacity>
  )

  return (
    <View style={styles.screen}>
      <Text style={styles.headerTitle}>Champion List</Text>

      <FlatList
        data={CHAMPION_DATA} // 1. Pass in the data array
        renderItem={renderChampionCard} // 2. Pass in the UI drawing function
        keyExtractor={(item) => item.id} // 3. Extract ID as a unique key
        // Additional auxiliary props for styling:
        showsVerticalScrollIndicator={false} // Hide right scrollbar
        contentContainerStyle={{ paddingBottom: 20 }} // Add space at the end of the list
      />
    </View>
  )
}

const styles = StyleSheet.create({
  screen: { flex: 1, backgroundColor: '#f5f6fa', paddingHorizontal: 15 },
  headerTitle: { fontSize: 24, fontWeight: 'bold', marginVertical: 20, color: '#2f3640' },
  card: {
    backgroundColor: '#ffffff',
    padding: 15,
    borderRadius: 10,
    marginBottom: 15,
    flexDirection: 'row',
    alignItems: 'center',
    elevation: 2, // Android shadow
    shadowColor: '#000', // iOS shadow
    shadowOffset: { width: 0, height: 1 },
    shadowOpacity: 0.1,
  },
  infoContainer: { marginLeft: 15 },
  name: { fontSize: 18, fontWeight: 'bold', color: '#192a56' },
  role: { fontSize: 14, color: '#7f8fa6', marginTop: 5 },
})
3. SectionList: When you need to group data
Sometimes, your list needs to be divided into groups with their own titles (like a phone book divided by letters A, B, C). React Native provides a sibling of FlatList named SectionList.
With SectionList, your input data structure must change slightly. It must be an array of objects, where each object represents a group and MUST have a data property.
const GROUPED_DATA = [
  {
    title: 'Assassin', // Group title
    data: ['Katarina', 'Master Yi'], // List belonging to the group
  },
  {
    title: 'Fighter',
    data: ['Lee Sin', 'Wukong'],
  },
]
When using it, you will provide an additional prop named renderSectionHeader to draw the title for each group:
<SectionList
  sections={GROUPED_DATA}
  keyExtractor={(item, index) => item + index}
  renderItem={({ item }) => <Text style={styles.item}>{item}</Text>}
  renderSectionHeader={({ section: { title } }) => <Text style={styles.header}>{title}</Text>}
/>
4. FlatList Optimization Secrets (Advanced)
If your list is extremely complex (each row contains multiple high-quality images and heavy calculations), you might experience a brief "white screen" flash when scrolling before data can render. Add the following props to FlatList to boost speed:
initialNumToRender: The number of items to render immediately when opening the screen. (Example:initialNumToRender={10}). Set it just enough to fill the initial screen so the app starts faster.windowSize: The size of the memory "buffer zone". The default is 21 (10 viewports above, 10 viewports below, and the current viewport). If the app lags, lower this number (e.g.,windowSize={5}) to aggressively free up RAM.getItemLayout: If the items in your list HAVE THE SAME FIXED HEIGHT, use this function. It helps FlatList skip complex size calculation steps, tremendously increasing scrolling speed.
Conclusion: Large data is no longer a fear
Make this rule a reflex: Whenever there is a list (whether small or large), prioritize using FlatList. Only use ScrollView for static content pages like blog articles or settings introduction pages.
Congratulations! Up to this point, you have mastered the entire art of building interfaces from Core Components, Flexbox, Event Handling to FlatList. Your application is now very robust on a single screen.
But how do you transition from the Home page to the Detail page? How do you get a menu bar at the bottom of the screen? Prepare yourself to enter the next lesson, where we will magically transform disjointed screens into a complete application!