Congratulations on coming this far to become a professional React Native developer! You know how to build a beautiful interface screen, how to catch touch events, and how to display thousands of data items with FlatList.
But look at the apps on your phone. No app has just exactly one screen. When you are on the Home page, you tap your avatar, and the app must slide to the Profile page. You tap a product, and it must open the Detail page.
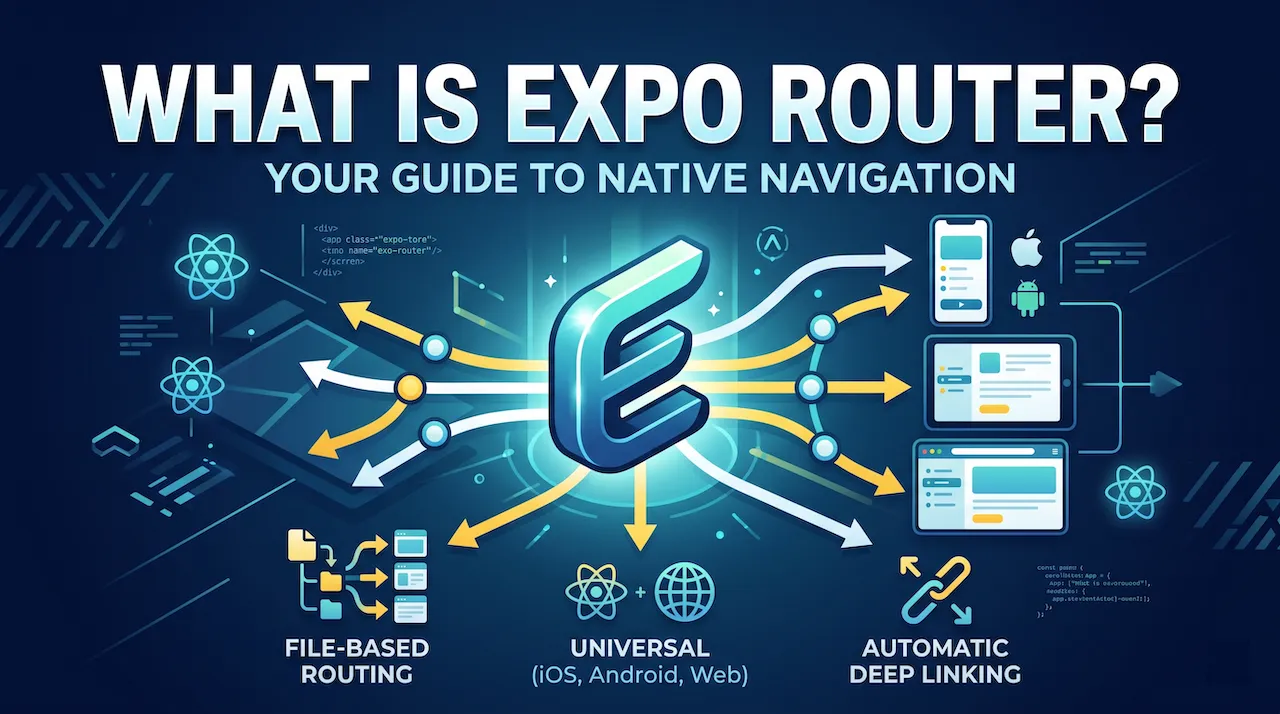
This process of transitioning between screens is called Navigation. And in this article, we will embrace the latest technology trend in Mobile programming by mastering Expo Router - a true revolution in how we organize screens.
1. The pain of the "Old Era"
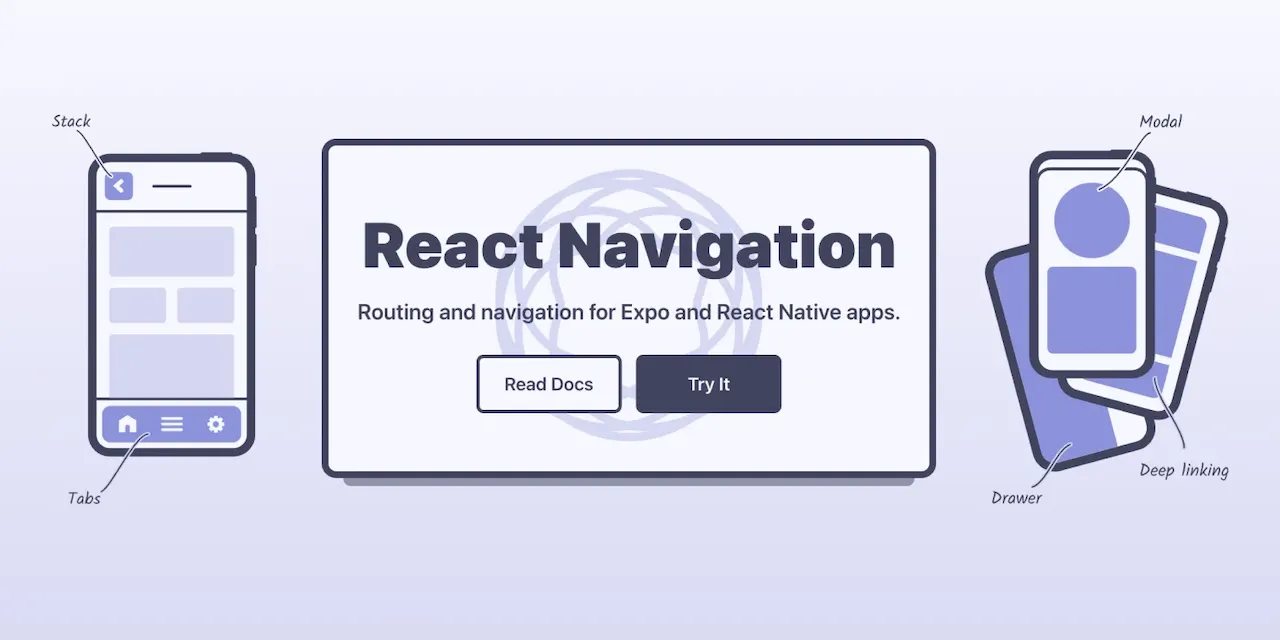
Previously, the only standard for navigating between pages in React Native was using the React Navigation library. Although very powerful, its setup caused a lot of headaches for beginners.
To have 2 screens, Home and Profile, you had to create a massive Router file, declare each screen one by one, and wrap them in NavigationContainer, Stack.Navigator, Stack.Screen tags... This configuration file often ballooned to hundreds of lines of code as the app grew, making it very hard to maintain and prone to errors.
But, Expo Router has arrived and changed the game.
A little secret for you: Expo Router is actually built ON TOP OF the React Navigation core, but it hides away all those complex configuration lines, giving you an unprecedentedly relaxed programming experience.
2. What is File-Based Routing?
If you have ever studied modern Web programming with Next.js, you will find this concept extremely familiar.
File-based routing simply means: How you name the file/folder is exactly how the path (URL/Route) of the screen will be. You don't need to write code to declare the screen anywhere. Create a new file, and BOOM - you have a new screen!
Imagine the app/ folder in your project as a traffic map:
- Every file ending with
.tsx(or.js) inside theapp/folder will automatically become a screen. - The name of the file is the name of the route.
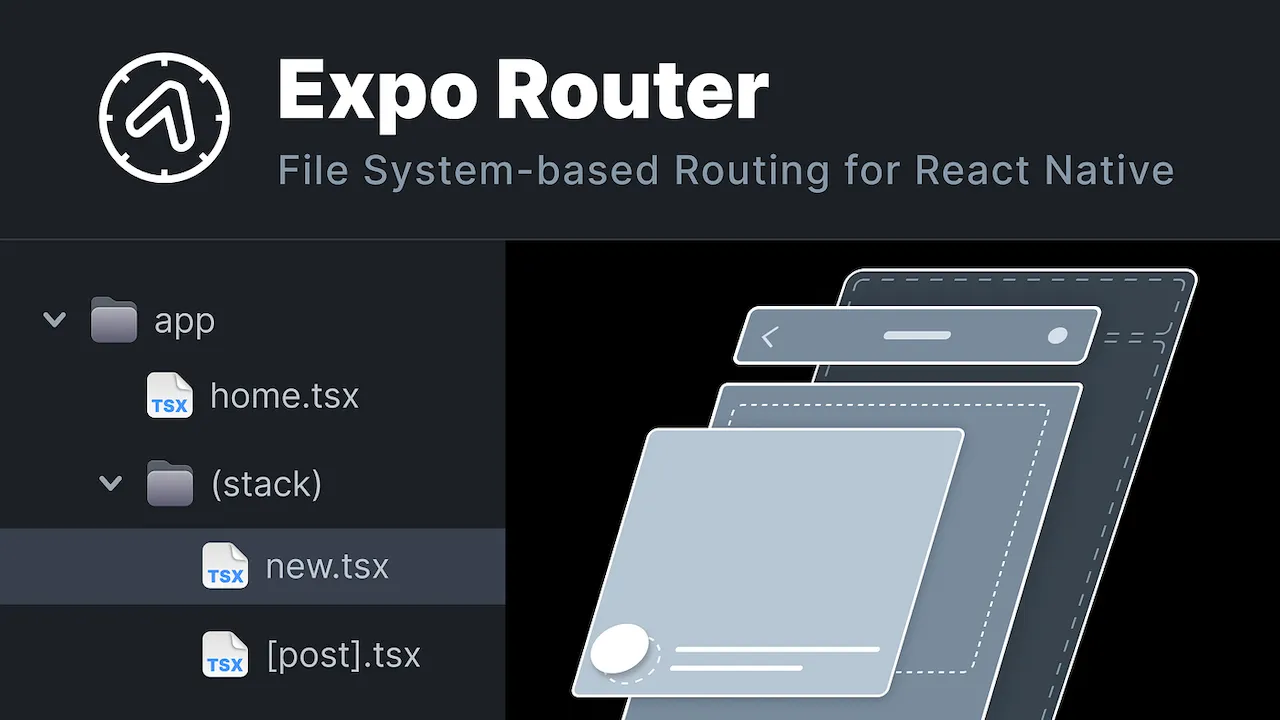
3. Exploring the folder structure
Let's look at a practical example. Suppose you create files in your project like the diagram below:
📁 my-app
 └── 📁 app
      ├── 📄 index.tsx
      ├── 📄 about.tsx
      ├── 📄 profile.tsx
      └── 📁 settings
           ├── 📄 index.tsx
           └── 📄 privacy.tsx
Expo Router will automatically read this structure and turn it into the corresponding routes in the application:
app/index.tsx➡️ Becomes the/route (Home)- A file named
indexalways represents its containing folder. When you open the app, this is the first screen that catches the user's eye.
- A file named
app/about.tsx➡️ Becomes the/aboutroute- The About screen.
app/profile.tsx➡️ Becomes the/profileroute- The Profile screen.
app/settings/index.tsx➡️ Becomes the/settingsroute- Initializes the general settings screen.
app/settings/privacy.tsx➡️ Becomes the/settings/privacyroute- The privacy policy screen located deep within the Settings section.
Golden Rule: Just by looking at the project's folder tree, anyone on the team can immediately understand the application's flow structure without having to read thousands of lines of configuration code. That is the magic of Expo Router!
4. Special files to remember
Besides regular screen creation files, Expo Router dictates some filenames that carry "special power." To avoid errors, you absolutely must not casually name your files identically to these:
_layout.tsx: (Layout File) The underscore_character indicates that this is NOT an individual screen. It is a "frame" used to wrap other screens inside it. You will use this file to create a shared Header, or a Bottom Tabs bar used across multiple pages. (We will practice this file in Lesson 11).[id].tsx: (Dynamic Route) The square brackets[ ]imply variable data. For example, when you tap on article number 1, the route is/blog/1. Tap on article number 2, the route is/blog/2. You can't create files for thousands of articles. You only need to create one fileapp/blog/[id].tsx, and it will automatically catch those numbers!
5. Why should you definitely choose Expo Router?
If you are still hesitating about learning Expo Router instead of the old way, here are 3 reasons that will completely convince you:
- Less code, fewer bugs: Completely eliminating massive configuration files makes your project 10 times cleaner.
- Automatic Deep Linking support: Deep linking is a feature where if you tap a link on Messenger/Zalo, it automatically opens straight to the detail page inside the App (instead of opening the Web). With the old React Navigation, setting up Deep links was a nightmare. With Expo Router, since everything is already a URL path, Deep linking works out of the box without you doing anything extra!
- Ready for the future: This is the new standard shaped by the Expo team (who maintain the React Native core). Web and Native features are coming closer together, and File-based routing is an irreversible trend.
Conclusion: Expo Router is the future
You just need to remember one single mantra for this lesson: "In Expo Router, Folders and Files are Screens and Routes."
Now we know how to create screens just by clicking New File. But right now, they are still "isolated islands." How do we make it so that when on index.tsx, the user taps a button and the screen slides smoothly over to profile.tsx?
Get ready to move on to the next lesson, where we will learn how to drive the vehicle that navigates between screens!