Throughout the past lessons, we have praised Expo Go like a miracle. Just scan the QR code, and your application runs instantly without installing Android Studio or Xcode.
However, as your project starts to get complex, you get requests: "Let's integrate ZaloPay/MoMo payments" or "Install the MMKV library to optimize speed". You eagerly type the npm install command, but when you open the app... A glaring red screen, the app crashes completely!
What happened? Welcome to the boundary wall of Expo Go. Today, we will smash that wall using the most modern architectural technology: Continuous Native Generation (CNG) and Development Build.
1. The Harsh Truth About the Expo Go "Shell"
To solve the problem, you need to understand the nature of the Expo Go application that you downloaded from the App Store/Google Play.
Expo Go is essentially a pre-compiled application. The Expo team has bundled hundreds of popular libraries (like expo-camera, expo-location, react-native-maps) and stuffed their Native source code (C++, Java, Swift) into this shell.
- When you write JavaScript code, Expo Go simply reads and activates those built-in Native features.
- The Fatal Flaw: When you install a third-party library (like ZaloPay) that contains its own Native source code, Expo Go is completely "blind". It doesn't have ZaloPay's C++/Java code pre-built in its belly, so it can't run it and immediately throws an error.
Previously, to install these libraries, developers had to use the expo eject command – a real nightmare because it shattered the Expo structure, spitting out two giant android and ios folders, forcing you to configure them manually.
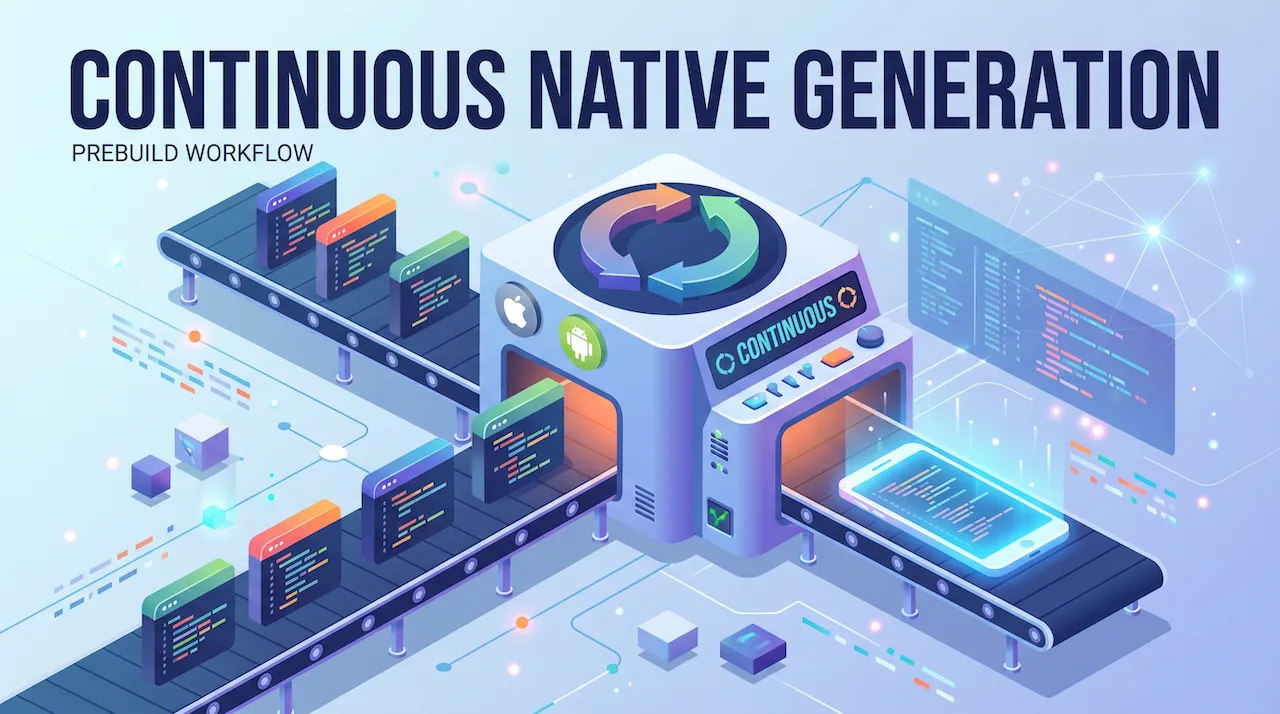
2. The Solution with CNG (Continuous Native Generation) Architecture
Expo listened to that pain and killed the eject command. Instead, they created a revolution called CNG (Continuous Native Generation).
The philosophy of CNG is: You never need to store or touch the android and ios folders anymore.
Instead, you just configure everything (like camera permissions, icons, colors, API Keys) through plugin files nestled neatly in app.json.
Every time you need to build the app, a system called Prebuild will automatically read app.json, combine it with the libraries you installed, and "give birth" to two complete android and ios folders in just a few seconds.
Your code is 100% clean JavaScript. The Native configuration process is fully automated!
3. Development Build: "Your Very Own Expo Go" Version
If we can no longer use Expo Go, what do we use to scan the QR code and experience the Fast Refresh feature (saving code automatically reloads the screen)?
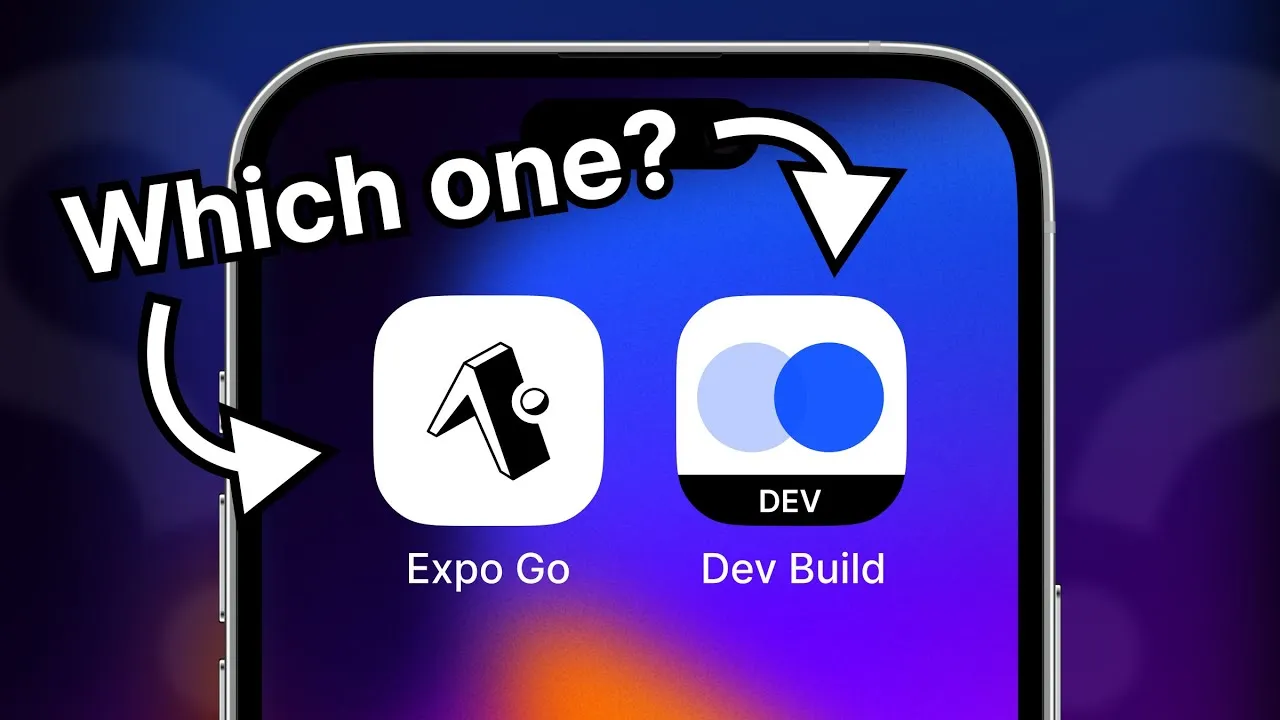
The answer is: We will create an application exactly like Expo Go ourselves, but inside its "belly", it pre-contains the Native library you just installed (e.g., ZaloPay or MMKV). This homemade application is called a Development Build (or Dev Client).
Step 1: Install the Core Library
Open the Terminal and run the command to install the Dev Client management library:
npx expo install expo-dev-client
Step 2: Compile the Application (Build App)
To create a Development Build, you have 2 ways:
Way 1: Build directly on your computer (Local Build)
If you use Windows (with Android Studio installed) or Mac (with Xcode installed), you can build the application yourself to run straight onto a simulator/cabled phone.
- For Android:
npx expo run:android - For iOS:
npx expo run:ios(Mac required)
When running this command, the Prebuild feature will silently create the android/ios folder, then automatically insert the Native library and package it into an app.
Way 2: Build in the cloud with EAS (If your computer is weak or you don't have a Mac)
You use the EAS Build tool. Configure your eas.json file as follows:
{
  "build": {
    "development": {
      "developmentClient": true,
      "distribution": "internal"
    }
  }
}
Then run the command:
eas build --profile development --platform android
The system will build the app on Expo's server. When finished, it returns a QR code to you. You use your phone to scan this code to download the Dev Build application to your device.
Step 3: Enjoy the Results
Now, instead of opening the old Expo Go app, you open the newly downloaded Dev Build app (with the name and icon designed by yourself). Next, you still run the familiar command on your computer:
npx expo start
And boom! Your phone connects successfully. The Fast Refresh feature still works smoothly, but now your application has unlimited power, able to run ANY Native library on earth!
Conclusion: The Lifecycle of a Professional Project
The transformation from a beginner to a professional developer with Expo is summarized through the following process:
- Start the project: Use Expo Go for quick, neat, and light UI design, screen transitions, and API calls.
- Need Native power: When the project needs a library containing C++/Swift/Java code (Payments, MMKV, Bluetooth), install
expo-dev-client. - Break away from Expo Go: Run the build command to create a Development Build version. Delete the Expo Go app from the phone.
- Maintenance: Never commit the
androidandiosfolders to GitHub. Let Prebuild (CNG) automatically generate them whenever needed.
Now, with the final barrier broken, your application no longer suffers any inferiority compared to apps written in pure Java/Swift.
But what if there is a highly specific hardware feature (for example: communicating with a company's internal bill printer) for which NO ONE on the internet has written a library for React Native yet? Don't worry, Expo has a way! See you in the next lesson!