Imagine a nightmare: Your app has just been approved on the App Store and Google Play after days of waiting. Thousands of users start downloading it. Suddenly, you discover a "fatal" bug on the Login screen that prevents anyone from entering the app.
Traditionally, you would have to fix the code, rebuild the application, submit it to the Store, and... sit and pray waiting for Apple/Google to review it for 1 to 3 days. During those 3 days, users will rate your app 1 star and ruthlessly delete it.
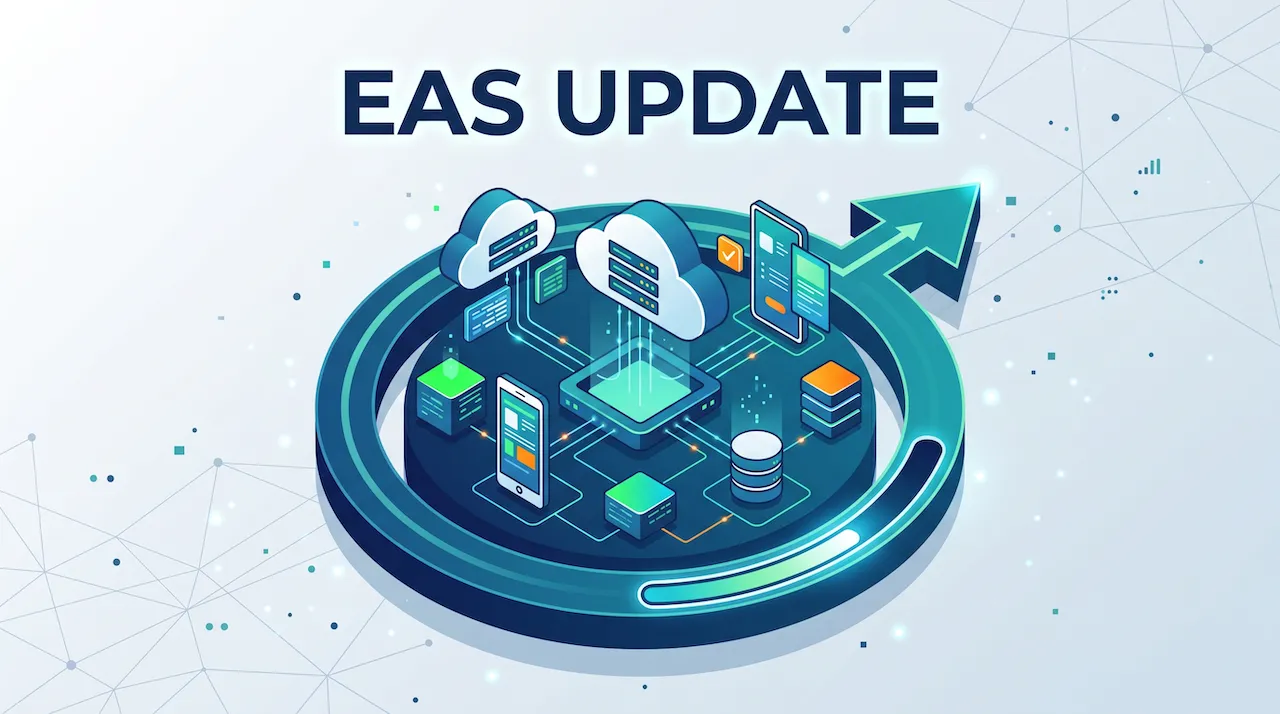
But with React Native and EAS Update, you can fix that bug and push the patch straight to users' phones in just 3 minutes. This article will guide you to master this powerful Over-The-Air (OTA) technology!
1. What is OTA Update? The Difference Between Native Code and JS Code
To understand this magic, we need to recall the nature of a React Native application. Your application is divided into 2 parts:
- Native Part: (The OS core) Contains C++, Java, Swift source code to compile into the core app structure. This part manages hardware like Camera, GPS, Bluetooth...
- JavaScript Bundle Part: (UI & Logic) Contains
.tsx,.jsfiles, static images, and the operational logic you've been coding all along.
When you update an app through the Store, you are replacing the ENTIRE application (both the Native core and the JS part). This requires strict censorship from Apple and Google.
OTA Update is a technology that allows you to legally "bypass the rules": You keep the old Native shell, and only silently download an update of the new JavaScript Bundle part from the server to the user's phone.
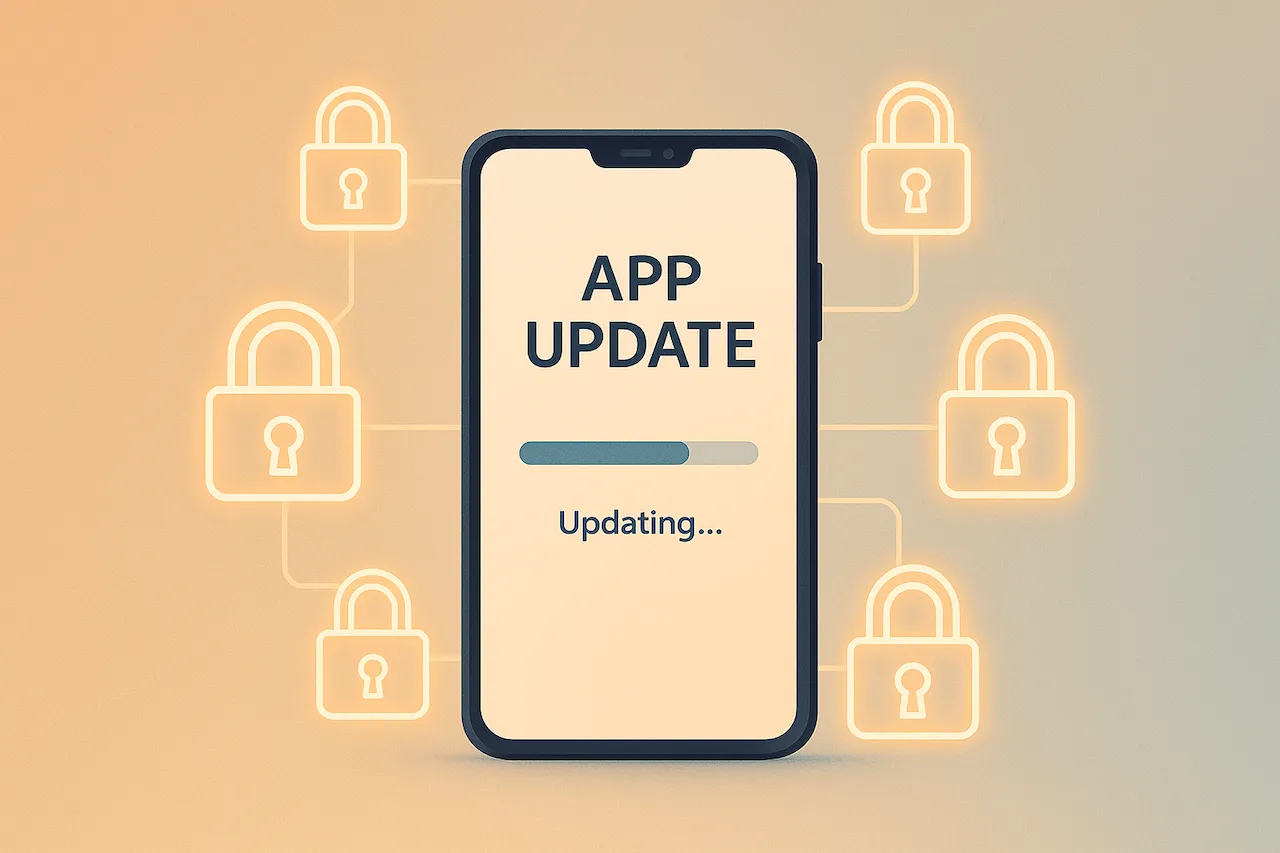
- Result: The very next time the user opens the app, the application will run the newest code snippet. The bug is fixed instantly without them even knowing!
(Historical note: Previously, the community often used Microsoft CodePush to do this. However, CodePush has now been discontinued, and EAS Update has officially become the new "king", deeply and perfectly integrated into Expo).
2. The Boundaries of the "Magic": When NOT to Use OTA?
OTA Update is extremely powerful, but it's not a silver bullet. Remember the following rule by heart to avoid breaking your application:
✅ WHAT YOU ARE ALLOWED TO UPDATE VIA EAS UPDATE:
- Fix spelling mistakes, change UI colors (CSS/StyleSheet).
- Change the navigation flow (Edit React Router).
- Change calculation logic, fix API call bugs, change text content.
- Add/Remove UI Components (like
<View>,<Text>,<FlatList>). - Add pure JavaScript libraries (like
axios,redux,lodash).
❌ WHAT YOU ARE NOT ALLOWED TO UPDATE:
(Must rebuild the app and submit to the Store).
- Install new libraries that require Native permissions (like newly installing
expo-camera,expo-locationwhen the old version didn't have them). - Change the app name, app icon, or Splash Screen.
- Add new permission requests to the
app.jsonor Info.plist / AndroidManifest files.
3. Installing and Configuring EAS Update
To get started, you need an Expo account (Register for free at expo.dev).
Step 1: Log in and Initialize the EAS project
Open the Terminal at the project folder and type the following commands:
# Log in to your Expo account
npx expo login

# Initialize the EAS service for the project
eas init
This command will automatically link your local project on your computer with the dashboard on Expo's servers.
Step 2: Install the expo-updates library
This is the library pre-installed in the mobile app so it knows how to "listen" and download the update.
npx expo install expo-updates
Step 3: Configure the eas.json file
The system will automatically create an eas.json file. This is the file that directs the build and update flow of the project. Configure it with clear environments (Branches), for example, preview (for testing) and production (for real users).
{
  "build": {
    "preview": {
      "channel": "preview"
    },
    "production": {
      "channel": "production"
    }
  }
}
4. Practice: Shooting a Direct Update
Suppose your application currently has a home screen with the text: "Welcome to the application". You just built it into an APK/IPA file and released it.
Now, you open the code and change the text to: "Welcome, have a good day!".
Instead of repeating the process of uploading to the Store, you just need to type exactly 1 command line into the Terminal:
eas update --branch production --message "Change the greeting on the home screen"
What will the system do next?
- EAS will package all your new JavaScript code and images.
- It uploads that package to Expo's (Cloud) server.
- Users currently holding their phones and opening your app will automatically check with Expo's server. When detecting a new update named "Change the greeting...", the phone will silently download it in the background.
- The next time the user closes and reopens the app, the new greeting will appear!
5. Optimizing User Experience with OTA
By default, expo-updates will automatically download and apply the update on the next startup. However, if you roll out an extremely urgent hotfix and want to force users to restart the app immediately, you can code your own forced update screen using the library's API.
import * as Updates from 'expo-updates'
import { Button, Alert, View } from 'react-native'

export default function UpdateButton() {
  const checkAndUpdate = async () => {
    try {
      // 1. Ask the server if there are any updates
      const update = await Updates.checkForUpdateAsync()

      if (update.isAvailable) {
        Alert.alert('New Update Available', 'The application is downloading the latest data...')

        // 2. Download the update to the device
        await Updates.fetchUpdateAsync()

        // 3. Restart the app immediately to apply
        Alert.alert('Complete', 'The application will restart now.', [
          { text: 'OK', onPress: () => Updates.reloadAsync() },
        ])
      } else {
        Alert.alert('Notice', 'You are using the latest version.')
      }
    } catch (error) {
      console.log(`Update check error: ${error}`)
    }
  }

  return (
    <View style={{ padding: 20 }}>
      <Button title="Check for emergency patch" onPress={checkAndUpdate} />
    </View>
  )
}
Conclusion: Updating apps is no longer an obstacle
EAS Update is a "divine" feature that makes mobile app maintenance as light as updating a website.
- Fix bugs quickly in 3 minutes.
- Avoid the risk of getting your account locked or downgraded due to an app having too many bugs on the Store.
- Just be careful not to use OTA when you install new libraries that require Native permissions.
But speaking of "new Native libraries", in the very first lessons it was said that Expo Go cannot run libraries not available in its SDK (for example, payment libraries like ZaloPay, Momo, or complex C++ modules).
What if your project absolutely must use those libraries? Do you have to abandon Expo and go back to the troublesome Android Studio setup of the past? NO!
Prepare to enter a concept that has completely changed the React Native world in recent years: Prebuild & Continuous Native Generation (CNG).