Welcome to a historic moment! In the previous lesson, you held the .aab (Android) and .ipa (iOS) files in your hands. But leaving them dormant on your computer's hard drive would be a waste.
It is time to bring this "brainchild" to light, putting it on the shelves of the two largest app supermarkets: the Google Play Store and the Apple App Store.
This process does not require complex coding, but it does require meticulousness, patience, and compliance with strict rules. Let's pack our bags and enter this "final battle"!
1. Pre-flight Checklist
Before submitting an app to Google or Apple for review, you are like someone preparing to open a store. Customers will not walk in if the storefront (Store Listing) looks sketchy.
You MUST prepare the following 3 things:
- Screenshots: Capture 3-5 of your app's most outstanding features. (Tip: You should design explanatory text on the images to make them look more professional; the standard size is 1242 x 2688 for iOS and 1080 x 1920 for Android).
- App Metadata: Includes the App Name, Subtitle, Detailed Description, and Search Keywords (Tags).
- Privacy Policy: Both Google and Apple require you to have a link pointing to a Privacy Policy page. (If you don't have your own website yet, you can create a free page using Google Sites or online Privacy Policy Generator tools).
2. Conquering the Google Play Store (Android)
The Android world is more open, but Google is also increasingly tightening regulations to protect users.
Step 1: Open a Google Play Developer Account
You need to access the Google Play Console and register for a Developer account.
- Cost: $25 (One-time payment, valid forever).
- Google's new note (As of 2024): For new personal accounts, you must have at least 20 people continuously testing the app for 14 days before you are allowed to officially release it (Production).
Step 2: Create the App and Answer Questions
On the dashboard, select "Create app". After that, you will have to take a series of Google quizzes:
- Does the app contain ads?
- Content Rating for the app.
- Data Safety declaration: Does your app collect users' locations, emails, or phone numbers?
Step 3: Upload the .aab File
In the previous lesson, the file you created was .aab. Go to the Internal Testing or Production section, create a new release, and drag and drop that .aab file in. Finally, click "Send for review".
3. Conquering the Apple App Store & TestFlight Portal (iOS)
Apple is famous for its strictness. Their app review process is like a real airport security check.
Step 1: Join the Apple Developer Program
To put an app on iOS, you have to pay a "tax" to Apple.
- Cost: $99/year (Must be renewed annually; if not paid, the app will be removed from the Store).
Step 2: Configure on App Store Connect
Visit App Store Connect, this is where you manage all your iOS applications. Create a new App, fill in the Metadata information, and select the exact Bundle ID that you configured in Expo's app.json file.
Step 3: Put the App on TestFlight
TestFlight is a wonderful application from Apple for Testing.
Instead of releasing it globally right away, you upload the .ipa file to App Store Connect. After Apple finishes processing it (about 15-30 minutes), your application will appear on TestFlight.
- You can create a "Public Link" and send it to 10,000 people.
- These people only need to install the TestFlight app on their iPhones and click on your link to download the application and try it out without a computer!
4. "Heavy Weaponry": Automation with EAS Submit
In the steps above, I mentioned "dragging and dropping files" or "uploading files". If done manually, for iOS, you would have to use software on a Mac called Transporter to push the file to Apple. Too complicated!
Fortunately, the Expo ecosystem has taken care of this for you with the eas submit command.
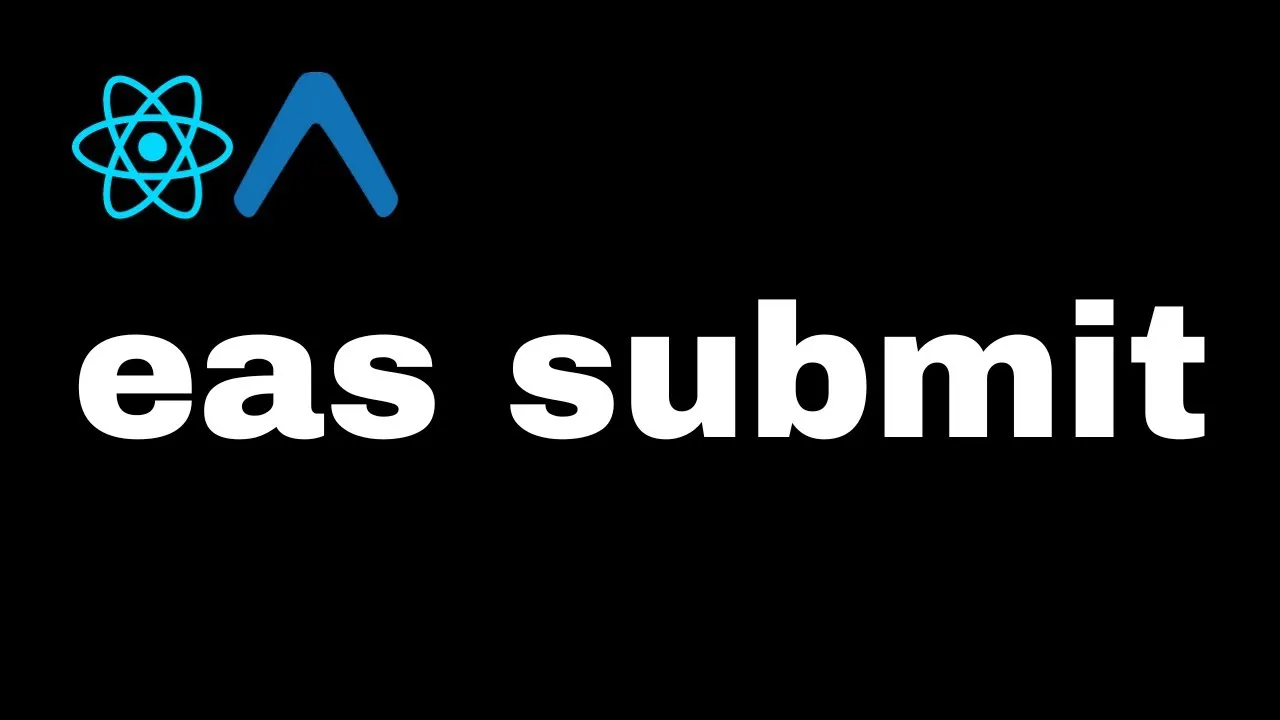
Instead of having to manually download the file and then upload it to the web, this command will instruct Expo's servers to shoot the application file straight to Google's and Apple's servers!
To push the Android app to Google Play:
eas submit -p android
The system will ask you for the path to your Google Cloud authentication file (Service Account Key) and automatically upload the .aab file to the Console.
To push the iOS app to App Store Connect / TestFlight:
eas submit -p ios
You just need to enter your Apple ID and Password (App-specific password). Expo will do the rest. When the command finishes running, you just need to open the TestFlight mobile app to see the app already sitting there!
5. Waiting for the "Verdict"
After you press the "Submit for Review" button on both platforms, your job is to... go to sleep and wait.
- Google Play: Usually takes 1 to 7 days.
- App Store: Fast is 24h, slow can take up to 48h-72h.
If the app gets rejected, don't panic! This is an "everyday occurrence" for all developers. Apple/Google will send an email clearly explaining which term you violated (e.g., Missing Account Deletion button, UI bug on iPad). You just need to fix the code, eas build a new version again, and resubmit.
Conclusion: From Zero to an App on the Store
Putting an application on the Store marks the transformation from a piece of code sitting on a personal computer into a tech product capable of touching the whole world.
- Use Google Play Console to release for Android (Requires $25,
.aabfile). - Use App Store Connect to release for iOS (Requires $99/year,
.ipafile). - Use TestFlight to distribute iOS test builds extremely easily.
- Use the
eas submitcommand to completely automate the process of uploading files to servers.
Congratulations! Our React Native learning series from basic to advanced is theoretically fully complete. You have gone from zero to having an application on the Store.
However, for a true software engineer, having to manually type the build and submit commands every time a line of code is changed is too time-consuming. To close this series in the most perfect way, let's move on to the comprehensive automation lesson with CI/CD!