Congratulations on making it to the final article of the series! If you have followed along from the first lesson until now, you currently possess a standard workflow:
Code > Open Terminal > eas build > Wait 15 minutes > eas submit > Wait to push to the Store.
This process sounds fine if you are working alone and occasionally updating the app. But imagine working in a team of 5 people, where 10 new features are completed every day. If every time code is finished, someone has to sit and guard the Terminal waiting for the build to submit to the boss or push to the Store, we would waste thousands of working hours each year!
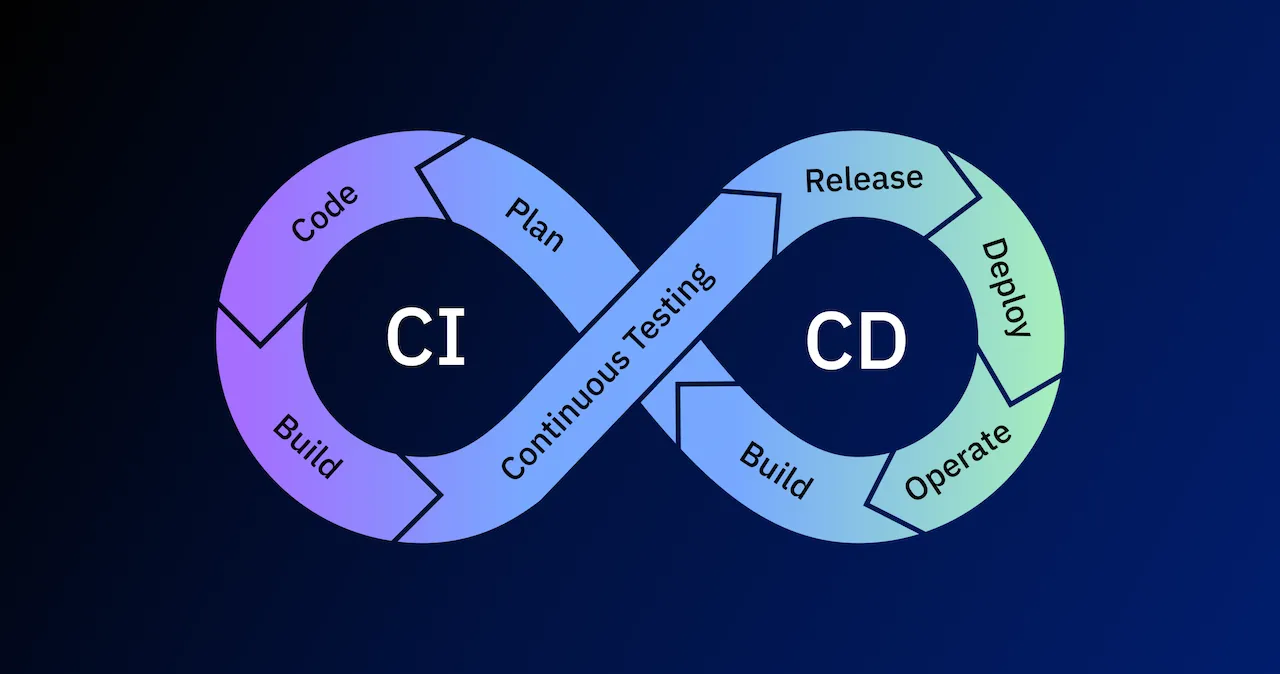
To solve this problem, large tech companies like Google, Facebook, and Shopee apply a philosophy called CI/CD (Continuous Integration / Continuous Deployment). Today, we will bring that power into your React Native project!
1. What is CI/CD? The "Butler" of source code
Don't let the terminology scare you. Imagine CI/CD as a robot "butler" working 24/7 on a cloud server.
- CI (Continuous Integration): Every time you or a colleague pushes a new piece of code to GitHub, this butler will immediately jump in, automatically typing commands to run Unit Tests to see if the new code breaks the app. If there are errors, it sounds the alarm immediately!
- CD (Continuous Deployment): If the code passes the check, the butler will automatically type the
eas buildcommand to package the app, and then typeeas submitto push that update straight to TestFlight or Google Play.
The Result: The only thing you have to do is type code and press the Push button. All packaging, testing, and distribution phases will happen completely automatically while you go grab a coffee.
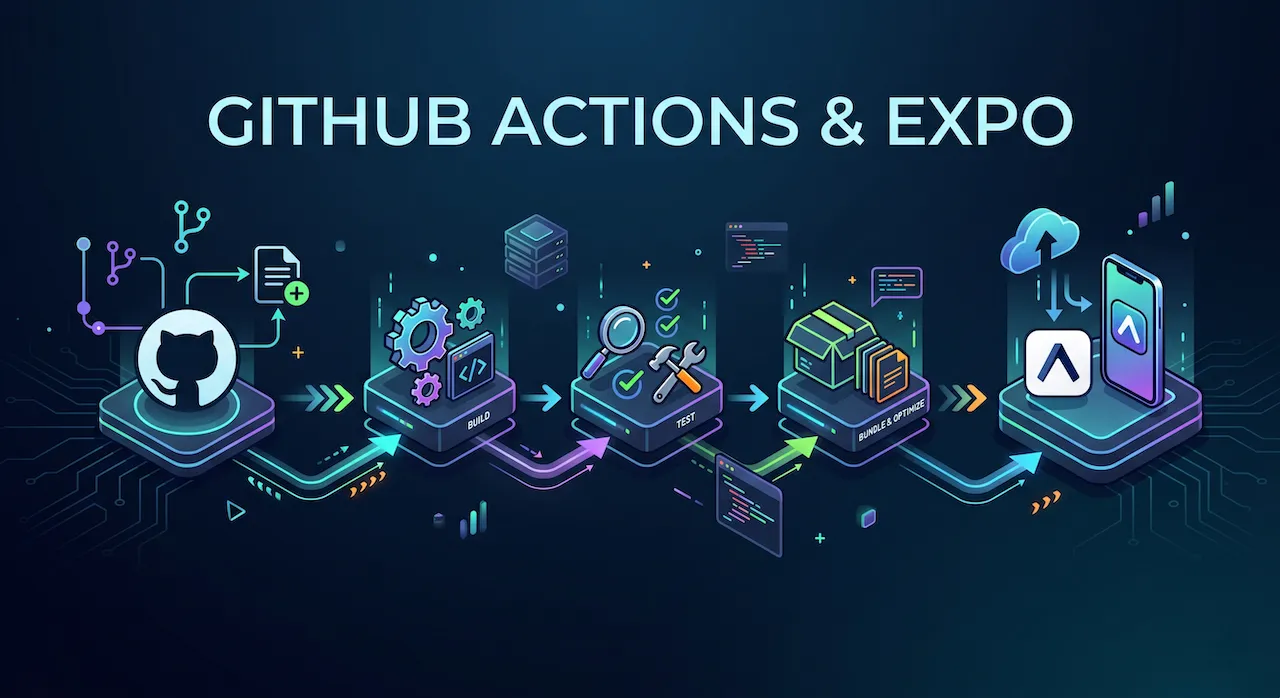
2. The Perfect Match: GitHub Actions & Expo EAS
To hire this "butler", we don't need to spend a single penny. We will use the GitHub Actions tool (provided free of charge for all source code repositories on GitHub) combined with the EAS Build system that you are already familiar with.
The process will unfold as follows:
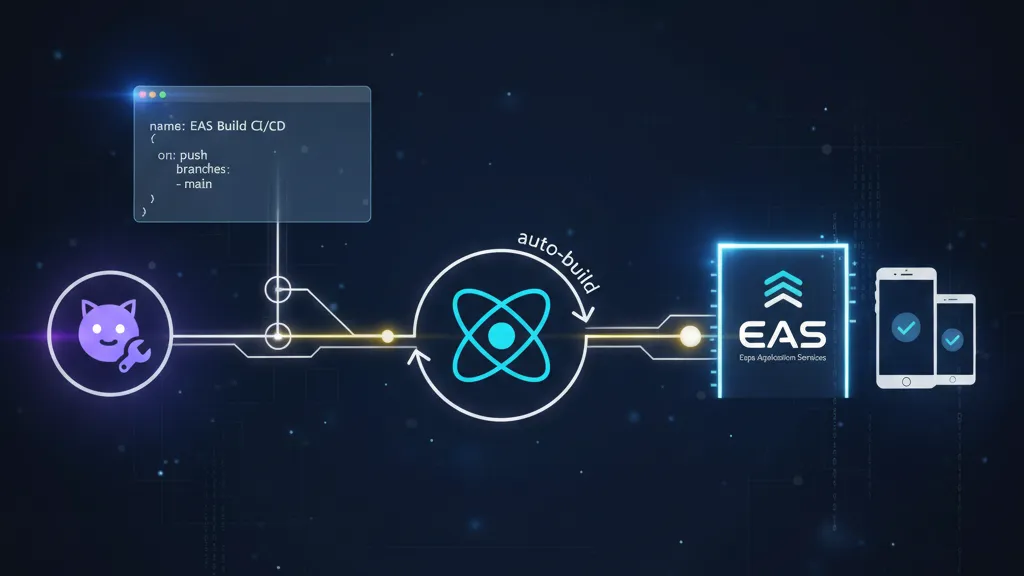
- You Push code to the
mainbranch on GitHub. - GitHub Actions receives the signal and initializes a virtual machine (Server).
- This virtual machine will install NodeJS and the Expo library.
- It automatically logs into your Expo account via a secret key (Token).
- It instructs the Expo server to start Building the app and Submitting it to the Store.
3. Initializing the "Contract" on Your Terms
GitHub Actions operates based on scripts (Workflows) written in the YAML formatting language.
Step 1: Get the Secret Key (Expo Token)
The GitHub server needs access to your Expo account to issue build commands.
- Go to expo.dev/settings/access-tokens.
- Click Create Token, name it GitHub CI/CD, and copy the code that appears.
- Go to your code's Repository on GitHub. Select Settings > Secrets and variables > Actions.
- Click New repository secret. In the Name box, enter
EXPO_TOKEN, and in the Secret box, paste the code you just copied. Click Add.
Step 2: Write the Automation Script (YAML File)
In your project folder on your computer, create nested folders following this exact path: .github/workflows/.
Inside the workflows folder, create a file named eas-build.yml and paste the following "magic" code snippet into it:
name: Auto Build and Submit to Store

# 1. Declare when to run this script?
on:
  push:
    branches:
      - main # Run when new code is pushed to the main branch

# 2. Declare the jobs to be done
jobs:
  build_and_submit:
    name: Build & Submit App
    runs-on: ubuntu-latest # Run on a Linux virtual server

    steps:
      # Step 1: Download code from GitHub to the virtual machine
      - name: Checkout source code
        uses: actions/checkout@v3

      # Step 2: Install NodeJS
      - name: Setup Node.js
        uses: actions/setup-node@v3
        with:
          node-version: 18.x
          cache: npm

      # Step 3: Install Expo tools and EAS CLI
      - name: Setup Expo and EAS
        uses: expo/expo-github-action@v8
        with:
          eas-version: latest
          token: ${{ secrets.EXPO_TOKEN }} # Use the secret Token just configured

      # Step 4: Install libraries in package.json
      - name: Install dependencies (npm install)
        run: npm install

      # Step 5: Automatically order Build and Submit to TestFlight (iOS)
      - name: Auto Build & Submit iOS
        run: eas build --platform ios --profile production --non-interactive --auto-submit

      # Step 6: Automatically order Build and Submit to Google Play (Android)
      - name: Auto Build & Submit Android
        run: eas build --platform android --profile production --non-interactive --auto-submit
(Note: The --non-interactive property is extremely important; it tells EAS that it is running on an automated server, so it should not display Yes/No questions forcing the user to type).
4. Enjoying the Fruits of a DevOps Engineer's Labor

Now, save the file and type the command to Push all your code to GitHub.
Immediately, open your project's GitHub page and click over to the Actions tab. You will see a spinning yellow dot. Click on it, and you will see the GitHub Actions "butler" diligently running each line of command you set up above.
When the dots turn green (Done), an email from Apple TestFlight and Google Play will be sent straight to your inbox announcing: "A new app update is ready to test!"
The feeling of watching machines automatically work on your behalf is one of the most satisfying experiences in the programming profession!
A Closing Word for the Entire Journey!
To the friend who has accompanied me all the way from Lesson 1 to Lesson 28,
We have come a very long way. From the basic concepts of Components, branching out into State management, Navigation control, and calling APIs to communicate with the real world. Together, we smashed the limits of Expo Go using Native Modules, drew maps, took photos, and fired off push notifications. And finally, we packaged it, submitted the application to the Store, and automated the whole thing with CI/CD.
You are no longer someone who is "learning to code". With this amount of knowledge, you have fully gathered the skills of a Professional Mobile Developer, ready to apply to any tech company or start a business on your own with products bearing your personal mark.
Technology is always changing, and React Native and Expo will continue to release new versions. But the system architecture thinking and problem-solving methods you learned through this series will follow you throughout your career.
Keep practicing, create amazing applications, and leave your mark on the global technology map. Wishing you brilliant success!