Since the beginning of this series, we have worked with interfaces, navigation, and network data. But there is one thing that makes a complete difference between a Mobile App (Native App) and a Website: The ability to control hardware.
Do you want your app to take a photo? Get GPS coordinates to book a ride? Or save a file to storage? To do those things, you must pass the extremely strict "gatekeeper" called: The Operating System (iOS & Android).
In this article, we will learn how to request permissions elegantly, professionally, and avoid any risks that might cause the application to crash.
1. Why is requesting permissions so scary?
Apple's iOS and Google's Android are designed with privacy and security as the top priority.
If your application intentionally turns on the Camera or gets GPS location without the user's permission, the operating system will immediately "pull the plug" and crash your application instantly to protect the user.
The Golden Rules of Permissions:
- The default state is always: Undetermined or Denied.
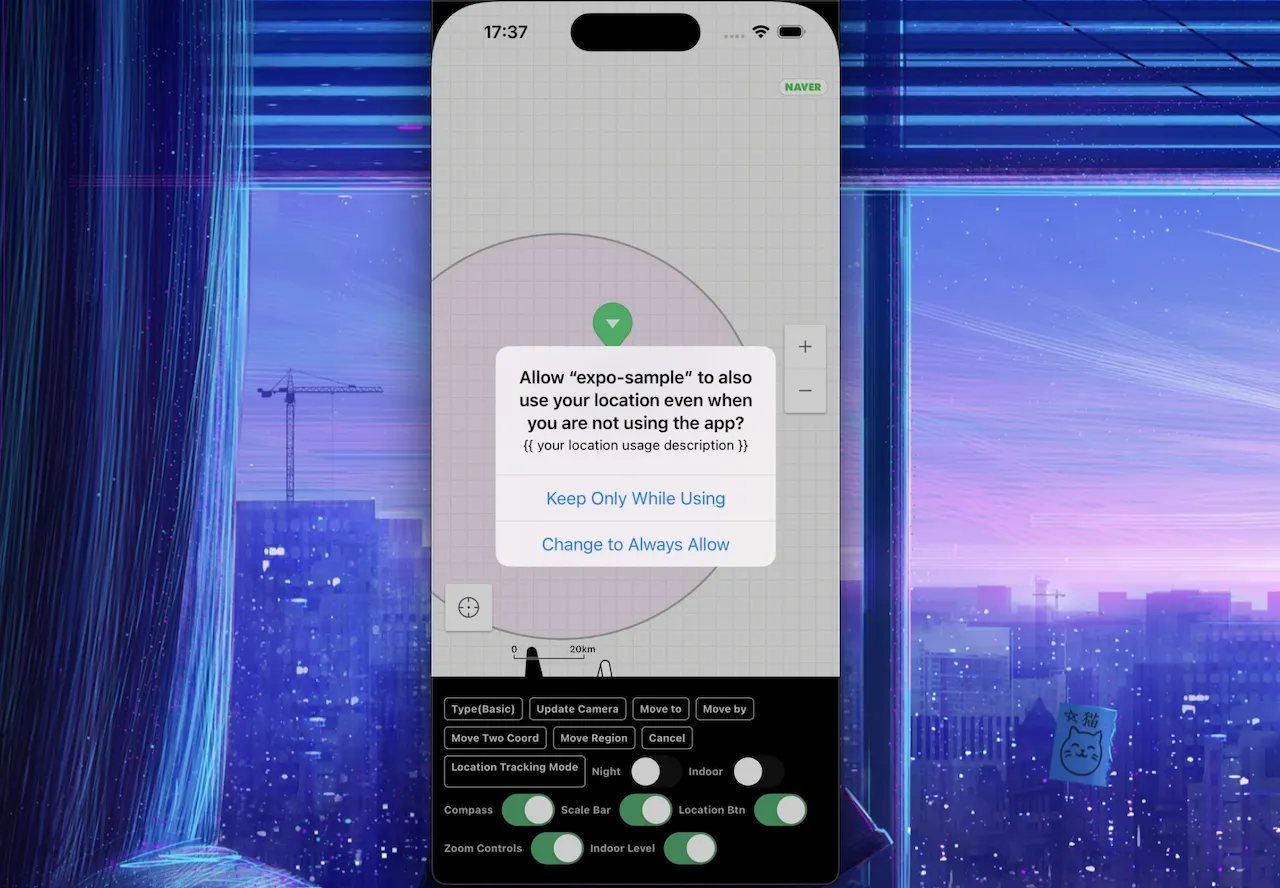
- You can only show the permission request dialog (Popup) EXACTLY ONCE on iOS. If the user accidentally taps "Deny", that dialog will never appear again.
- If you want to use a feature, you MUST check the permission status before executing the command.
2. The "extinction" of the expo-permissions library
If you search for older tutorials online (from 2021 or earlier), you will see people using a common library called expo-permissions to request all kinds of permissions.
Please note: This library HAS BEEN REMOVED in the latest Expo versions!
Why did Expo do that? Because Google and Apple require applications to only declare the permissions they actually use. If you install an "all-in-one" permission library, your application will be deemed suspicious by the system and rejected when reviewed for the App Store.
The Modern Way (Latest Expo Standard): Whichever feature you use, that feature's library will come with its own permission request function.
- Want to use GPS? Install
expo-locationand use its permission function. - Want to take photos? Install
expo-cameraand use its permission function.
3. Practice: Requesting location permission (GPS)
Let's practice with one of the most common permissions: The permission to get GPS coordinates.
Step 1: Install the location library
Open Terminal and run the command:
npx expo install expo-location
Step 2: Write logic to request permission and get coordinates
We will build a screen with a button. When clicked, the app will request permission. If successful, the app will print the current latitude and longitude.
import React, { useState } from 'react'
import { View, Text, TouchableOpacity, StyleSheet, ActivityIndicator } from 'react-native'
import * as Location from 'expo-location' // 1. Import the library

export default function LocationScreen() {
  const [location, setLocation] = useState(null)
  const [errorMsg, setErrorMsg] = useState(null)
  const [isFetching, setIsFetching] = useState(false)

  const getLocation = async () => {
    setIsFetching(true)
    setErrorMsg(null)

    try {
      // 2. Request Foreground Location Access
      const { status } = await Location.requestForegroundPermissionsAsync()

      // 3. Check if the user granted the permission
      if (status !== 'granted') {
        setErrorMsg('You have denied location permission. Cannot perform this feature!')
        setIsFetching(false)
        return // Stop immediately, do not get coordinates anymore
      }

      // 4. If granted, start getting coordinates (May take 1-2 seconds)
      const currentLocation = await Location.getCurrentPositionAsync({})
      setLocation(currentLocation.coords)
    } catch (error) {
      setErrorMsg('An error occurred while getting the location.')
    } finally {
      setIsFetching(false)
    }
  }

  return (
    <View style={styles.container}>
      <Text style={styles.title}>Find Nearby Feature</Text>

      <TouchableOpacity style={styles.button} onPress={getLocation} disabled={isFetching}>
        <Text style={styles.buttonText}>{isFetching ? 'Locating...' : '📍 Get My Coordinates'}</Text>
      </TouchableOpacity>

      {/* Show spinner if loading */}
      {isFetching && <ActivityIndicator size="large" color="#0984e3" style={{ marginTop: 20 }} />}

      {/* Show error if denied */}
      {errorMsg && <Text style={styles.errorText}>{errorMsg}</Text>}

      {/* Show coordinates if successful */}
      {location && (
        <View style={styles.resultBox}>
          <Text style={styles.resultText}>Latitude: {location.latitude}</Text>
          <Text style={styles.resultText}>Longitude: {location.longitude}</Text>
        </View>
      )}
    </View>
  )
}

const styles = StyleSheet.create({
  container: { flex: 1, justifyContent: 'center', alignItems: 'center', padding: 20 },
  title: { fontSize: 22, fontWeight: 'bold', marginBottom: 30 },
  button: { backgroundColor: '#00b894', paddingVertical: 12, paddingHorizontal: 25, borderRadius: 10 },
  buttonText: { color: 'white', fontSize: 16, fontWeight: 'bold' },
  errorText: { color: '#d63031', marginTop: 20, textAlign: 'center' },
  resultBox: { marginTop: 30, padding: 20, backgroundColor: '#dfe6e9', borderRadius: 10 },
  resultText: { fontSize: 16, fontWeight: '500', marginVertical: 5 },
})
4. The art of salvaging: When the user accidentally taps "Deny"
As mentioned above, if the user taps "Deny", the operating system will block the permission dialog from appearing on subsequent taps. So does your app just "throw away" that feature?
The solution (Best Practice) here is: Navigate the user directly to the operating system's Settings page so they can turn it back on manually.
React Native provides the Linking library to do this extremely easily. Let's add this logic to the permission status check above:
import { Linking, Alert } from 'react-native' // Add Linking and Alert

// ... (Inside the getLocation function) ...
const { status } = await Location.requestForegroundPermissionsAsync()

if (status !== 'granted') {
  // Instead of just showing an error text, show an Instructional Dialog
  Alert.alert(
    'Missing Permission',
    'The app needs location permission to search around you. Please go to Settings and grant permission for the app!',
    [
      { text: 'Skip', style: 'cancel' },
      { text: 'Open Settings', onPress: () => Linking.openSettings() }, // The magical button
    ],
  )
  return
}
The Linking.openSettings() function will instantly exit the app and open the exact permission configuration page of your app inside the phone. This is the best UX (User Experience) that every professional app must have!
5. When should you request permissions? (The Golden UX Rule)
Many applications make a fatal mistake: As soon as the app opens, it throws 3-4 popups consecutively requesting GPS, Camera, and Notifications permissions. Users will feel threatened, annoyed, and 90% of them will tap "Deny all" or delete the app entirely.
Adhere to the rule: Only request permission when the user actually needs it.
- Don't request GPS permission on the Login page. Ask when they tap the "Find stores near me" button.
- Don't request Camera permission on the Home Page. Ask when they tap the "Take profile picture" button.
- Display a Text/Modal clearly explaining why the app needs that permission before triggering the phone's permission request system.
Conclusion: Access permission management is an art
Access permission management is not just a technical issue (to avoid app Crashes), but also the art of communicating with users. Remember:
- Always use the permission check function bundled with the feature library (like
expo-location). - Always handle the denial case using
Linking.openSettings(). - Only request permission when that feature is about to be activated.
Now your application knows how to politely "knock on the door" of the operating system. In the next article, we will officially step through that door to build the most attractive feature of any social network: Taking and uploading photos!