
In the previous article, we learned how to "knock on the door" of the operating system to request access permissions. Today, once the door is open, we will head straight into one of the most exciting hardware features of a phone: the Camera and Gallery.
Think about it, is there any social network that doesn't allow users to change their Avatar? Is there any e-commerce app where users don't need to take product photos for reviews? Taking and selecting photos is a "must-know" feature for every Mobile developer.
In this article, we will use two official "weapons" from the Expo ecosystem: expo-image-picker (to select existing photos) and expo-camera (to build a mini camera yourself).
1. Selecting images from the Gallery with expo-image-picker
Let's start with the simplest and most frequently used feature: Selecting an existing photo from the device.

Step 1: Install expo-image-picker
Open your Terminal and run the following command:
npx expo install expo-image-picker
Step 2: Write code to call the Image Library
This library provides the launchImageLibraryAsync function that opens the phone's native Photos application directly. You can even allow cropping right after selection!
import React, { useState } from 'react'
import { Button, Image, View, StyleSheet, Text, TouchableOpacity } from 'react-native'
import * as ImagePicker from 'expo-image-picker' // 1. Import the library

export default function ImagePickerScreen() {
  const [imageUri, setImageUri] = useState(null)

  const pickImage = async () => {
    // 2. Open the image library (This function automatically requests read permission on most devices)
    let result = await ImagePicker.launchImageLibraryAsync({
      mediaTypes: ImagePicker.MediaTypeOptions.Images, // Only select images, not videos
      allowsEditing: true, // Allow users to crop the image
      aspect: [1, 1], // Force a square crop ratio (1:1 ratio, suitable for Avatars)
      quality: 0.8, // Reduce quality to 80% to save memory and upload faster
    })

    // 3. If the user doesn't press "Cancel"
    if (!result.canceled) {
      // result.assets[0].uri contains the path to the selected image
      setImageUri(result.assets[0].uri)
    }
  }

  return (
    <View style={styles.container}>
      <Text style={styles.title}>Update Profile Picture</Text>

      {/* Show the image if selected, otherwise show a gray placeholder */}
      {imageUri ? <Image source={{ uri: imageUri }} style={styles.avatar} /> : <View style={styles.placeholder} />}

      <TouchableOpacity style={styles.button} onPress={pickImage}>
        <Text style={styles.buttonText}>📁 Pick Image from Device</Text>
      </TouchableOpacity>
    </View>
  )
}

const styles = StyleSheet.create({
  container: { flex: 1, alignItems: 'center', justifyContent: 'center', padding: 20 },
  title: { fontSize: 20, fontWeight: 'bold', marginBottom: 20 },
  avatar: { width: 150, height: 150, borderRadius: 75, marginBottom: 20 },
  placeholder: { width: 150, height: 150, borderRadius: 75, backgroundColor: '#dfe6e9', marginBottom: 20 },
  button: { backgroundColor: '#0984e3', padding: 12, borderRadius: 8 },
  buttonText: { color: 'white', fontWeight: 'bold', fontSize: 16 },
})
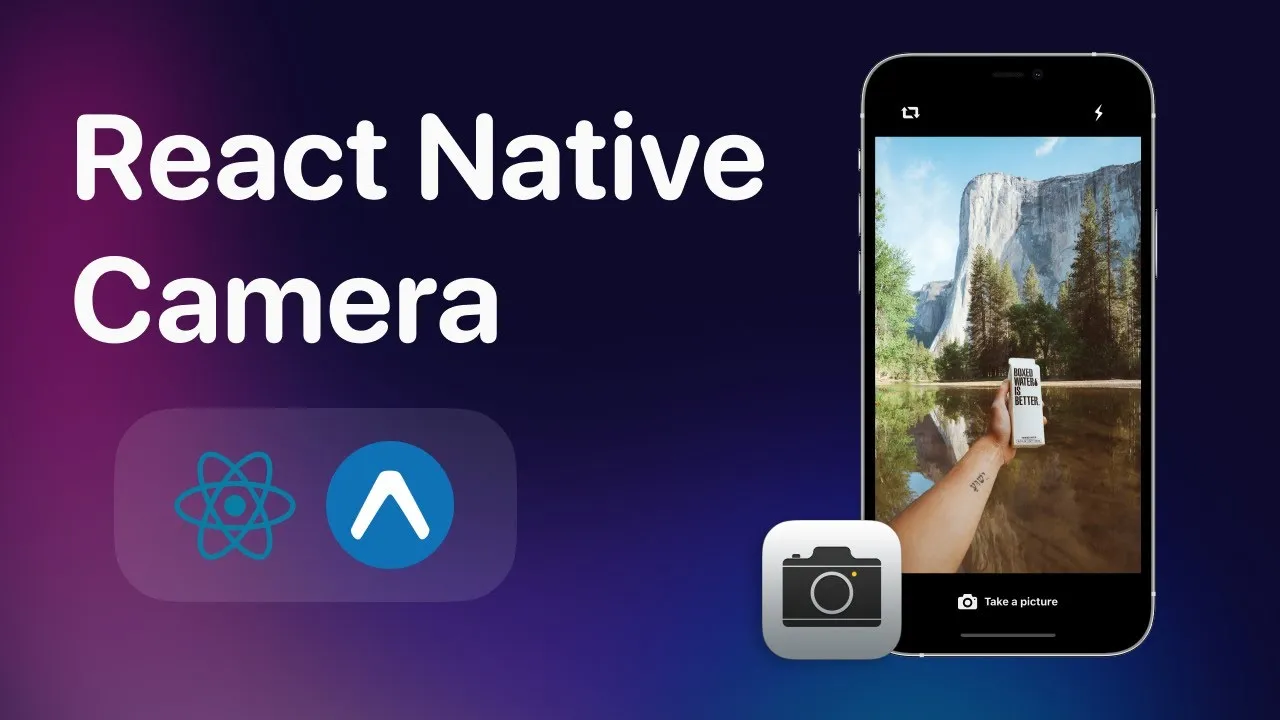
2. Advanced: Build your own Camera with expo-camera
If image-picker also has the feature to open the device's default camera, why do we need expo-camera?
The reason is: image-picker kicks you out of your app to open the native Camera app. But with expo-camera, you can embed the camera viewfinder directly inside your app's UI. You can place custom filters or buttons overlaid on top of that viewfinder (exactly like how TikTok or Instagram do it).
(Note: The code below uses the most modern <CameraView> component from Expo SDK 50/51, replacing the outdated <Camera> tag).
Step 1: Install expo-camera
npx expo install expo-camera
Step 2: Build the Camera screen
With Camera, it is MANDATORY to explicitly request permission before showing the viewfinder. We also need a useRef Hook to command the camera to take a picture.
import React, { useState, useRef } from 'react'
import { StyleSheet, Text, TouchableOpacity, View, Image } from 'react-native'
import { CameraView, useCameraPermissions } from 'expo-camera'

export default function CustomCameraScreen() {
  // 1. Manage permissions
  const [permission, requestPermission] = useCameraPermissions()

  // 2. State to manage camera facing (front/back) and the captured photo
  const [facing, setFacing] = useState('back')
  const [photo, setPhoto] = useState(null)

  // 3. Reference (Ref) to control CameraView
  const cameraRef = useRef(null)

  // Waiting screen if permissions are not yet checked
  if (!permission) return <View />

  // If permission not granted, show permission request button
  if (!permission.granted) {
    return (
      <View style={styles.container}>
        <Text style={{ textAlign: 'center' }}>We need your permission to show the camera</Text>
        <Button onPress={requestPermission} title="Grant Permission" />
      </View>
    )
  }

  // Function to flip camera front/back
  const toggleCameraFacing = () => {
    setFacing((current) => (current === 'back' ? 'front' : 'back'))
  }

  // Function to take a picture
  const takePic = async () => {
    // If ref is attached to CameraView
    if (cameraRef.current) {
      const options = { quality: 0.8, base64: true } // Quality configuration
      const newPhoto = await cameraRef.current.takePictureAsync(options)
      setPhoto(newPhoto.uri) // Save the captured image path to state
    }
  }

  // If a PHOTO HAS BEEN TAKEN, show the captured photo for Preview
  if (photo) {
    return (
      <View style={styles.container}>
        <Image source={{ uri: photo }} style={{ flex: 1 }} />
        <TouchableOpacity style={styles.retakeButton} onPress={() => setPhoto(null)}>
          <Text style={styles.text}>Retake</Text>
        </TouchableOpacity>
      </View>
    )
  }

  // The Interface WHILE AIMING TO SHOOT
  return (
    <View style={styles.container}>
      <CameraView style={styles.camera} facing={facing} ref={cameraRef}>
        <View style={styles.buttonContainer}>
          {/* Flip Camera Button */}
          <TouchableOpacity style={styles.flipButton} onPress={toggleCameraFacing}>
            <Text style={styles.text}>Flip Cam</Text>
          </TouchableOpacity>

          {/* Capture Button */}
          <TouchableOpacity style={styles.captureButton} onPress={takePic}>
            <View style={styles.innerCapture} />
          </TouchableOpacity>
        </View>
      </CameraView>
    </View>
  )
}

const styles = StyleSheet.create({
  container: { flex: 1, justifyContent: 'center', backgroundColor: '#000' },
  camera: { flex: 1 },
  buttonContainer: {
    flex: 1,
    flexDirection: 'row',
    backgroundColor: 'transparent',
    justifyContent: 'space-around',
    alignItems: 'flex-end',
    paddingBottom: 40,
  },
  flipButton: { alignSelf: 'flex-end', padding: 15, backgroundColor: 'rgba(0,0,0,0.5)', borderRadius: 10 },
  text: { fontSize: 18, fontWeight: 'bold', color: 'white' },
  captureButton: {
    width: 70,
    height: 70,
    borderRadius: 35,
    backgroundColor: 'white',
    justifyContent: 'center',
    alignItems: 'center',
    borderWidth: 4,
    borderColor: 'rgba(0,0,0,0.2)',
  },
  innerCapture: { width: 54, height: 54, borderRadius: 27, backgroundColor: 'white' },
  retakeButton: {
    position: 'absolute',
    bottom: 40,
    alignSelf: 'center',
    backgroundColor: '#d63031',
    padding: 15,
    borderRadius: 10,
  },
})
3. Practical Knowledge: How to Upload Images to a Server?
Both of the above methods return a uri variable (Example: file:///data/user/0/.../image.jpg).
But this is just a path located on the phone's hard drive. If you save this uri variable to a database on the Server, other users will not be able to view your photo!
To put this photo online (Upload), you cannot use JSON.stringify() like sending regular Text. An image is a binary file. You are required to use FormData technology.
Here is the "golden" code snippet that helps you turn a file from the phone into sendable data via API:
const uploadImageToServer = async (localUri) => {
  // 1. Get file name and extension from the path
  const filename = localUri.split('/').pop()
  const match = /\.(\w+)$/.exec(filename)
  const type = match ? `image/${match[1]}` : `image`

  // 2. Create a FormData instance
  const formData = new FormData()

  // 3. Put the image into the form (Note: you must pass uri, name, type)
  formData.append('photo', { uri: localUri, name: filename, type })

  // You can append other data (like user ID)
  formData.append('userId', '12345')

  // 4. Send using Fetch API
  try {
    const response = await fetch('https://your-api-domain.com/upload', {
      method: 'POST',
      body: formData,
      headers: {
        'Content-Type': 'multipart/form-data', // Required when using FormData
      },
    })
    const result = await response.json()
    console.log('Upload successful! The online image link is:', result.imageUrl)
  } catch (error) {
    console.error('Upload error:', error)
  }
}
Conclusion: You hold the power
You have mastered how to control the visual aspect of mobile devices:
- Use
expo-image-pickerfor 90% of regular needs: Choosing Avatars, sending existing photos, opening basic camera. - Use
expo-camerawhen you want to design specialized photography apps, scan QR codes, or create custom viewfinders like Instagram Stories. - Always remember to use
FormDatato actually push image files to the Server.
If the Camera is the eye, then in the next article, we will give the app amazing navigation capabilities. Let's get ready for the next step!