There is a cruel truth in the Mobile App world: Over 70% of users will download your app, open it once, and then forget it forever in some corner of their screen.
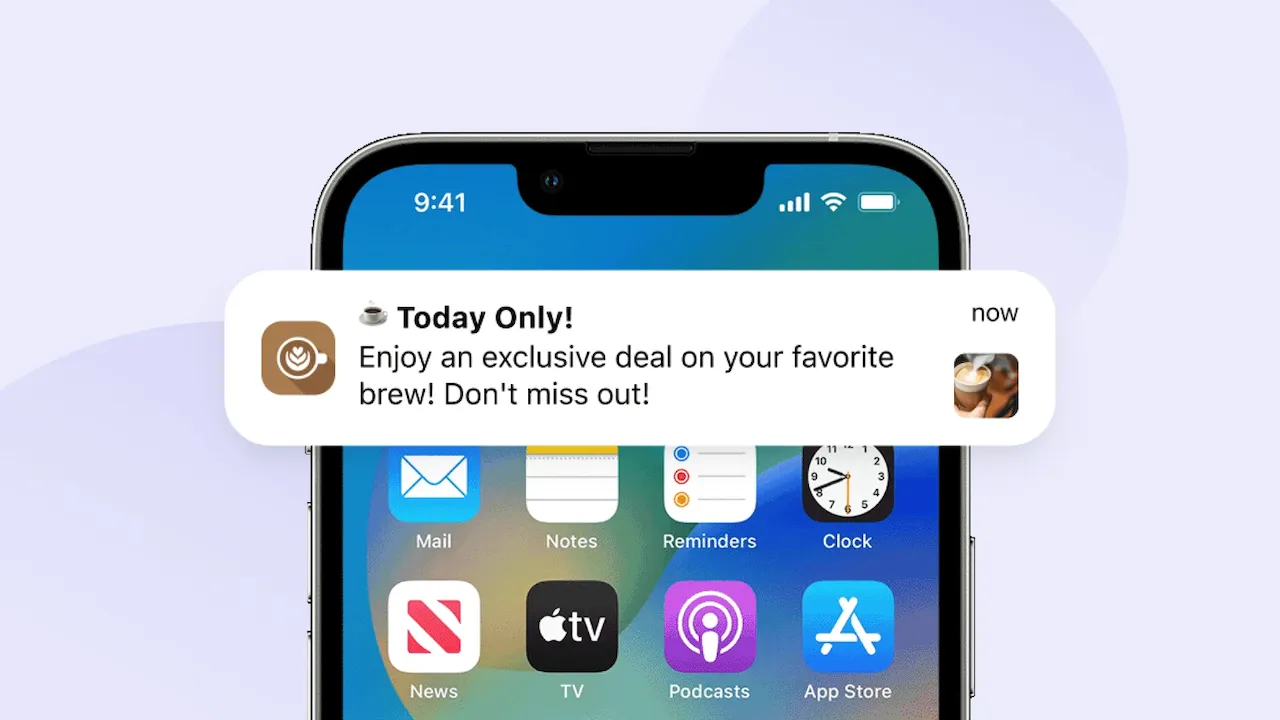
How do you call them back? How do you let them know there is a new message, a shocking discount code, or a newly updated rank-climbing guide? The only and most effective answer is: Push Notifications.
In this lesson, we will shatter the prejudice that "making push notifications is hard" by utilizing Expo's superior system. Without needing complicated Firebase configuration right from the start, and without touching Apple or Google's Native code, you will be able to send your first notification in just 15 minutes!
1. How Push Notifications work
Before typing code, you need to understand the flow of a notification. It is not as simple as the App just blinking on its own.
This process involves 3 transit stations:
- Getting the Token: When the user opens the app and allows receiving notifications, the phone will connect to Apple's (APNs) or Google's (FCM) server to request a unique identifier string (called a Push Token). Each phone installing your app will have a distinct token.
- Storage: Your application gets that Token and sends it to your Backend (Your Database Server) to store it.
- Dispatching: When you want to send a promotional message, your Backend will take the message content + that Token and send it to Expo's distribution system. Expo will automatically translate the language to Apple/Google standards and shoot it straight to the user's phone.
⚠️ NOTE: Push notifications DO NOT work on the iOS Simulator. You must use a real device with Expo Go installed to practice this lesson!
2. Installing and configuring expo-notifications
Open the Terminal in your project directory and run the installation command:
npx expo install expo-notifications expo-device expo-constants
(We also install expo-device to check if the user is using a real phone, because simulators cannot generate Tokens).
Next, set up the default behavior for notifications when the application is open (Foreground). Place this code in the root file of the application (usually app/_layout.tsx or App.js), OUTSIDE the main component:
import * as Notifications from 'expo-notifications'

// Setup: What to do if a notification arrives while the app is open?
Notifications.setNotificationHandler({
  handleNotification: async () => ({
    shouldShowAlert: true, // Still show the notification popup
    shouldPlaySound: true, // Play sound
    shouldSetBadge: false, // Do not change the badge number on the app icon
  }),
})
3. Writing the function to grant permissions and get the Expo Push Token
Now, we will create a button to request user permission and grab that powerful Token.
Let's create a NotificationScreen.tsx screen and enter the following code:
import React, { useState, useEffect } from 'react'
import { View, Text, TouchableOpacity, StyleSheet, Alert, Platform } from 'react-native'
import * as Notifications from 'expo-notifications'
import * as Device from 'expo-device'
import Constants from 'expo-constants'

export default function NotificationScreen() {
  const [expoPushToken, setExpoPushToken] = useState('')

  // Core function to register and get the Token
  async function registerForPushNotificationsAsync() {
    let token

    // 1. Check if it is a real device
    if (Device.isDevice) {
      // 2. Check current permissions
      const { status: existingStatus } = await Notifications.getPermissionsAsync()
      let finalStatus = existingStatus

      // 3. If no permission yet, trigger the request popup (Lesson from Article 16)
      if (existingStatus !== 'granted') {
        const { status } = await Notifications.requestPermissionsAsync()
        finalStatus = status
      }

      // 4. If the user denies, stop
      if (finalStatus !== 'granted') {
        Alert.alert('Failed', 'You have not granted permission to receive notifications!')
        return
      }

      // 5. If granted, proceed to get the Expo Push Token
      const projectId = Constants.expoConfig?.extra?.eas?.projectId ?? Constants.easConfig?.projectId
      token = (await Notifications.getExpoPushTokenAsync({ projectId })).data

      console.log('Your Token is:', token)
      setExpoPushToken(token)
    } else {
      Alert.alert('Error', 'Must use a physical device to get the Push Token!')
    }

    // 6. Configure Channel for Android 8.0 and above (Required)
    if (Platform.OS === 'android') {
      Notifications.setNotificationChannelAsync('default', {
        name: 'default',
        importance: Notifications.AndroidImportance.MAX,
        vibrationPattern: [0, 250, 250, 250],
        lightColor: '#FF231F7C',
      })
    }

    return token
  }

  return (
    <View style={styles.container}>
      <Text style={styles.title}>Notification Management</Text>

      <TouchableOpacity style={styles.button} onPress={registerForPushNotificationsAsync}>
        <Text style={styles.buttonText}>🔔 Activate & Get Token</Text>
      </TouchableOpacity>

      {expoPushToken ? (
        <View style={styles.tokenBox}>
          <Text style={styles.tokenLabel}>Your Token:</Text>
          <Text style={styles.tokenText} selectable={true}>
            {expoPushToken}
          </Text>
        </View>
      ) : null}
    </View>
  )
}

const styles = StyleSheet.create({
  container: { flex: 1, justifyContent: 'center', alignItems: 'center', padding: 20 },
  title: { fontSize: 24, fontWeight: 'bold', marginBottom: 30 },
  button: { backgroundColor: '#00b894', padding: 15, borderRadius: 10 },
  buttonText: { color: '#fff', fontWeight: 'bold', fontSize: 16 },
  tokenBox: { marginTop: 30, padding: 15, backgroundColor: '#dfe6e9', borderRadius: 10, width: '100%' },
  tokenLabel: { fontWeight: 'bold', marginBottom: 5 },
  tokenText: { fontSize: 12, color: '#2d3436' },
})
After scanning the QR code with Expo Go on a real device and pressing the button, a formatted string like ExponentPushToken[xxxxxxxxxxxx] will appear on the screen. Copy it!
4. Sending a notification command (Test)
In reality, sending notifications will be handled by your Backend (NodeJS, Python, PHP...). But to test right now, Expo provides an excellent tool.

- Go to the page: https://expo.dev/notifications
- In the To (Expo push token) field, paste the code you just copied from your phone screen.
- In the Message title field: Enter New champion released!
- In the Message body field: Enter Katarina has a counter guide. Check it out now!
- Press the Send Notification button.
BOOM! Instantly, your phone will vibrate and the notification will drop down from the top edge of the screen!
Scheduling internal notifications (Local Notification)
Besides pushing from the Server, you can also set up the app to self-remind the user (e.g., Alarms, water drinking reminders, daily login reminders) without needing an internet connection.
const scheduleLocalNotification = async () => {
  await Notifications.scheduleNotificationAsync({
    content: {
      title: '⏰ Time to practice!',
      body: 'Let’s jump in for a warm-up match.',
    },
    trigger: { seconds: 5 }, // The notification will pop 5 seconds after pressing
  })
}
Conclusion: Push Notifications are a "must-have" tool
You officially hold the most powerful user retention tool. The expo-notifications system helps flatten all the complex differences between iOS and Android, providing you with a uniform and smooth flow:
- Request user permission + Check for real device.
- Generate the
ExpoPushTokencode. - Send that Token to Expo's distribution tool to shoot notifications to the device.
Congratulations on successfully completing the majority of this series' content. Your application is no longer just an interface shell; it now knows how to take pictures, draw maps, and vibrate intensely to announce messages!
However, what if your application only runs well but transitions are laggy, or you want to install it directly on other people's phones (without Expo Go)?
Let's dive into the upcoming exciting lessons!