
In the previous lesson, we used Reanimated 3 to create super smooth animations. However, those animations were mostly triggered by a simple "Tap" via the Pressable button.
But smartphones were born to be swiped, dragged, dropped, and zoomed. Think about swiping a card to select "Like" or "Nope" on Tinder, using 2 fingers to zoom in on a map, or dragging a floating chat bubble around the screen. You can't do those things with just a tap!
To capture the continuous movements of the user's fingers, we need a specialized tool. Welcome to the "power" of the React Native Gesture Handler library.
1. Why Not Use React Native's Built-in Tools?
React Native actually provides a built-in tool called PanResponder to track swipe gestures.
However, it suffers from a fatal flaw identical to the older Animated API: The JS Thread bottleneck.
Every time your finger moves even 1 pixel, PanResponder has to send coordinate data back to JavaScript for calculation, then JavaScript sends drawing commands over to the UI Thread. This back-and-forth communication 60 times/second makes swiping on older Android devices terribly laggy.
The Solution: The react-native-gesture-handler library was born. It works directly at the Native layer (UI Thread), combining perfectly with Reanimated 3 to create a 100% smooth, zero-latency drag-and-drop experience.
2. Mandatory Installation and Configuration
If you set up the environment in previous lessons (when working on Drawer Navigation), this library might already exist on your machine. If not, run the following command in the Terminal:
npx expo install react-native-gesture-handler
⚠️ NOTE: For this library to work, your entire application must be wrapped inside a <GestureHandlerRootView> tag. Open the highest-level file of your project (e.g., app/_layout.tsx if using Expo Router) and wrap it:
import { GestureHandlerRootView } from 'react-native-gesture-handler'

export default function RootLayout() {
  return (
    // This tag must be set flex: 1 to occupy the entire screen
    <GestureHandlerRootView style={{ flex: 1 }}>{/* Your application screens */}</GestureHandlerRootView>
  )
}
If you forget this step, all swipe and touch code below will be completely paralyzed!
3. The Most Popular Types of Gestures
The library provides a modern API called Gesture, containing all the types of gestures you need:
Gesture.Tap(): Tap (faster and more responsive than a normal Pressable).Gesture.Pan(): Swipe, drag and drop (Translate along the X, Y axes).Gesture.Pinch(): 2-finger pinch (Zoom).Gesture.Rotation(): Rotate elements using 2 fingers.Gesture.LongPress(): Long press.
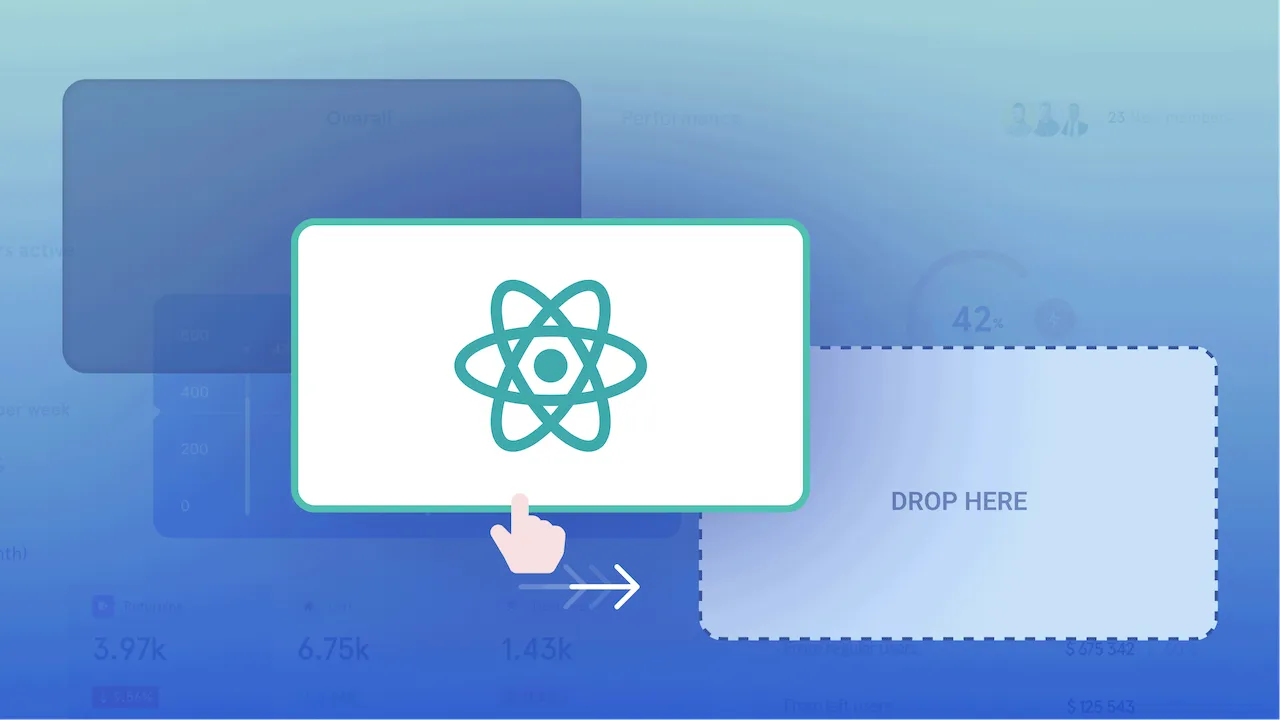
4. Practice: Making a "Drag & Drop" Box
Let's combine Gesture.Pan() with Reanimated 3 to create a box that can be dragged across the screen with a finger, and when released, it automatically springs back to its original position!
Step 1: Initialize Coordinate Storage Variables
We need 2 useSharedValue variables to store the current position of the box on the X (horizontal) and Y (vertical) axes.
Step 2: Capture the Pan Event
The Pan (Swipe) gesture has 3 important states that you must handle:
onBegin: When the finger just touches the box.onUpdate: When the finger is moving, dragging the box. (At this time, we take the distance the finger has moved and add it to the box's coordinates).onFinalize: When the finger is lifted. (At this time, we usewithSpringto make the box fly back to coordinate 0).
Check out this "magic" code snippet:
import React from 'react'
import { StyleSheet, View } from 'react-native'
import { GestureDetector, Gesture } from 'react-native-gesture-handler'
import Animated, { useSharedValue, useAnimatedStyle, withSpring } from 'react-native-reanimated'

export default function DragBoxScreen() {
  // 1. Store X, Y coordinates (Start at position 0)
  const translateX = useSharedValue(0)
  const translateY = useSharedValue(0)

  // 2. Define the Drag and Drop Gesture (Pan)
  const panGesture = Gesture.Pan()
    // While dragging: Update the box's coordinates by the exact distance the finger has moved
    .onUpdate((event) => {
      translateX.value = event.translationX
      translateY.value = event.translationY
    })
    // When released: Make the box spring back to its original position (0, 0)
    .onFinalize(() => {
      translateX.value = withSpring(0)
      translateY.value = withSpring(0)
    })

  // 3. Connect coordinates to the box's Style
  const animatedStyle = useAnimatedStyle(() => {
    return {
      transform: [{ translateX: translateX.value }, { translateY: translateY.value }],
    }
  })

  return (
    <View style={styles.container}>
      {/* 4. Use GestureDetector to wrap the Animated.View tag to listen for gestures */}
      <GestureDetector gesture={panGesture}>
        {/* Our box */}
        <Animated.View style={[styles.box, animatedStyle]} />
      </GestureDetector>
    </View>
  )
}

const styles = StyleSheet.create({
  container: { flex: 1, justifyContent: 'center', alignItems: 'center', backgroundColor: '#2d3436' },
  box: { width: 100, height: 100, backgroundColor: '#00b894', borderRadius: 20 },
})
When you try running it, put your finger on the green box, drag it to another corner, and then lift your finger. The unbelievably smooth physical sensation will immediately win you over!
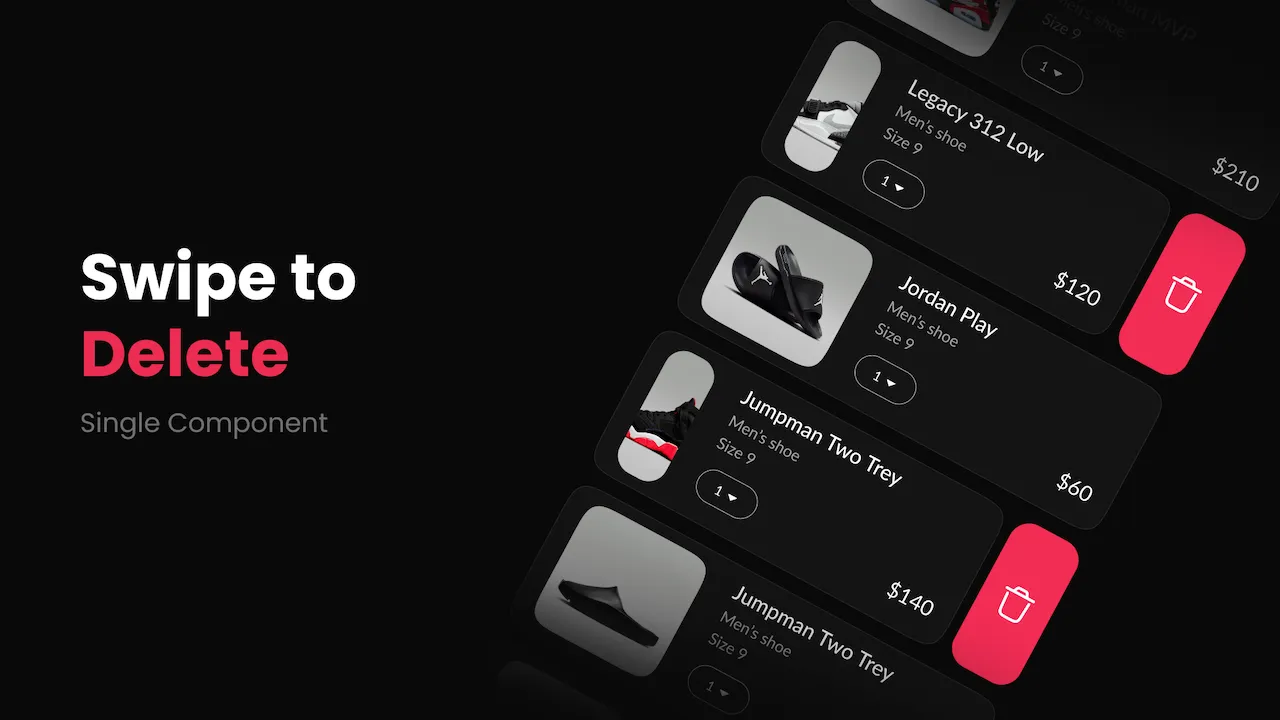
5. Practical Application: Swipe to Delete
Have you ever gone into the Gmail or Messenger app, swiped a row to the left to reveal a "Trash" button? That's a classic Mobile feature.
The logic is exactly the same as the box above. However:
- You set a limit for
translateX(only allow swiping left to a maximum distance of -100px). - If the user releases their finger and the swipe distance hasn't reached -50px, it springs back. If it passes -50px, it slides completely to the left to reveal a red Delete button layered underneath that View!
(Hint: The react-native-gesture-handler library provides a built-in component called Swipeable to build this feature extremely fast without having to code it from scratch!).
Conclusion: The Perfect Duo for Handling Modern UI
The combination of react-native-gesture-handler and Reanimated 3 is the perfect duo for handling modern UI:
- Always declare
<GestureHandlerRootView>in the outermost file. - Use
GestureDetectorto wrap the element that needs to be interacted with. - Update
useSharedValuevariables inside the.onUpdate()function of the Gesture.
Having made it this far, you have completely mastered interfaces, data, and physical interactions. Your application is 100% functionally complete. But how do you get this amazing app into users' hands? If the app has an urgent bug, how do you fix it immediately without forcing users to download a new app from the Store?
Please stay tuned for the next exciting lessons!