Imagine you just finished an extremely complex Shopping Cart feature. You personally swiped, tapped, and added/removed products on your phone and saw everything running perfectly. You confidently pushed the code for your boss.
But the next morning, a flood of error reports came in: "The Checkout feature is broken!". It turns out the code you just added to the Shopping Cart accidentally "killed" the Checkout screen without you even knowing.
This is a developer's nightmare loop: Fix 1 bug, create 3 new bugs.
To end the scenario of having to manually test the entire application every time a line of code changes, large companies apply Automated Testing. And in this lesson, we will get acquainted with the first and most important line of defense: Unit Testing.
1. What is a Unit Test?
In the software testing pyramid, Unit Testing sits at the bottom. It involves writing short snippets of code... to check whether your main code snippets are working exactly as expected.
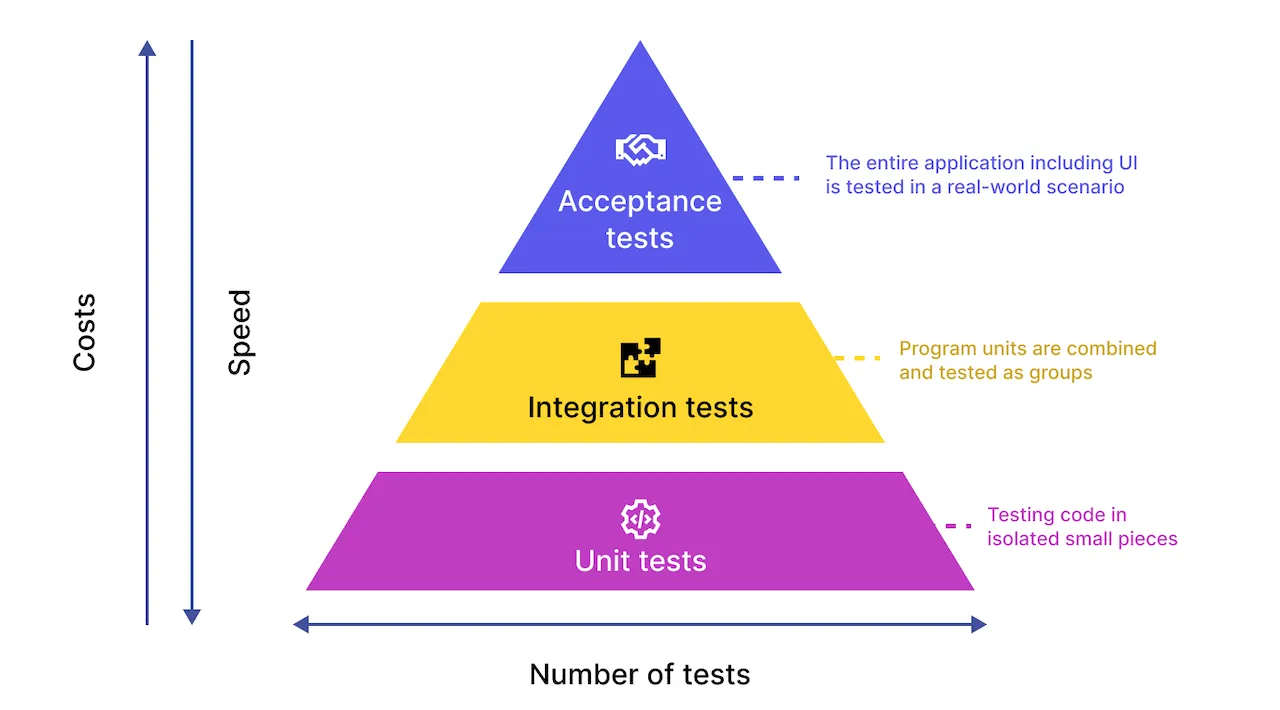
Instead of testing the entire application at once, a Unit Test isolates the smallest "unit" (a calculation function, a <Button> tag, a small screen) and tests it independently.
- Example: You have a function
calculateDiscount(price, discount). You will write a Unit Test to check if passing in100and20%correctly returns the number80.
2. The Perfect Match: Jest & React Native Testing Library
In the React Native ecosystem, there are two dominant tools in the Unit Test area that you must know:
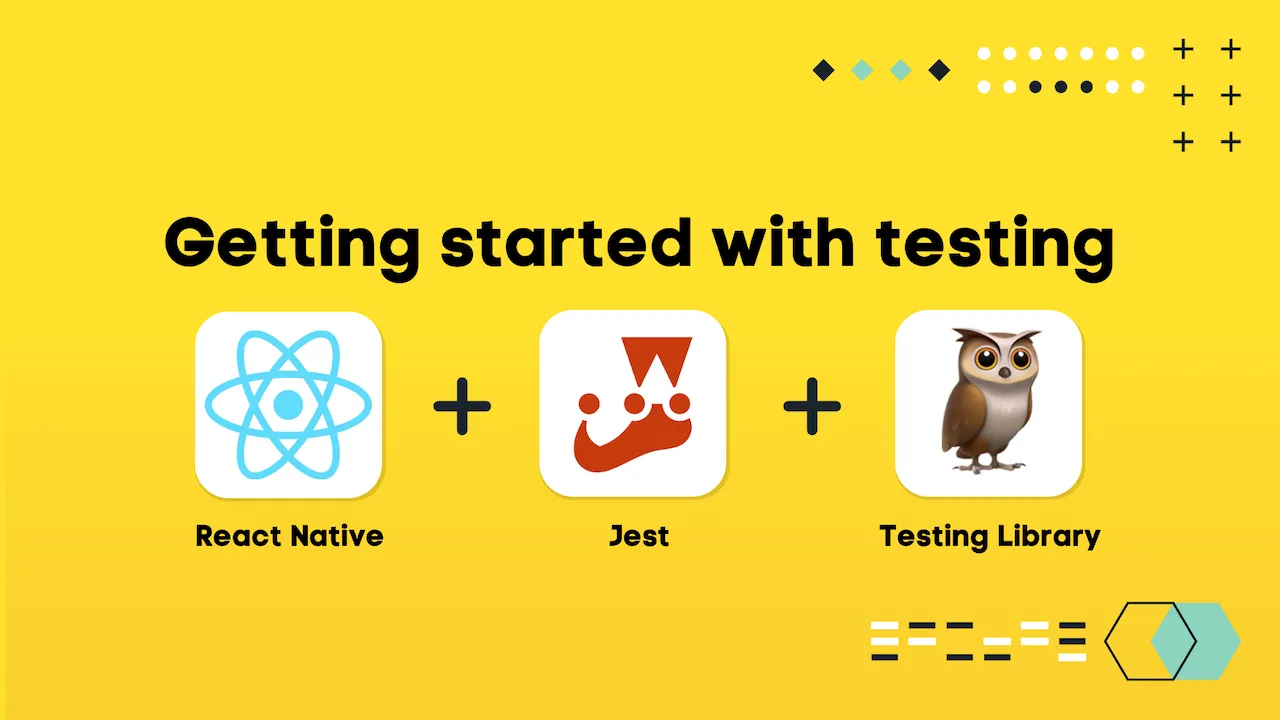
- Jest: This is a Test Runner developed by Facebook. It provides an environment to run code, functions to check results like
expect(a).toBe(b), and reports which tests Pass or Fail. - React Native Testing Library: Jest only understands pure JavaScript. To test interfaces (like
<View>,<Text>), we need RNTL. This library helps "draw" your components onto a virtual screen in the computer's memory to check if text appears or if a button works.
3. Setting Up the Testing Environment
To get started, open the Terminal in your Expo project folder and install the necessary packages:
npm install --save-dev jest @types/jest @testing-library/react-native react-test-renderer
(Note: We use the --save-dev flag because these test libraries are only used during development and should not be bundled into the actual app to avoid making it heavy).
Next, open the package.json file, find the "scripts" section, and add the test command line:
"scripts": {
  "start": "expo start",
  "test": "jest"
}
4. Testing Function Logic: Jest
Let's start with the easiest thing: Testing a pure JavaScript function.
Step 1: Create the logic file
Create the file src/utils/math.js:
export const add = (a, b) => {
  return a + b
}
Step 2: Write the Test
Create the file src/utils/math.test.js. (Jest will automatically find all files with .test.js to run).
import { add } from './math'

// Declare a group of tests
describe('Testing the math.js file', () => {
  // Declare a specific test (it or test)
  it('The add function should correctly add 2 numbers', () => {
    // 1. Prepare data
    const result = add(2, 3)

    // 2. Expectation
    expect(result).toBe(5) // I expect the result to be 5
  })

  it('The add function handles negative numbers', () => {
    expect(add(-2, 5)).toBe(3)
  })
})
Step 3: Run the test
Open the Terminal and type npm run test. If the screen shows a green PASS, congratulations on successfully writing your first test!

5. UI Testing: React Native Testing Library
Testing math functions is easy, but how do we test a button on a phone screen? This is where RNTL shows its skills.
Suppose you have a Button component with a click counter:
// src/components/Counter.tsx
import React, { useState } from 'react'
import { View, Text, TouchableOpacity } from 'react-native'

export default function Counter() {
  const [count, setCount] = useState(0)

  return (
    <View>
      <Text testID="count-display">Clicks: {count}</Text>
      <TouchableOpacity testID="increment-btn" onPress={() => setCount(count + 1)}>
        <Text>Increase</Text>
      </TouchableOpacity>
    </View>
  )
}
(Tip: The testID attribute is like attaching a hidden name tag to View/Text tags, helping RNTL easily find them during tests).
Now, let's write a test for this component in the Counter.test.tsx file:
import React from 'react'
import { render, screen, fireEvent } from '@testing-library/react-native'
import Counter from './Counter'

describe('Testing the Counter component', () => {
  it('Should display the number 0 initially', () => {
    // 1. Render the component onto the virtual screen
    render(<Counter />)

    // 2. Find the text tag via testID
    const textElement = screen.getByTestId('count-display')

    // 3. Check if the content inside contains the number 0
    expect(textElement.props.children.join('')).toContain('Clicks: 0')
  })

  it('Should increase to 1 when the Increase button is pressed', () => {
    render(<Counter />)

    // 1. Find the button and the number display tag
    const button = screen.getByTestId('increment-btn')
    const textElement = screen.getByTestId('count-display')

    // 2. Simulate a user clicking the button (fireEvent)
    fireEvent.press(button)

    // 3. Check the content again, now the expectation should be 1
    expect(textElement.props.children.join('')).toContain('Clicks: 1')
  })
})
Awesome! You just simulated a user tapping the phone screen and the system automatically checking if the number jumps correctly.
6. Practical Advice for Writing Unit Tests
To avoid getting bogged down in writing tests indiscriminately, keep the following principles in mind:
- Do not test framework internals: You don't need to test if React's
useStatefunction or React Native's<View>works correctly. That's Facebook's job. Test your logic. - Focus on Complex Logic: Prioritize testing functions that handle currency, calculate scores, format dates, or tangled
if/elseconditions. - Test User Behavior: With RNTL, test like a real user (find buttons, click, see results on the screen); do not try to access implicit State variables inside the component.
Conclusion: Unit Tests are a Solid Shield
Unit Testing is like building the foundation of a house. Initially, you'll feel like writing tests takes twice as long as just writing code. But as your application grows with dozens of intertwined features, Unit Tests are the most solid shield protecting you from sleepless nights fixing bugs!
With the assurance that the code runs smoothly and without errors, we are ready to enter the final stage of any Mobile programming project.
Get ready; in the next lesson, we will personally create the APK/AAB file for Android and configure certificates to create the IPA file for iOS!